
The Basics of RC Car Conversion: What You Need to Know
Master the art of upgrading and customising your RC car for enhanced performance
RC car conversion goes way beyond just swappin' out a motor or stickin' in a new battery — it's about gettin' your head around the whole ecosystem of parts, electronics, and tuning that work together to turn your vehicle into something faster, more reliable, or customised to how ya like to drive. Whether you're upgrading from brushed to brushless motors, switching to LiPo batteries, or simply rebuilding with better quality RC spare parts, this guide breaks down exactly what you need to know to get started — and get it right the first time.
Need gear to get started? Have a squiz at top brands and upgrade parts on our main site, or check out all the RC brands here to find exactly what you're lookin' for.
| RC Car Conversion at a Glance | |
|---|---|
| Skill Level | Beginner to advanced, depending on conversion complexity |
| Essential Components | Motors, ESCs, batteries, servos, receivers, chassis components |
| Common Conversions | Brushed to brushless, NiMH to LiPo, toy-grade to hobby-grade |
| Tools Needed | Soldering iron, wire cutters, hex drivers, multimeter |
| Typical Cost | $50-$300+ depending on components and quality |
Need help getting started or curious about specific components? Check out our RC knowledge blogs for more technical know-how and step-by-step guides.
Understanding RC Car Platforms
RC car conversion isn't a one-size-fits-all process — the right approach depends heavily on what platform you're startin' with. Whether you're tinkering with a toy-grade vehicle that needs a complete overhaul, a hobby-grade chassis that's ready for next level performance, or something completely DIY, identifying the base characteristics of your platform is key to a successful conversion.
Different platforms come with their own sets of challenges and opportunities. Let's break down the common types ya might be workin' with:
Toy-Grade RC Cars
These are your basic department store models that typically run on simple AA batteries. While they're cheap to pick up, they usually have:
- Limited speed and battery life
- Non-proportional steering (full left/right only)
- Minimal customisation options
- Plastic gears that wear out quickly
When converting toy-grade RCs, you'll typically need to replace almost everything except the outer body shell. This means new motors, electronic speed controllers, proper steering servos, and a decent receiver system.
But don't chuck 'em in the bin just yet! These cars can be brilliant starter projects, especially if you're new to RC conversions. The low initial investment means you can experiment without the worry of messin' up expensive gear.
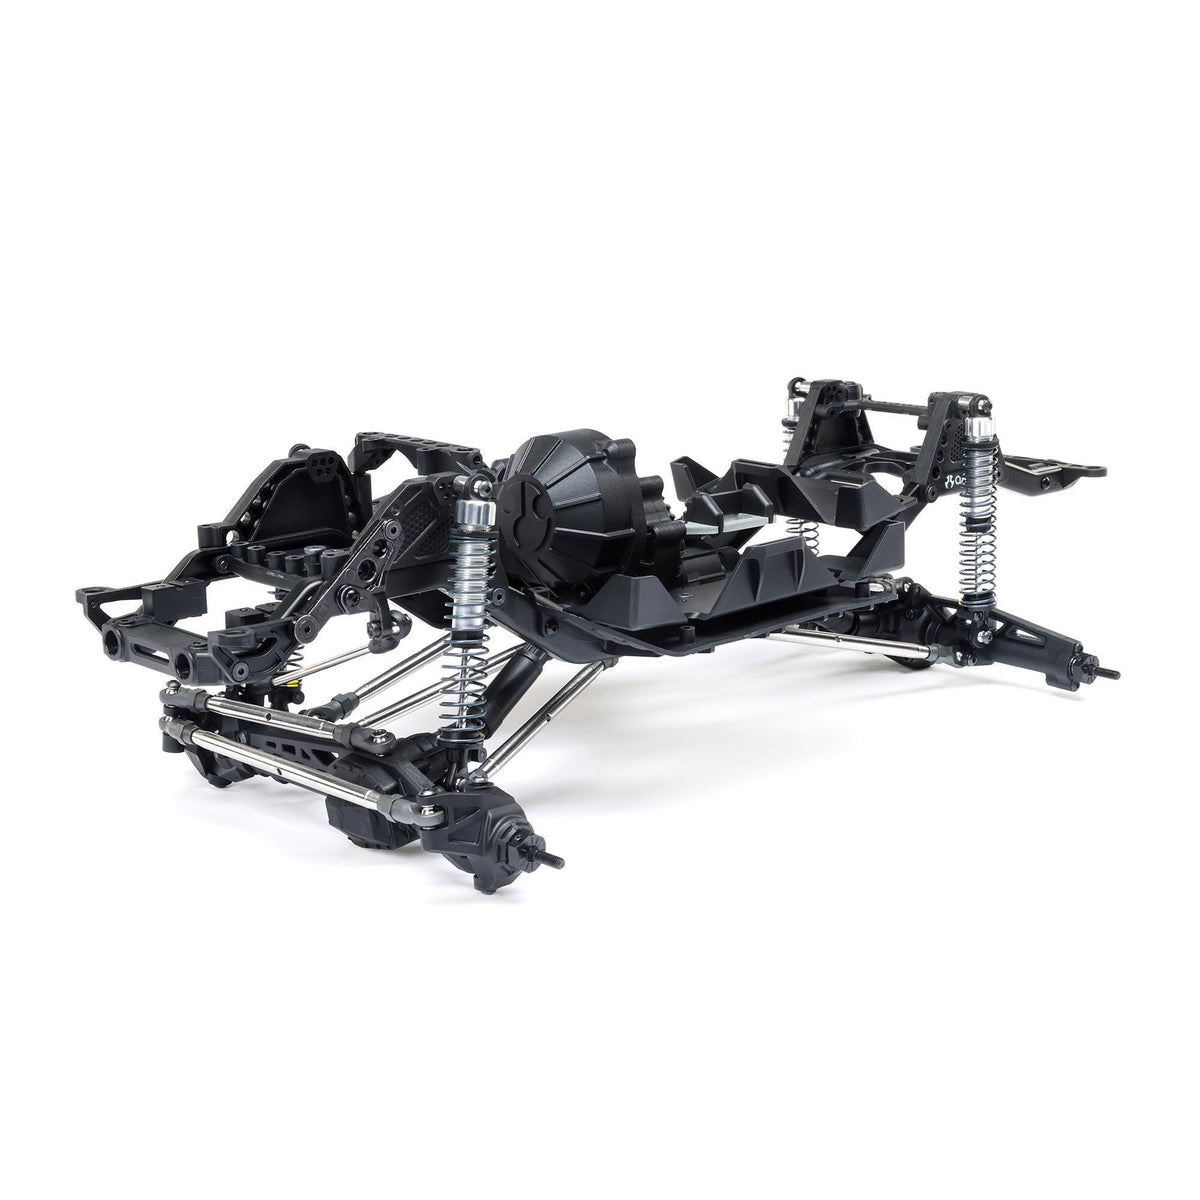
Hobby-Grade RC Chassis
Now we're talkin'! These are purpose-built for the hobby market and offer:
- Modular design with replaceable parts
- Higher quality materials (aluminium, carbon fibre)
- Ready-to-upgrade electronics mounting points
- Suspension systems that can be tuned
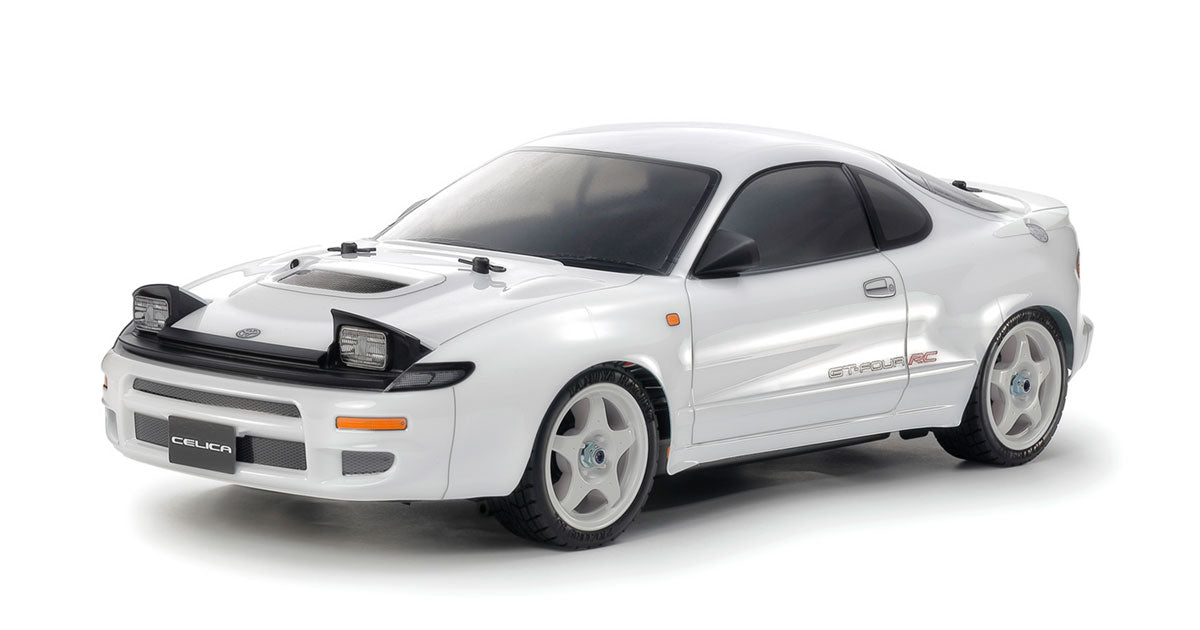
Hobby-grade chassis like those from Traxxas, Tamiya, or Axial are designed with upgradeability in mind. Most have standardised mounting points for motors, servos, and electronics, making conversion relatively straightforward.
When upgrading these platforms, you're typically looking at performance enhancements rather than complete overhauls. This might include stepping up from a brushed to brushless motor system, upgrading to LiPo batteries for more power, or installing higher-torque servos for better steering response.
Custom-Built Platforms
For the true tinkerers among us, custom platforms offer unlimited potential but require the most know-how. These might include:
- 3D-printed chassis components
- Repurposed materials from other hobbies
- Scratch-built frames from aluminium or carbon fibre
- Hybrid setups combining parts from different manufacturers
Custom builds give you complete freedom over every aspect of your RC car but require significant planning and often specialised tools. If you're going this route, investing in quality RC spare parts from reputable brands will save you headaches down the track.
Core Components Needed for RC Car Conversion
Alright, let's get into the nitty-gritty of what components you'll need to sort out for your conversion. These are the building blocks that'll transform your stock RC into a proper performer.
Quick Tip:
Before purchasing components, always check voltage compatibility between your motor, ESC, and battery. Mismatched ratings are the number one cause of burnt-out electronics!
Power System: Motors and ESCs
The heart of any RC conversion is the power system. There are two main types of motors you'll encounter:
Brushed Motors
- More affordable and simpler to wire
- Good for beginners and budget builds
- Lower maintenance but shorter lifespan
- Less efficient (more heat, less runtime)
These are fine for casual use, but serious hobbyists usually upgrade to:
Brushless Motors
- Higher efficiency and longer lifespan
- More power for the same size
- Better speed control and responsiveness
- Require special brushless ESCs
When selecting a brushless motor, ya need to understand kV ratings. This isn't kilovolts, but rather RPM per volt. A higher kV motor (like 3000-4000kV) provides more speed but less torque, which is great for on-road racers. A lower kV motor (1000-2000kV) delivers less speed but more torque, perfect for crawlers and off-road vehicles that need to tackle rough terrain.
The Electronic Speed Controller (ESC) is your motor's best mate. It manages power delivery from the battery to the motor, allowing for precise throttle control. When choosing an ESC, make sure it's:
- Rated for your motor type (brushed or brushless)
- Capable of handling your battery's voltage
- Has the amperage rating to match your motor's power demands
- Programmable for fine-tuning (if you want more control)
For convenience, many hobbyists opt for brushless combos that package a compatible motor and ESC together, ensuring they're properly matched.
Battery Power: The Juice
Your choice of battery dramatically affects performance, runtime, and even the weight of your RC car. The two main contenders are:
NiMH (Nickel-Metal Hydride)
- More forgiving and safer for beginners
- No special charging equipment needed
- Lower power density (heavier for the same power)
- Generally cheaper upfront
LiPo (Lithium Polymer)
- Significantly higher power-to-weight ratio
- Longer runtime and higher discharge rates
- Requires special LiPo chargers and safety precautions
- More expensive but better performance
LiPo batteries come with ratings like "2S" or "3S" (referring to cells in series) and discharge rates like "30C." A higher S rating means more voltage (roughly 3.7V per cell), while a higher C rating means the battery can safely deliver more current at once — essential for high-performance applications.
Always balance safety and performance when dealing with LiPo batteries. They're brilliant for performance but require proper handling, storage, and charging practices.
Steering and Control: Servos and Receivers
Servos
The servo is what converts your steering inputs into actual movement. Key considerations include:
- Torque rating (higher for heavier vehicles)
- Speed (how quickly it responds to inputs)
- Size (must fit your chassis mounting points)
- Metal vs. plastic gears (durability vs. weight)
For most conversions, a standard-sized servo with metal gears and at least 6kg/cm of torque will do the job. Crawlers and larger vehicles might need more powerful servos with 10-20kg/cm of torque.
Receivers and Transmitters
Your radio system is how you communicate with your RC car. Modern systems offer:
- 2.4GHz technology for reliable, interference-free control
- Multiple channels for controlling different functions
- Fail-safe features that prevent runaway vehicles
- Programmable endpoints and mixing for customised control
While the transmitter (remote) stays with you, the receiver goes in your car. Make sure they're compatible with each other—most brands use proprietary protocols that don't play well with others.
General Conversion Steps
Converting your RC car isn't rocket science, but it does require a bit of planning and careful execution. Here's a step-by-step approach that'll work for most conversions:
1. Plan Your Build
Before you grab a screwdriver, take some time to:
- Decide on your performance goals (Speed? Crawling? Drifting?)
- Research compatible components for your specific chassis
- Create a budget and prioritise which upgrades matter most
- Gather all necessary tools and parts
2. Disassembly and Assessment
Start by stripping down your RC car and evaluating what you're working with:
- Remove the body shell and set it aside
- Take out the existing electronics (motor, ESC, battery, receiver)
- Check the condition of mechanical parts (gears, diffs, axles)
- Identify any worn components that need replacement
Take photos as you go—they'll be ripper references when it's time to reassemble everything.
3. Chassis Preparation
Now that you've got everything apart, it's time to prep your chassis:
- Clean thoroughly with isopropyl alcohol to remove dirt and oils
- Reinforce weak points with spare parts or custom solutions
- Drill new mounting holes if needed (measure twice, drill once!)
- Test-fit your new components to ensure proper clearance
This is also the perfect time to upgrade any suspension components or tyres if they're part of your conversion plan.
4. Electronics Installation
With your chassis prepped, it's time to install your new gear:
- Mount the new motor, ensuring proper gear mesh if applicable
- Secure the ESC in a location with good airflow for cooling
- Install the steering servo, ensuring linkages move freely
- Position the receiver away from the motor to minimise interference
- Plan your wiring routes to avoid moving parts
When mounting components, double-sided tape, servo tape, or Velcro straps offer flexibility for future adjustments. For permanent installations, proper screws and mounting hardware provide the most secure hold.
5. Wiring and Connections
This is where attention to detail really matters:
- Use proper gauge wire for your application (thicker for high-current setups)
- Solder all connections properly with rosin-core solder
- Apply heat shrink tubing to all exposed connections
- Secure wires away from moving parts and heat sources
- Label wires if you've got a complex setup
A good rule of thumb: if you reckon your wiring looks messy, it probably is. Tidy wiring not only looks professional but also reduces the risk of shorts and makes troubleshooting easier down the track.
6. Testing and Calibration
Before you take your newly converted RC car for a spin, do some bench testing:
- Double-check all connections for security
- Calibrate your ESC according to manufacturer instructions
- Test throttle and steering response at low power
- Make sure everything's moving in the right direction
- Check for binding or unusual noises in the drivetrain
Only after you're satisfied with your bench tests should you move to low-speed testing outdoors or in a controlled space.
DIY vs. Kits: Choosing Your Approach
When tackling RC car conversion, you've got two main paths: the DIY route or using pre-packaged conversion kits. Each has its advantages, and the right choice depends on your skills, budget, and goals.
The DIY Approach
Going fully DIY gives you complete control over every aspect of your build but requires more knowledge and time investment.
Advantages:
- Maximum customisation to match your exact requirements
- Potentially lower cost if you can source parts cleverly
- Opportunity to learn more about RC electronics and mechanics
- Ability to reuse parts from other RC vehicles or projects
Challenges:
- Requires more research to ensure all components are compatible
- Higher risk of making mistakes or choosing incompatible parts
- More time spent troubleshooting unique issues
- Steeper learning curve, especially for electronics
The DIY approach is perfect if you enjoy the process as much as the result. It's also ideal for unusual conversions that might not have kit options available.
Conversion Kits
For those who want a more streamlined experience, conversion kits provide pre-selected components that are guaranteed to work together.
Advantages:
- Components are matched for compatibility
- Instructions are usually included
- Reduces research time and decision fatigue
- Generally more beginner-friendly
Challenges:
- Less flexibility for customisation
- Potentially higher cost than sourcing individual components
- May include parts you don't need or want
- Limited options for some chassis types
Conversion kits are brilliant for first-timers or those who want a more predictable upgrade path. They're especially useful for popular chassis types that have well-established upgrade paths.
| Factor | DIY Approach | Conversion Kit |
|---|---|---|
| Cost | Potentially lower, depends on parts sourcing | Higher upfront, but includes everything needed |
| Ease of Use | More complex, requires research | Simpler, includes instructions |
| Customisation | High - complete freedom | Limited to kit options |
| Time Investment | Higher, includes research and planning | Lower, focused on assembly |
| Learning Value | Maximum - learn through trial and error | Moderate - learn through guided process |
Installation and Wiring Tips
Proper installation and wiring can make or break your RC conversion project. Let's look at some tips to get it right the first time.
Component Layout
The way you arrange your electronics affects everything from handling to cooling:
- Place the heaviest components (like batteries) low and centered for better balance
- Keep the ESC in a position with good airflow to prevent overheating
- Mount the receiver higher up and away from metal parts for better signal
- Ensure servos have clearance throughout their full range of motion
- Leave enough space to access adjustment points and connectors
Think about weight distribution just like in a full-size car—balanced is always better for handling.
Wiring Best Practices
A clean, organised wiring job isn't just about looks—it's about reliability and safety:
- Use appropriate wire gauge for the current (thicker for power, thinner for signal)
- Bundle related wires with zip ties or heat shrink
- Maintain minimum bend radius on all wires (sharp bends can break conductors)
- Leave service loops for maintenance access
- Use silicone wire for flexibility and heat resistance
For high-performance applications, consider upgrading to premium silicone wire and gold-plated connectors for better conductivity and less resistance.
Soldering Techniques
Good soldering makes for reliable connections and prevents failures:
- Use a temperature-controlled soldering iron (around 350°C for most RC work)
- Clean both surfaces before soldering (a little sandpaper works wonders)
- Heat the parts, not the solder—let the parts melt the solder
- Create a mechanical connection first (twist wires together)
- Use rosin-core solder designed for electronics
If you're new to soldering, practice on some scrap wire before tackling your expensive components. A cold solder joint might work initially but will fail when you least expect it.
Connectors and Plugs
The right connectors make maintenance and future upgrades much easier:
- Standardise on one connector type when possible (XT60, Deans, EC3, etc.)
- Use gold-plated connectors for better conductivity
- Ensure connectors are rated for your maximum current
- Label connections if you have multiple similar plugs
- Consider polarised connectors to prevent accidental reverse connections
Many hobbyists use XT60 connectors for main power and JST plugs for servos and receivers, creating a consistent system across their RC fleet.
Performance Tuning and Testing
Once your conversion is complete, it's time for the fun part—tuning and testing to get the most from your upgrades.
ESC Programming
Modern ESCs offer extensive programming options that can dramatically change how your car performs:
- Throttle curve: Adjusts how responsive the throttle feels
- Brake strength: Controls how quickly your car slows down
- Motor timing: Affects efficiency vs. top speed balance
- Start power: Controls how aggressively your car accelerates from a standstill
Most ESCs can be programmed through a programming card, buttons on the unit itself, or via a smartphone app. Take the time to understand these settings—they're the difference between a wild, uncontrollable ride and a perfectly tuned machine.
Gear Ratio Optimization
Getting your gear ratio right is crucial for balancing speed, acceleration, and motor longevity:
- Higher gear ratio (smaller pinion/larger spur): More torque, better acceleration, lower top speed
- Lower gear ratio (larger pinion/smaller spur): Higher top speed, less torque, potentially higher motor temps
A good starting point is to use the manufacturer's recommended gearing, then adjust based on your driving style and conditions. Always check motor temperature after runs—if it's too hot to touch comfortably, your gearing is too aggressive.
Suspension Setup
Even the most powerful electronics won't help if your suspension isn't properly tuned:
- Shock oil: Heavier oil for less bounce, lighter for more absorption
- Spring rate: Stiffer springs for better handling, softer for rough terrain
- Ride height: Lower for better handling on smooth surfaces, higher for clearance off-road
- Camber and toe: Affects straight-line stability and cornering behaviour
Keep track of your changes in a notebook or on your phone. Tiny adjustments can make a huge difference, and you'll want to remember what worked (and what didn't).
Testing Protocol
Develop a systematic testing approach:
- Start with low-speed tests to check basic functionality
- Gradually increase speed while monitoring temperature and handling
- Test in the environment you'll actually be using the car (track, backyard, etc.)
- Make one adjustment at a time and note the effects
- Allow cool-down periods between tests
Remember, testing isn't just about finding top speed—it's about finding the right balance of performance, handling, and reliability for your specific needs.
General Applications of RC Conversions
RC car conversions serve a variety of purposes beyond just "making it go faster." Let's explore some of the most popular applications:
Speed Demons: On-Road Racing
For those chasing pure speed on smooth surfaces:
- Focus on aerodynamics and low center of gravity
- Opt for high-kV motors and aggressive gearing
- Use hard compound tyres for minimal rolling resistance
- Lightweight components wherever possible
- Tuned suspension for flat cornering
On-road racers often convert standard touring car platforms using specialized racing ESCs and high-discharge LiPo batteries to achieve speeds that can exceed 100km/h!
Backyard Bashers
For all-around fun and durability:
- Reinforced chassis and drivetrain components
- Mid-range kV motors for balance of speed and torque
- Shock towers and bumpers for crash protection
- All-terrain tyres for versatility
- Extra cooling for extended run times
Bashers need to be able to handle everything from jumps to crashes without breaking. Brands like Traxxas and Arrma offer excellent platforms for basher conversions.
Rock Crawlers and Trail Trucks
For tackling the toughest terrain:
- Low-kV, high-torque motors
- Low gear ratios for maximum crawling power
- High-torque servos for precise steering
- Multi-stage suspension for articulation
- Weighted wheels for better traction
Crawlers focus on torque delivery and precise control rather than speed. Conversions often include specialized crawler ESCs with drag brake functions and advanced transmission systems.
Drift Machines
For the sideways specialists:
- Hard plastic or specific drift tyres
- Gyroscopic stability systems
- Adjustable suspension geometry
- Powerful steering servos
- Specialized differential setups
Drift cars require a unique balance of power delivery and chassis setup. Converting a standard touring car to a drift machine often involves specific drift-oriented parts that allow controlled slides.
STEM and Educational Projects
RC conversions offer excellent learning opportunities:
- Arduino or Raspberry Pi integration for programming
- Sensor additions for data collection
- Camera mounts for FPV driving
- Custom controllers for unique interfaces
- Autonomous capability development
Educational conversions focus less on raw performance and more on the engineering principles and problem-solving aspects of RC technology.
Frequently Asked Questions
What's the difference between brushed and brushless motors?
Brushed motors are cheaper and simpler but have shorter lifespans and less efficiency. Brushless motors cost more upfront but deliver better performance, longer life, and more power. For beginners or budget builds, brushed is fine to start with, but once you're ready to take things up a notch, brushless motors are the way to go for serious performance gains.
How do I know what LiPo battery to choose?
When selecting a LiPo battery, look at these key specs:
- S Rating: Determines voltage (2S = 7.4V, 3S = 11.1V, etc.)
- C Rating: Indicates discharge rate (higher = more power delivery)
- mAh: Battery capacity (higher = longer runtime)
- Physical size: Must fit your chassis
- Weight: Affects handling and performance
Always make sure your ESC and motor can handle the voltage of your chosen LiPo.
Why does my RC car get hot after upgrading?
Excessive heat after an upgrade usually comes down to:
- Too aggressive gearing (pinion too large for your motor/battery combo)
- ESC not rated for your motor or battery power
- Poor ventilation around electronics
- Mechanical binding in drivetrain
- Motor timing set too advanced
If your motor or ESC is too hot to touch after a run, dial back your gearing or check for mechanical issues. Heat is the number one killer of RC electronics.
Can I convert any toy RC car to hobby-grade?
While technically possible, not all toy RC cars are worth converting. The best candidates have:
- Sturdy plastic chassis that can handle more power
- Enough internal space for proper electronics
- Drivetrain components that can be reinforced or replaced
- Standard-sized mounting points for servos and motors
Sometimes it's more cost-effective to start with a basic Tamiya or Traxxas kit rather than upgrading a toy-grade RC.
Conclusion
RC car conversion isn't rocket science, but it's a ripper way to take your hobby to the next level and get exactly the performance you're after. Whether you're turning a sluggish toy-grade car into something with a bit more grunt, or transforming a hobby-grade machine into a proper track weapon, the feeling of success when your newly converted RC car rips around for the first time is bloody satisfying.
Remember, the key to a successful conversion is taking your time with the planning and installation. Every wire, every solder joint, and every component choice matters when you're pushing the limits of what these little machines can do. Start small, build your skills, and before ya know it, you'll be tackling advanced conversions with confidence.
Final Thoughts:
Don't be afraid to experiment, but also don't hesitate to reach out to the RC community when you're stuck. The hobby is as much about sharing knowledge as it is about driving. So grab your soldering iron, pick up some quality spare parts, and start building the RC car of your dreams. The only real limit is your imagination—and maybe your budget!