
Tutorial Blog
How To Prepare Your RC Car Tires For Top Performance
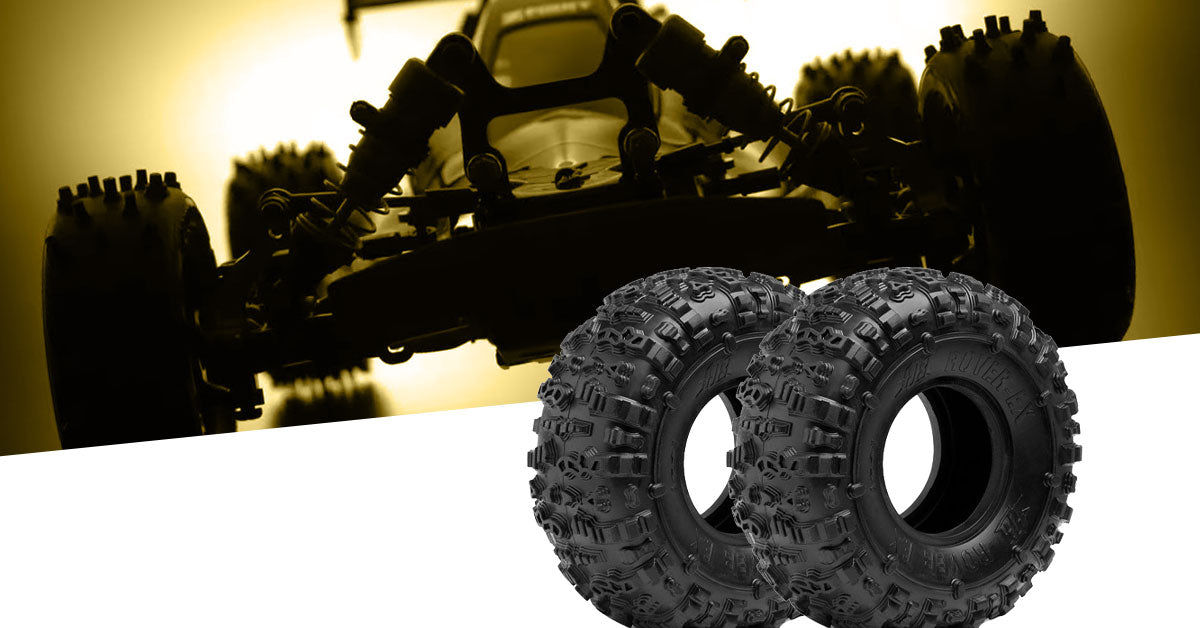
Are you ready to take your RC racing to the next level? RC racing is a thrilling and competitive hobby that demands precision, skill, and the right gear. Whether you are racing on-road or off-road, one important detail often makes a big difference: your tires. Winning or losing can come down to how well your tires are prepared, especially in the heat of the competition. With the right tire setup, you can get the edge you need to dominate the race.
In this guide, we will be telling you step by step how to get your tires racing-ready so you have the grip, control, and performance to shine. So, if you are ready to leave your competitors in the dust and enjoy RC racing like never before, let us get right into the how-to's of tire preparation.
Summary
- A Step-by-Step Guide on How To Prepare Your RC Car Tires
- How To Prepare Your RC Car Tires
- Watch and Learn!
A Step-by-Step Guide On How To Prepare Your RC Car Tires
Proper tire preparation can make a big difference in your RC car's performance and handling on the race course. By following these steps, you can ensure that your tires are in great shape for your next RC car race.
Materials you will need:
- Mild cleaning solution (water-based cleaner or isopropyl alcohol)
- Microfiber cloth or sponge
- Tire sander
- Sanding sticks with various grits (e.g., 120, 240, 400)
- Tire glue (specifically designed for RC tires)
- Zap kicker (glue activator)
- Glue applicator (with a thin nozzle)
- Tire warmers
- Magic Eraser
How To Prepare Your RC Car Tires
Step One: Scuffing Your Tires
When your tires are fresh out of the box, they are too smooth and lack the traction needed to grip the track. To fix this, we need to scuff them up; scuffing gives our tires the grip we want. Then, get a trusty tire sander—yes, that is a thing—and pick a sanding stick with rough sandpaper. The grit tells you how rough the sandpaper is, and for this job, you need to go for a coarser one.
For this step, no need to be gentle, you want to apply a bit of pressure and go across the whole tire surface. Be careful with this step, though, since going overboard can potentially shred your tires to bits.
Step Two: Wet vs. Dry Sanding
Ah, the age-old question: Should you do wet sanding or dry sanding for your tires? Well, it depends on the kind of tires you have. If you have one of those shiny ones, like SSF, go for dry sanding. But for most tires, especially D32s and D36s, a bit of wet sanding does wonders.
Wet sanding is good because it keeps things cool. It is a good choice if you do not want to introduce unnecessary heat into your tire. So, feel free to give your tires a little mist with a water-based cleaner; just make sure to avoid using strong chemicals.
Step Three: Polishing
After you are done with sanding, use a Magic Eraser to give your tires a nice finish. If you do, you will see them transform from rough and dull to smooth and shiny—just like magic. However, remember not to get carried away, remember, our goal here is to achieve grip, not to make them shiny.
Step Four: Cleaning Your Tires
If you are dealing with used tires, it is really important to clean them up well before you glue them. Go for a gentle method using a water-based cleaner or isopropyl alcohol and a soft cloth or sponge. Mix the mild cleaner with water and put it on the tire's surface. Gently rub it in to get rid of any dirt or leftover stuff, then rinse the tires really well with clean water. After that, you can either pat them dry or just let them dry on their own.
Tip: You can use an empty spray bottle to put the cleaning solution on the tire surface for even application.
Step Five: Gluing Your Tires
After polishing your brand new tires and giving your used tires a good clean. It is now time to talk about tire gluing. Here is what you need to do:
For this step, use tire glue with a needle cap for precise application. Then, apply a small amount of glue to the inside of the tire's bead (the part that contacts the rim), you need just enough to make a strong bond. After that, roll the tire gently to spread the glue evenly around the bead's edge while making sure it covers everything. Ideally, you want the adhesive to reach a tacky consistency.
Tip: If you want your glue to dry faster, you can use a glue activator like Zap kicker to speed things up a bit.
(Optional) Step Six: Warm It Up
Okay, we are almost ready to start racing! But before we do that, let us talk about tire warming first. Think of it as doing warm-up exercises before a big game. To do it, you need to gently heat up your tires to just the right temperature (around 40 degrees Celsius).
This will ensure that your tires will give you good grip right from the beginning. No more waiting for your tires to warm up during the race; if you warm them up beforehand, you will get that top performance right from the start.
Watch and learn from the pros!
Still a bit confused? Watch Brett as he walks you through the process on how to clean off your RC buggy shocks in our video down below. If you really want to jog your memory, Brett and BJ’s instructions will surely do the trick.
There you have it! Proper maintenance will ensure that your buggy will perform its best and be the best until its last race, so be diligent because your effort will definitely not go to waste.
What do you want us to make a tutorial on next? Feel free to message us with your ideas!
Also, make sure to follow us on Facebook, Instagram, Twitter, and Twitch!