
Masking tape is a simple yet essential tool that many modellers always keep on hand. In this blog, we’ll be discussing the different varieties and how they are used. We will also be talking about the handy tape dispenser and give you some tips and tricks on how to use it.
Summary
- Masking Tape: An Introduction
- Types of TAMIYA Masking Tape
- How to use TAMIYA Masking Tape Dispenser (Step-by-Step Instructions)
- Watch and learn by following our video
Masking Tape: An Introduction
In 1925, Richard Drew, a 3M employee, observed auto-body workers having a hard time removing the butcher paper they had applied to car surfaces before painting over them. Because of the butcher paper's strong adhesion, some of the paint often came with it when it was being removed, damaging the paint job. After noticing this, Drew got the idea to create a tape with a milder adhesive that can be removed with little effort. As a result, masking tape was created.
Nowadays, masking tape, or "Painter’s tape," is a must-have when painting or doing projects of a similar nature. It comes in many different sizes, with varying thickness and length, giving plenty of choices to pick from. Standard making tapes typically come in two layers, the first of which is a thin, easily ripped crepe paper base, and the second one being a thin layer of adhesive. The mild adhesive makes it easier to peel off the tape after its use, and its crepe paper base makes it convenient to tear even without the use of scissors or a sharp object.
Due to its practicality, scale modellers often use masking tape when painting their projects, and it is still widely used today. Masking tape is an excellent tool for protecting areas that need to be covered so they won't be painted over. It is also especially helpful when working with smaller models because it comes in a variety of sizes that you can choose from depending on what you'll be using it for. TAMIYA Masking Tape is a great example of this!
Types of Masking Tape
In its most basic form, masking tape is a tool that is used to cover specific areas when painting.
TAMIYA masking tape is the standard for great modelling masking tape; it comes in a very convenient dispenser and is a crepe-based low-tech tape that is available in many scales that can be used for a variety of tasks. There are a lot of different types out there, but these are the ones that TAMIYA has to offer:
Basics:
- TAMIYA Masking Tape 1mm
- TAMIYA Masking Tape 2mm
- TAMIYA Masking Tape 3mm
- TAMIYA Masking Tape 6mm
- TAMIYA Masking Tape 10mm
- TAMIYA Masking Tape 18mm
- TAMIYA Masking Tape 40mm
Basics with dispensers:
For Curves:
- TAMIYA Masking Tape for Curves 2mm
- TAMIYA Masking Tape for Curves 3mm
- TAMIYA Masking Tape for Curves 5mm
- TAMIYA Masking Tape for Curves 12mm
Masking Tape with Plastic Sheeting:
A Step-by-Step Guide On Using The TAMIYA Tape Dispenser
Tape dispensers are handy tools used to hold rolls of tape that have “teeth” on one end to cut the tape.
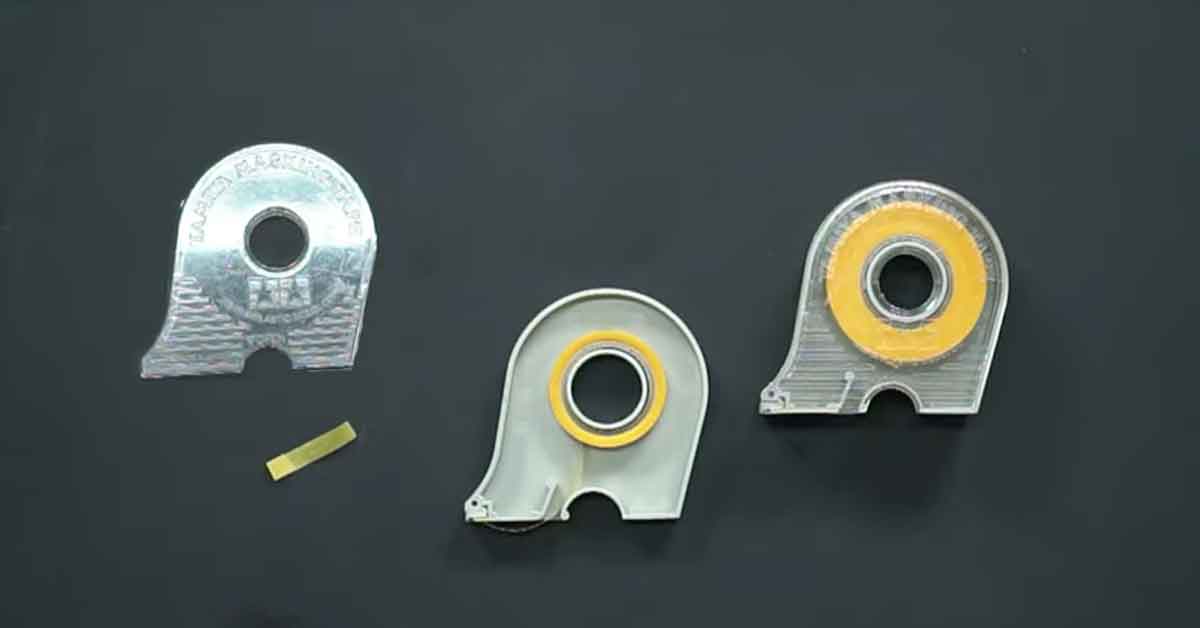
The TAMIYA Tape Dispenser is a portable tool that’s convenient to use and easy to store. It comes with a roll of TAMIYA Masking Tape in the corresponding tape sizes: 6 millimetres, 10 millimetres, and 18 millimetres. When you already have a dispenser on hand, you can just buy refills. Refills are quite cost-effective, not to mention environmentally friendly.
How To Use Tamiya Tape Dispenser
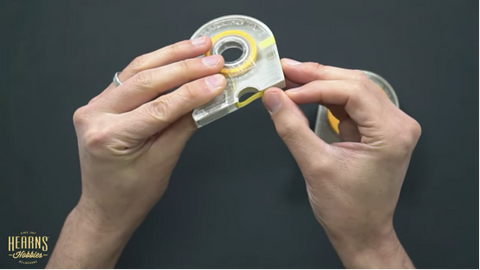
Step One:
Take off the clear housing cover. Be careful with this step, as you can accidentally ruin the dispenser’s teeth or lose them, which will render the tape dispenser useless.
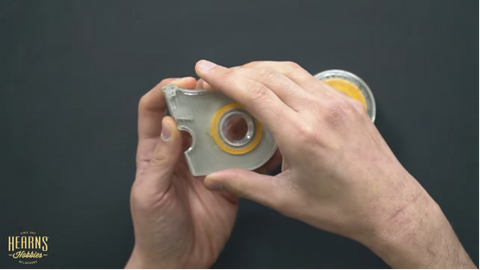
Step Two:
After removing the cover, position the tape on the dispenser so that the adhesive is at the bottom and the smooth section is on top.
For new ones, find the tab you can use to locate the end of the tape and position it properly. Remember, the adhesive is at the bottom and the smooth section on top.
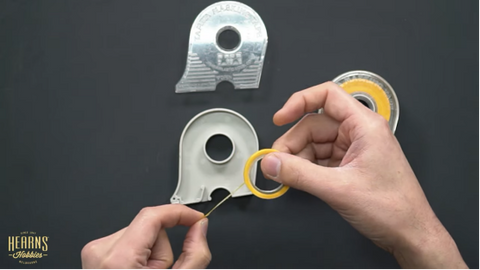
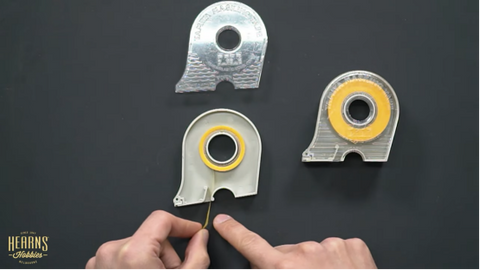
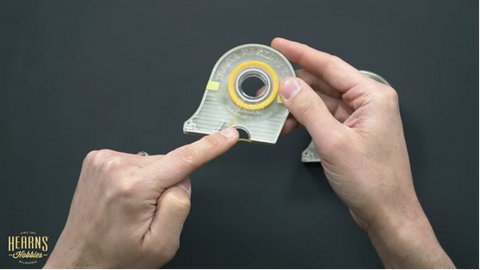
Step Three:
Take the end strips of the tape and place them in the gap at the bottom of the dispenser. Doing this will ensure that it’s going to come out smoothly without being stuck or tangled, so you’ll be able to pull it up easily against the teeth and cut it like so.
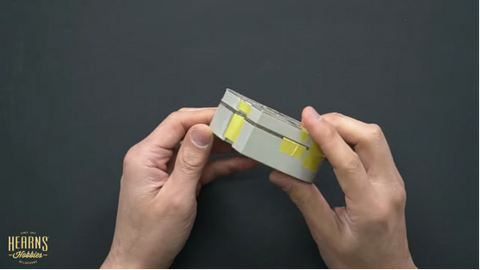
Step Four:
After making sure that the tape is placed properly, you can then put the cover back on and place tape on both sides of the dispenser to make sure that the cover is secure.

Step Five:
Another great design feature of this dispenser is that it prevents the exposure of the tape’s adhesive side. Simply fold it back toward the other side of the dispenser and this will prevent the tape from collecting dust or shavings that can make it unusable.
Step Six:
The dispenser has a gap that is big enough to be used as a way to get a hold of the tape. Simply place your fingers through the gap and the tape will come off easily. For this step, we will also be marvelling at the TAMIYA Tape Dispenser’s design and great portability.
Step Seven:
For convenient storage, since they come in identical shapes, you can tape the six, ten, and eighteen millimetre dispensers together.
Check out our shop for more products
Watch and learn!
Still a bit confused? Watch Brett as he demonstrates how to use a TAMIYA Tape Dispenser and give you helpful tips and tricks along the way.
What do you want us to review next? Feel free to message us with your ideas!
Also, make sure to follow us on Facebook, Instagram, Twitter, and Twitch!