
Heat shrink tubes are handy additions that can give extra protection to your wires and other components. In this blog, we will teach you different tricks to level up your tubing game and save yourself some time and money. Let’s get right into it!
Summary
- What is a Heat Shrink Tube?
- A Step-by-Step Guide to Using Heat Shrink Tubes
- Tips & Tricks in Using Heat Shrink Tubes
- Watch and Learn!
What is a Heat Shrink Tube?
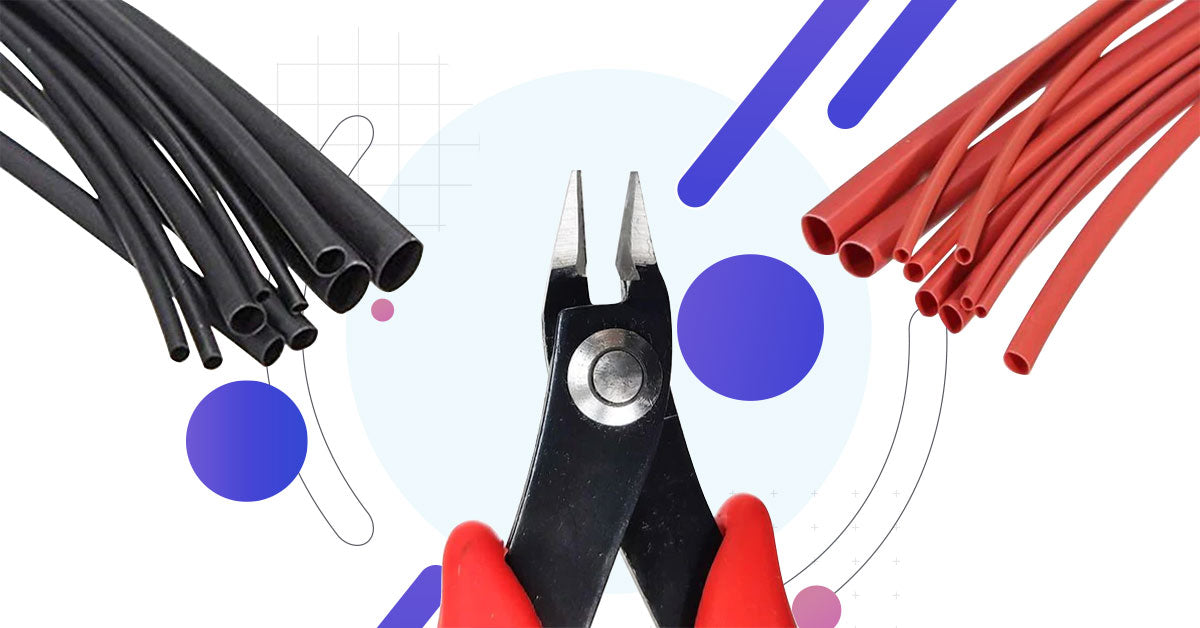
Heat-shrink tubes are hollow tubes that shrink after being heated; after shrinking, they can snugly wrap wires and other components while effectively covering them. They come in different sizes and colors and can be used for connecting, bundling, splicing, and covering exposed parts of a component. These are extremely useful for people who frequently work with electronics, especially in providing peace of mind by ensuring that the components are securely in place and preventing future accidents involving wiring problems.
Why do Wires Need Insulation?
Insulation is essential in preventing accidents involving overheating that can cause a fire; it can serve as a second layer of protection that can prevent the bypass of heat and regulate a component’s temperature. Heat shrink tubes do a great job on this since their hollow inside is an insulator by design, which is quite ironic, especially since they are heat activated.
A Step-by-Step Guide to Using Heat Shrink Tubes
Heat shrinks, like we mentioned before, have a range of uses and can be used in a number of ways. We'll go over how to effectively use heat shrink tubes and give out tips and tricks that will help you with your tubing.
Materials you will need:
- Heat shrink
- Cutter
- Needle nose pliers
How to Use Heat Shrink Tubes
Choosing a Heat Shrink Tube:
Before using a tube, let’s first discuss how to choose one. These tubes come in a range of dimensions; when heated, they typically shrink to half their original size (2:1). So in selecting a heat shrink, you must choose one that smoothly slides over the area you want to cover.
If you do not have one that is the right size, we'll be teaching you some tricks that will help you make do with what you have, but first let’s proceed to the tutorial.
Step 1:
Cut the heat shrink using your cutter, taking into account the size of the component you plan to cover it with; leave room so that your tube won't be too small when it shrinks.
Check out our collection of cutters here
Step 2:
Make sure your component fits snugly inside the heat shrink and that both sides are even.
Step 3:
Heat your tube and watch it cover your component in an instant, like magic.
Tips & Tricks in Using Heat Shrink Tubes
But what if the tube you have does not fit your component? Don't worry, you don’t have to buy a new one because we will be teaching you different tips and tricks that will let you use the tube that you already have, even if it happens to be a bit too small or too big.
Is your tube too big? This simple trick will let you use the big boys you have at home with a few little additions.
Step 1:
Measure the space between your component and the heat shrink tube to see how big it is. Find a wire or another component that you can use to fill the gap after measuring its size and attaching it to your component. You can use anything to fill the gap, but make sure it is something that will slip in easily.
Step 2:
Here comes the tricky part: line up both the component and filler and slide them inside the tube while making sure that the gaps left aren’t too big or too small. If the filler does not fit properly, you can change its size until you are happy with the result.
Step 3:
After making sure that everything is in place, heat up the shrink tube and watch as it fits your component like a glove.
If your tube is too small, buckle up, because we have just the trick for you.
Step 1:
Find a needle-nose plier that will fit inside the opening of the tube. If you're working with a really small heat shrink tube, extra-thin needle nose pliers would work best. But for the typical tubes out there, regular needle-nose pliers will do the trick.
Check out our collection of needle nose pliers here
Step 2:
Fit the pliers into the heat-shrink tube and gently stretch it by opening the pliers gradually. Stretch it a little at a time as you open the pliers. Be careful not to do too much, as this can tear or damage the tube.
Step 3:
Move your needle nose pliers slowly and gently in a circular motion toward the center of the heat shrink tube. Do the same thing on the other end until you eventually manage to widen the center of the tube.
Step 4:
You will see that the heat shrink tube has significantly widened after doing all the steps above. Now you can check whether it fits the component you intend to cover and adjust it however you want to. Don’t worry if the edges are curling; those will be gone after the tube is heated.
Step 5:
Heat the tube and watch how your simple trick transforms a component. Don't forget to give yourself a pat on the back for your efforts!
Check out our collection of knick-knacks here
Watch and learn!
Still a bit confused? Watch BJ as he demonstrates step-by-step how to use heat-shrink tubes. He’ll be giving out tips on using it and teaching you some tricks on how to improve your tubing game.
There you have it! A heat shrink tube isn’t only used for insulating different wires and components; it can also be used for a variety of other purposes. It’s a multi-use tube that will really help you when working around electrical components. Who knows? It might just be the thing that your kit needs right now.
What do you want us to make a tutorial on next? Feel free to message us with your ideas!
Also, make sure to follow us on Facebook, Instagram, Twitter, and Twitch!