
Why Model Thinners Are Essential for High-Quality Painting
Master the art of paint consistency for flawless finishes on every build
Whether you're working on scale models, miniatures, or architectural models, understanding how to properly thin your paints will transform your finished results. And once you get the hang of it, you'll wonder how you ever managed without them.
| Key Takeaways | |
|---|---|
| Primary Purpose | Adjust paint consistency for optimal flow, levelling, and adhesion |
| Key Benefits | Smoother finishes, better detail retention, reduced brush marks, airbrush compatibility |
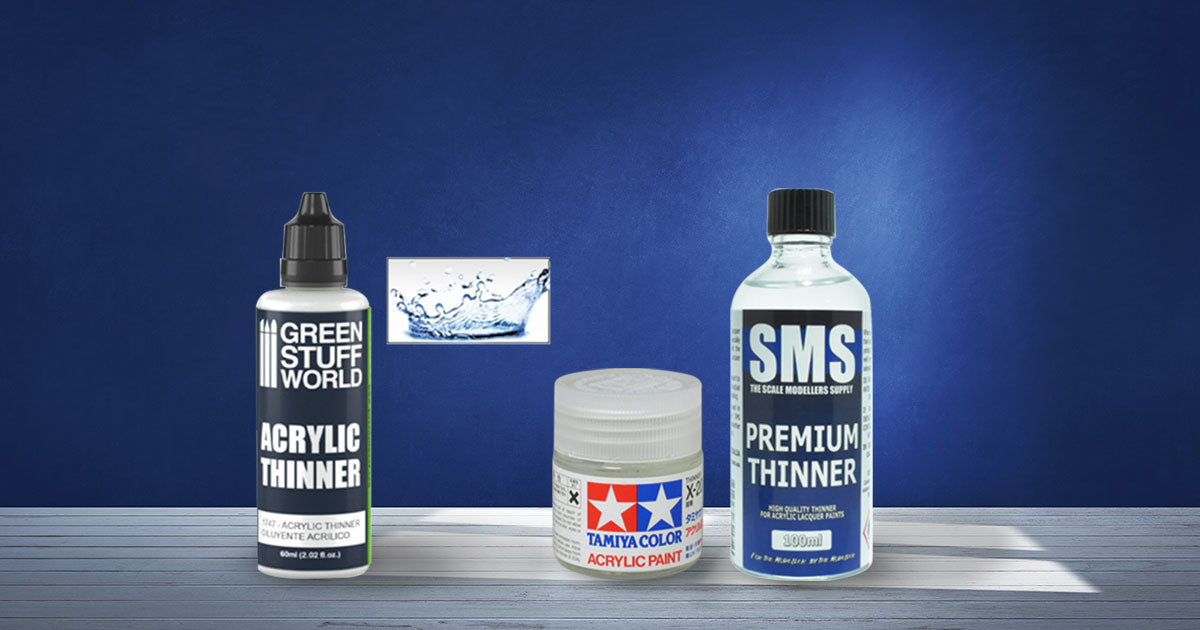
| Main Types | Acrylic (water-based), enamel (solvent-based), lacquer (aggressive solvents) |
| Typical Ratios | 1:1 for brush painting, 1:2 or 1:3 for airbrushing, varies by brand |
| Application Methods | Brush painting, airbrushing, glazing, weathering techniques |
Model Thinners at a Glance
Right, so you've got yourself a lovely new gundam kit or maybe a beautiful aircraft model, and you're thinking about painting it. You grab your acrylic paints, load up your brush, and... well, the paint's a bit thick, isn't it? Goes on like treacle, leaves brush marks everywhere, and generally makes your detailed work look a right mess.
This is where model thinners come into play - and honestly, they're one of those things that separate the casual painters from the folks who get those jaw-dropping finishes you see online. Think of it this way: you wouldn't put neat cordial in a glass and expect it to be pleasant, would you? Paint's much the same - it needs the right consistency to perform properly.
What exactly are model thinners, then? They're specially formulated liquids designed to adjust paint consistency whilst keeping all the good stuff - the pigments, binders, and additives - working together harmoniously. Unlike chucking some water into your Vallejo paints (which works, sort of, but isn't ideal), proper thinners maintain the paint's integrity whilst improving how it flows and levels on your model's surface.
The real magic happens when you start using airbrushes. Try spraying unthinned paint through one of those delicate nozzles and you'll quickly understand why thinners exist - it's like trying to drink a thick shake through a coffee stirrer. Your airbrush will clog faster than a drain in a share house, and you'll spend more time cleaning than painting.
Different paint types need their own specific thinners, too. Your enamel paints won't play nicely with acrylic thinners, and lacquers are in a league of their own entirely. Get this wrong and you'll end up with something that looks like cottage cheese rather than a smooth paint finish.
What Are Model Thinners?
Model thinners are specially formulated liquids designed to adjust the consistency of paint used in scale modelling and miniatures. Unlike plain water or household solvents, proper thinners maintain pigment integrity whilst improving flow, levelling, and adhesion. They're essential for achieving precision—especially when working with airbrushes or applying multiple thin coats on finely detailed surfaces.
The chemistry behind quality thinners is actually quite fascinating, though you don't need a science degree to use them effectively. Manufacturers like Tamiya and Vallejo spend considerable time formulating thinners that not only reduce viscosity but also enhance the paint's performance characteristics. These aren't just dilutants - they're performance enhancers for your paint collection.

Depending on the paint type—whether you're using acrylics, enamels, or lacquers—different thinners are required to ensure compatibility and performance. Using the wrong thinner can result in clumping, separation, or complete surface failure. I've seen modellers ruin entire Gunpla kits by mixing incompatible products, and it's heartbreaking every time.
The key difference between model thinners and generic solvents lies in their formulation. Quality thinners contain flow improvers, retarders (which slow drying time), and sometimes anti-foaming agents. When you're working on detailed miniatures or intricate aircraft models, these additives make the difference between amateur and professional-looking results.
Why Thinners Matter for Your Models
Thinners aren't just for dilution—they actively improve how paint behaves on your model's surface. The science of surface tension and flow dynamics might sound intimidating, but the practical benefits are immediately apparent once you start using quality thinners with your model paints.
Flow and Levelling: Thinners reduce surface tension, helping paint spread more evenly across plastic or primed surfaces. This is particularly crucial when working with primer or when applying base coats to large areas. Without proper thinning, paint tends to sit on the surface rather than flowing into the microscopic texture of the material.
Detail Retention: Thin paint clings lightly to detail rather than pooling or burying surface texture—ideal for scale models with engraved panel lines or raised details. Thick paint acts like a liquid blanket, obscuring the very details you want to highlight.

Controlled Drying: Especially with Tamiya acrylics and Vallejo mediums, proprietary thinners offer better drying times for layer blending and edge highlighting. This controlled drying prevents the dreaded "orange peel" texture that occurs when paint dries too quickly.
High-end modellers prefer thinners not just for effect—but for consistency. When you're working on a competition-level diorama or a showcase military model, every coat needs to perform identically. Properly thinned paint results in fewer brush strokes, smoother finishes, and greater visual impact that'll make your mates wonder how you managed such professional results.
The working time extension that quality thinners provide cannot be overstated. When applying washes or glazes using weathering products, you need time to manipulate the paint before it sets. Generic thinners often evaporate too quickly, leaving you with patchy, uneven coverage.
Choosing the Right Thinner for Your Paint System
Here's where many modellers get themselves into trouble - assuming all thinners are created equal. The compatibility between your paint and thinner isn't just important, it's absolutely critical for success. Get this wrong and you'll be stripping paint rather than applying it.
| Paint Type | Recommended Thinner | Best Applications | Browse Options |
|---|---|---|---|
| Acrylic | Water-based acrylic thinner (Tamiya X-20A, Vallejo Airbrush Thinner) | General painting, airbrushing, weathering | View Acrylics |
| Enamel | Mineral spirits or Humbrol Enamel Thinner | Detail painting, panel lining, washes | View Enamels |
| Lacquer | Strong volatile thinner (Tamiya Lacquer Thinner) | Base coats, primer, automotive finishes | View Lacquers |
Acrylic thinners are the most beginner-friendly option. They're water-based, have minimal odour, and work brilliantly with the vast majority of hobby paints available today. Most Citadel paints and Vallejo Game Color respond beautifully to their respective brand thinners, though cross-compatibility is generally good within the acrylic family.
Enamel thinners pack more punch and require better ventilation. They're slower-drying, which makes them perfect for blending and weathering effects on military vehicles or ships. The extended working time allows for sophisticated techniques like pin washes and realistic rust effects.

Lacquer thinners are the heavy-duty option. They're aggressive, fast-drying, and create incredibly durable finishes. If you're serious about automotive scale models or want that glass-smooth finish on your custom builds, lacquers thinned properly will give you results that rival commercial paint jobs.
Choosing the right thinner for your paint system is crucial. Browse our full thinners collection to get compatible solutions that'll work harmoniously with your existing paint supplies. Don't mix and match randomly - compatibility charts exist for good reason.
How to Use Thinners Correctly
Getting the ratio right is part science, part art, and entirely dependent on what you're trying to achieve. There's no universal "correct" ratio because different techniques require different consistencies. However, there are some reliable starting points that'll save you from making costly mistakes on your prized collector models.
Start with a 1:1 ratio of paint to thinner for general brush painting, then adjust based on the effect you're aiming for. This ratio works well for most acrylic hobby paints and gives you a consistency that flows nicely without being too runny. For glazes and weathering washes, you might push this to 1:3 or even 1:4, but that's advanced territory.
Mix thoroughly—inconsistent blends cause clogging in airbrushes or streaks in brushwork. I use a cocktail stick for small amounts or invest in proper mixing tools for larger batches. The paint and thinner should be completely homogeneous before application.
Apply in layers—thin coats dry faster and build up smoother, more even colour. This is particularly important when painting white metal miniatures or working with light colours over dark primers. Two thin coats always beat one thick coat.

Test on scrap plastic before applying directly to your model. Every combination of paint, thinner, and surface behaves slightly differently. Keep some spare plastic sheets or failed kit parts for testing. This simple step prevents disasters on expensive limited edition kits.
Advanced technique: Temperature matters. Warm thinners flow better and mix more easily, whilst cold thinners can cause the paint to break or separate. Room temperature is usually perfect, but in winter months, letting your paint bottles warm up to room temperature before mixing can prevent frustrating compatibility issues.
Storage and mixing: Always use a mixing cup or palette rather than pre-thinning paint in the original containers. Pre-thinning paint in jars can cause premature ageing and pigment separation. Those little mixing cups might seem like an unnecessary expense, but they'll save you money in the long run by preventing waste.
For airbrush work, strain your thinned paint through a fine mesh or old stocking material. Even tiny particles can clog your airbrush's delicate internals, leading to expensive repairs or replacement of airbrush parts.
Common Mistakes to Avoid
Even experienced modellers can fall into these traps, and beginners almost always make at least one of these errors during their learning journey. Learning from others' mistakes is cheaper than ruining your own premium model kits.
Over-thinning: Paint turns translucent or fails to adhere properly. This is particularly problematic with metallic paints where the metal flakes need sufficient binder to stay suspended. Avoid exceeding a 1:3 ratio unless you're specifically doing glazes or washes. Over-thinned paint often requires multiple coats to achieve proper coverage, negating the time-saving benefits.
Wrong thinner: Using enamel thinner in acrylics equals instant paint shock - the paint will curdle, separate, or become grainy. Always use the correct thinner for your paint type. This seems obvious, but it's easy to grab the wrong bottle when you're in the zone painting your latest project.
Skipping primer: Without a properly primed surface, thinned paint beads up or flakes off. This is especially problematic on smooth plastic surfaces or metal miniatures. Always prime your models first using quality primer products. The primer creates a uniform surface that accepts thinned paint consistently.
Mixing incompatible brands: Whilst most acrylics play nicely together, mixing Vallejo thinners with Citadel paints or vice versa can sometimes cause unexpected reactions. When in doubt, stick with matching brand systems or test thoroughly first.
Poor workspace ventilation: Even water-based thinners can cause headaches in poorly ventilated spaces. Enamel and lacquer thinners require proper ventilation and may need respiratory protection. Don't underestimate the importance of a safe working environment.
Not accounting for humidity: High humidity can prevent thinned paint from drying properly, leading to a tacky finish that never fully cures. Low humidity can cause paint to dry too quickly, preventing proper flow and levelling. Australian weather can be particularly challenging - adjust your thinning ratios based on conditions.
Explore our paint and surface preparation range to make sure you're starting with the right foundation. Remember, successful model painting is about building good habits and understanding your materials rather than rushing through the process.
Frequently Asked Questions
Can I use water instead of acrylic thinner?
You can use water to thin acrylic paints in a pinch, but it's not ideal. Water can cause the paint to break down or become chalky, particularly with metallics. Proper acrylic thinners contain flow improvers and retarders that maintain paint integrity whilst improving performance. For best results, stick with brand-matched thinners like Tamiya X-20A or Vallejo Airbrush Thinner.
What's the best thinner ratio for airbrushing?
For airbrushing, start with a 1:2 ratio (paint to thinner) and adjust based on your airbrush and desired coverage. Basecoats typically need 1:1 or 1:2, whilst detail work might require 1:3 or thinner. Always test on scrap plastic first - the paint should flow like milk when properly thinned for airbrushing.
How long does thinned paint last once mixed?
Thinned paint should be used within a few hours of mixing, particularly acrylics which dry quickly. Don't pre-thin paint in original containers as this can cause premature ageing. Mix only what you need in small mixing cups and dispose of leftovers responsibly.
Can I mix different brands of thinners?
Generally, it's best to stick with matching paint and thinner brands. Whilst most acrylic thinners are compatible, mixing different formulations can sometimes cause unexpected reactions. When in doubt, test on scrap material first or browse our paint systems to find compatible products.
Why does my thinned paint look chalky or grainy?
Chalky or grainy finishes usually indicate over-thinning, wrong thinner type, or poor surface preparation. Check you're using the correct thinner for your paint type, reduce the thinning ratio, and ensure your model is properly primed with quality primer. Temperature and humidity can also affect how paint dries and appears.
Conclusion
Right, there you have it - everything you need to know about thinners to transform your model painting from amateur hour to something that'll make your mates properly jealous. The difference between slapping on thick paint and using properly thinned coats is like the difference between a house painting job and fine art - one looks rushed, the other looks professional.
The key takeaway here is that thinners aren't just about making paint runnier - they're about unlocking the full potential of your paint collection. Whether you're working on a detailed Gunpla build, weathering a military vehicle, or adding finishing touches to your latest miniature project, the right thinner used correctly will elevate your work from good to bloody brilliant.
Remember, this isn't about spending more money on fancy products - it's about understanding your materials and using them properly. Start with the basics: match your thinner to your paint type, test ratios on scrap material, and build up thin layers rather than trying to get coverage in one thick coat. These fundamentals will serve you well whether you're painting your first scale model or your hundredth.
Final Thoughts:
Don't be afraid to experiment once you've got the basics down. Some of the most stunning finishes come from pushing boundaries and trying new techniques. But always test first, keep your workspace ventilated, and remember - patience beats rushing every single time. Your models deserve the extra effort, and your future self will thank you for learning these skills properly from the start.