
How to Solder Your Own RC Electronics Like a Pro
Transform your RC builds with precision soldering techniques that deliver performance and reliability
Good soldering isn't some mystical art that takes years to master—it's a practical skill that transforms your RC experience from day one. Whether you're building your first brushless combo or maintaining a fleet of competition rigs, knowing how to create solid, low-resistance connections is what separates casual hobbyists from serious enthusiasts.
Think about it: every electron flowing from your LiPo battery to your motor passes through those solder joints. Poor connections create heat, reduce efficiency, and can leave you stranded trackside with a failed joint right when you need reliability most. That's not just frustrating—it's expensive when you're replacing burnt ESCs or dealing with fire hazards from overheated connections.
But here's the thing: once you understand the fundamentals, soldering becomes second nature. The smell of flux, the satisfying flow of molten solder around clean wire, the confidence of knowing your connections will handle whatever punishment you dish out—it becomes part of the ritual that makes RC so rewarding.
| Key Takeaways: RC Soldering Essentials | |
|---|---|
| Why Soldering Matters | Creates reliable connections for brushless motors, ESCs, and battery leads that handle high current without resistance |
| Essential Tools | 70-100W adjustable iron, 60/40 rosin-core solder, flux, and proper soldering tools for clean joints |
| Common Applications | Motor leads, battery connectors, sensor cables, and field repairs |
| Success Factors | Proper heat control, clean surfaces, flux application, and steady hands with helping tools |
| Time Investment | 15-30 minutes per connection when starting, 2-5 minutes per joint with experience |
| Cost Consideration | Initial tool investment of $50-150 pays for itself through reliable connections and field repairs |
Before You Start:
This guide assumes you're working with standard RC components like brushless motors, speed controllers, and battery connectors. We'll cover safety, tools, techniques, and troubleshooting—everything you need to solder like a pro without the learning curve that comes from trial and error.
Why Soldering Matters in RC Performance
Soldering isn't just another skill you might pick up someday—it's the foundation that separates reliable RC rigs from temperamental disappointments. Every brushless motor spinning at 30,000 RPM, every ESC pushing hundreds of amps, every LiPo battery delivering peak power depends on those tiny solder joints you create.
Think about what happens during a hard acceleration run. Your speed controller might be pushing 200+ amps through connections no thicker than your fingernail. Poor solder joints create resistance, resistance creates heat, and heat kills expensive electronics faster than you can say "thermal runaway." That's not just theory—it's physics working against your wallet.
But here's where it gets interesting: proper soldering actually improves your rig's performance beyond just preventing failures. Clean, low-resistance joints mean your brushless combo runs cooler, your batteries last longer, and your motor delivers its full rated power instead of losing watts to dodgy connections. It's like the difference between drinking through a garden hose versus a coffee stirrer—the power's there, but can it actually flow?

And then there's the customisation angle. Want to run sensor cables in a specific length? Need to repair a broken wire on your servo extension? Planning to upgrade your battery connectors to handle more current? Without soldering skills, you're stuck with whatever manufacturers decide to make, or you're paying someone else to do basic modifications that take minutes once you know how.
Essential Tools & Materials for RC Soldering
Getting your toolkit sorted is half the battle won. You don't need to spend a fortune, but cheap tools will frustrate you and potentially damage expensive components. Here's what actually matters:
| Tool | Recommended Specs | Why It Matters |
|---|---|---|
| Soldering Iron | 70-100W, adjustable temp, min 400°C capability | Large wire gauges need serious heat to avoid cold joints |
| Solder Wire | 60/40 rosin-core, 0.8mm for power, 0.5mm for signals | Rosin flux built-in, different sizes for different applications |
| Flux Paste | Non-corrosive, paste or pen type | Makes solder flow properly and bonds stronger |
| Helping Hands | Adjustable clips with stable base | You need three hands for good soldering—this gives you them |
| Wire Strippers | Self-adjusting or gauge-specific | Clean cuts without nicking wire strands |
The iron is your most critical tool. Those $15 pencil irons from the hardware store? They're fine for electronics repair, but RC power connections need serious heat. When you're soldering 10AWG wire to XT90 connectors, you need an iron that can maintain temperature even when it's heating up thick copper conductors.
Solder selection matters more than most people realise. The 60/40 lead-tin blend flows beautifully and creates strong joints, while the rosin core provides flux as you work. Some people prefer 63/37 for its slightly lower melting point, but honestly, either works fine for RC applications. What doesn't work is that lead-free stuff that flows like cold honey and looks grey instead of shiny when it cools.
You can find quality soldering tools and electrical accessories that won't let you down when you're working on expensive brushless systems.
Preparation Techniques That Actually Work
Most soldering failures happen before you even plug in the iron. Preparation isn't glamorous, but it's what separates joints that last years from ones that fail after the first hard run.
Start with your workspace. You need good lighting—not just overhead room lights, but focused light that shows you exactly what's happening at the joint. A magnifying lamp helps, especially when you're dealing with tiny sensor wires or trying to solder servo connectors without melting the plastic housings.

Your iron tip needs to be clean and tinned before you start. Not just wiped off—properly cleaned with a brass wire brush or damp sponge, then immediately coated with fresh solder. A oxidised tip won't transfer heat properly, and you'll end up overheating everything trying to get joints to flow.
Wire preparation is where beginners usually mess up. Strip just enough insulation—about 3-4mm for most battery leads and connector work. Too much exposed wire creates shorts, too little doesn't give you enough surface area for a strong joint. Twist the strands together lightly, then tin them with a thin coat of solder. This prevents individual strands from wandering during assembly and makes the final joint much cleaner.
Pre-tinning isn't optional—it's essential. Both surfaces getting joined should have a thin, even coating of solder before you attempt to connect them. This technique, called "tinning," creates much stronger joints and prevents the dreaded "cold joint" that looks connected but has high resistance and will fail under load.
Battery Connector Installation & Power Leads
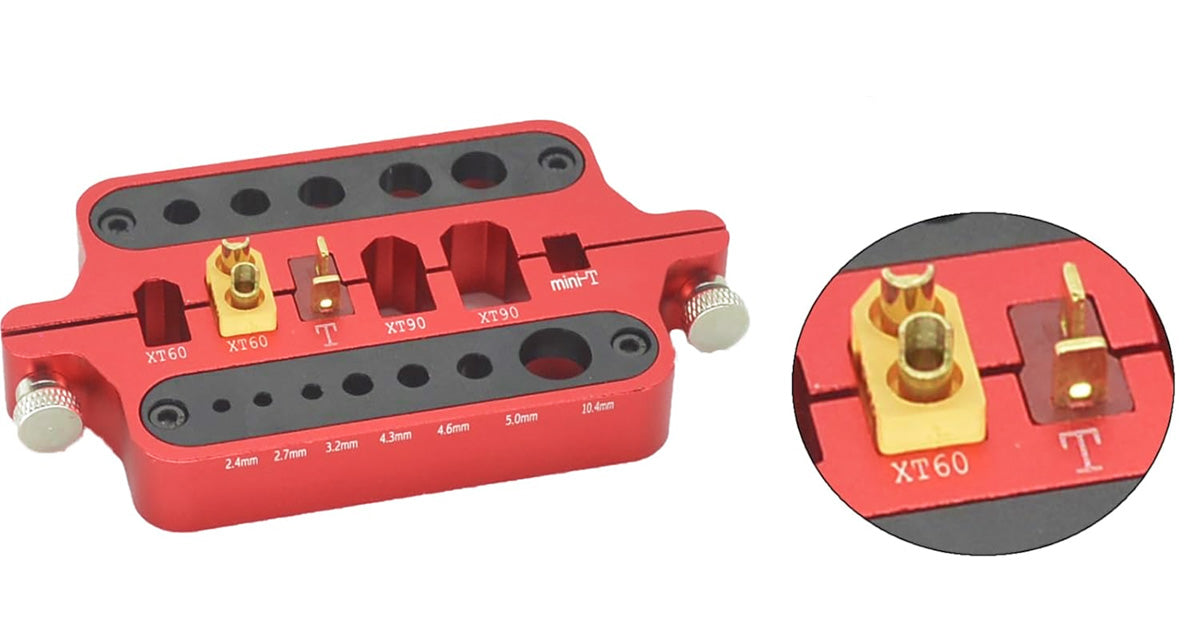
Battery connections are where most RC enthusiasts first encounter serious soldering challenges. XT60 connectors might look simple, but they're designed to handle 60+ amps continuously, and that requires joints that can carry serious current without heating up.
Start by choosing the right connector for your application. XT30 plugs work fine for smaller setups, but if you're running high-current ESCs or multiple LiPo packs in parallel, step up to XT60 or XT90 connectors. The connector housing can handle the current—the question is whether your solder joint can.
Here's the critical safety point: always solder one terminal at a time. Cover the completed terminal with heat shrink or electrical tape before starting the second one. Accidental shorts during soldering can weld your iron tip to the connector, destroy your iron, or worse—cause a battery fire if you're working with connected packs.
The technique is straightforward but requires good heat management. Pre-tin both the wire and the connector terminal. Slide heat shrink tubing onto the wire before you start (asking how many people forget this step until after the joint is done). Position the tinned wire in the connector cup, apply flux, then heat both the wire and connector simultaneously while feeding in just enough additional solder to fill any gaps.
| Connector Type | Current Rating | Best Applications |
|---|---|---|
| XT30 | 30A continuous | Small planes, micro helis, 1/18 scale cars |
| XT60 | 60A continuous | Most 1/10 scale cars, 3D helis, sport planes |
| XT90 | 90A continuous | High-power setups, parallel charging, large scale |
| Deans/T-Plug | 40A continuous | Older standard, still popular for racing |
Motor & ESC Connection Techniques
Brushless motor connections present unique challenges because you're dealing with both high current and precise timing. Those three thick motor wires carry the power, while the thin sensor cable (if your setup uses sensors) provides timing feedback to the ESC.
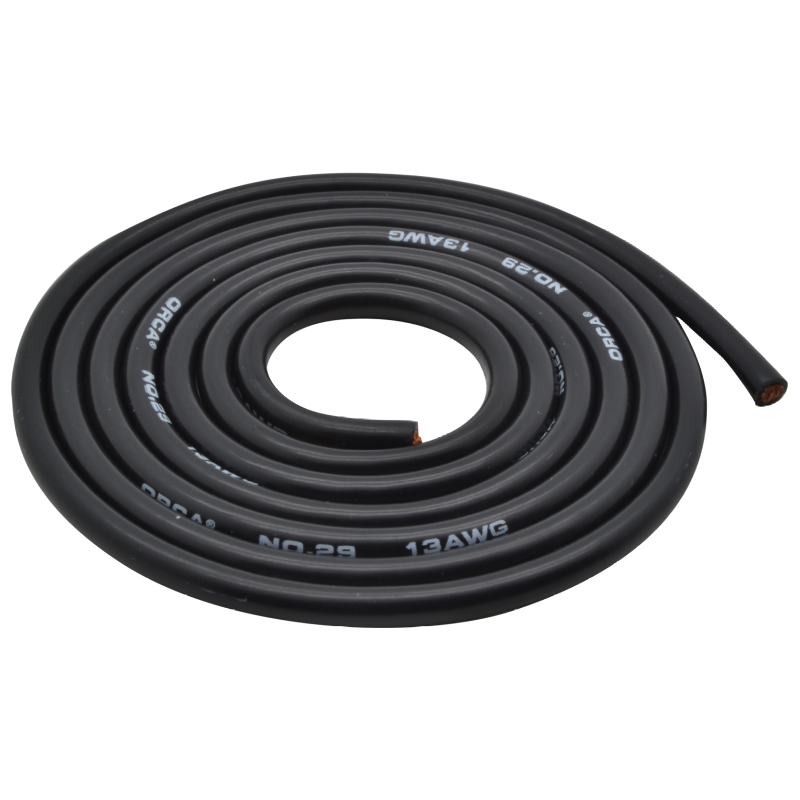
Motor wire connections need to be bulletproof because they're constantly flexing as the motor moves with suspension travel or aircraft control surfaces. Use silicone-insulated wire whenever possible—it stays flexible in cold weather and handles vibration better than PVC insulation. The extra cost is worth it when you're not doing roadside repairs.
For most applications, you'll be connecting 12-14 AWG wire between your speed controller and motor. These wires are thick enough that they act as heat sinks, drawing heat away from your iron tip faster than small wires. This is where having a proper high-wattage iron becomes critical—you need enough thermal mass to heat both parts of the joint simultaneously.
The motor phase sequence doesn't matter for initial installation—if the motor spins backwards, simply swap any two of the three motor wires. This is much easier than trying to figure out which wire goes where before you test the setup. Just make sure all three connections are solid before you power up for the first time.
Sensor cables require delicate handling because the wires are much smaller and the plastic connectors melt easily. Use a fine-tip iron at lower temperatures, work quickly, and always support the connector housing with pliers or helping hands to prevent stress on the plastic.
Field Repair & Maintenance Soldering
Race day repairs are where your soldering skills really pay off. When you've got 30 seconds between heats to fix a broken servo lead or replace a damaged battery connector, there's no time for fancy setups or perfect working conditions.
Your field kit should be compact but capable. A battery-powered iron is worth its weight in gold for trackside repairs—no need to find power outlets or carry extension cords. Keep a small tube of flux paste, several sizes of heat shrink tubing, and pre-tinned repair wire in your pit box. These items take up almost no space but can save a day's racing when something breaks.
The techniques are the same as workshop soldering, but everything happens faster and under pressure. Pre-tin everything you can at home. Keep spare connectors and sensor cables already prepared with tinned leads so you can quickly splice them into damaged systems.
Common field repairs include broken servo extensions, damaged ESC wires, and worn battery leads. Having pre-made repair sections of different lengths saves precious time when you're trying to get back on track.
Troubleshooting Common Soldering Problems
Even experienced builders encounter issues, and knowing how to diagnose and fix problems quickly separates successful RC enthusiasts from frustrated ones. Most problems fall into a few predictable categories, each with specific solutions.
| Problem | Symptoms | Solution |
|---|---|---|
| Cold Joint | Dull grey appearance, high resistance, fails under load | Reheat until solder flows smoothly, ensure both parts reach proper temperature |
| Solder Bridge | Unwanted connection between adjacent points | Use desoldering braid to remove excess, apply flux for cleaner flow |
| Poor Wetting | Solder forms balls instead of flowing smoothly | Clean surfaces thoroughly, use more flux, increase temperature slightly |
| Overheated Joint | Discoloured insulation, brittle solder, oxidised appearance | Work faster, use higher wattage iron for quicker heating, pre-tin components |
Cold joints are the most dangerous problem because they look connected but create high resistance. When current flows through resistance, it creates heat—and heat in electrical connections can cause fires. These joints typically fail gradually, creating intermittent problems that are hard to diagnose until they fail completely during a critical moment.
The key to avoiding cold joints is ensuring both parts of the connection reach proper soldering temperature simultaneously. This is why pre-tinning is so important—it reduces the time needed for the final joint formation and ensures good thermal contact between all surfaces.
Pro Tip for Consistent Results:
Keep a soldering log of your iron's temperature settings for different applications. Motor leads need more heat than sensor cables, and battery connectors require different techniques than servo plugs. Writing down what works saves time and prevents expensive mistakes.
Advanced Techniques for Professional Results
Once you've mastered the basics, several advanced techniques can take your soldering to professional levels. These methods require more time and precision but create connections that rival factory-built assemblies.
Heat management becomes critical when working with temperature-sensitive components like servo connectors or delicate sensor cables. Use heat sinks—small alligator clips attached to the wire—to draw heat away from sensitive areas. This prevents damage to plastic housings and maintains proper insulation properties.
Consider upgrading your wire when building high-performance systems. Standard ESC wires are adequate for stock applications, but competition setups benefit from larger gauge conductors with better insulation. The voltage drop across thinner wires becomes significant at high currents, reducing power delivery and creating unnecessary heat.
Professional builders often create custom sensor cables and servo extensions to exact lengths, eliminating excess wire that creates clutter and potential failure points. This requires careful measurement and planning, but the results are worth the effort in terms of both performance and appearance.
Frequently Asked Questions
What temperature should I set my soldering iron for RC work?
For most RC applications, 350-380°C works well. Battery connector work needs the higher end of this range due to thick wire gauges, while sensor cables require lower temperatures around 320-340°C to prevent melting delicate plastic housings. Your iron should recover temperature quickly when touching large conductors—if it doesn't, increase the setting rather than holding heat longer.
Can I use lead-free solder for RC electronics?
While lead-free solder works, it's more difficult to use and creates less reliable joints for high-current applications. The 60/40 lead-tin blend flows better, wets surfaces more completely, and creates stronger mechanical bonds. Since RC components aren't consumer electronics that require RoHS compliance, stick with traditional leaded solder for better results and fewer frustrations.
How do I know if my solder joint is good?
Good joints have a shiny, smooth appearance with concave fillets where the solder meets the wire and connector. The solder should flow seamlessly between all surfaces without gaps or rough textures. Bad joints look dull, grainy, or have visible gaps. Most importantly, a proper joint should have minimal resistance—you can test this with a multimeter set to measure ohms across the connection.
What's the biggest mistake beginners make when soldering RC components?
Not pre-tinning components before final assembly. Beginners often try to solder untinned wire directly to untinned connectors, which requires too much heat for too long and results in cold joints or damaged components. Pre-tin both the wire and connector terminal separately, then quickly reheat and join them. This technique creates stronger joints and prevents overheating sensitive ESCs or melting connector housings.
Should I use flux, and if so, what type?
Yes, flux is essential for professional results. While rosin-core solder contains flux, adding extra flux paste improves solder flow dramatically and prevents oxidation during heating. Use non-corrosive rosin flux for RC work—avoid acid-based fluxes that can corrode connections over time. Clean flux residue with isopropyl alcohol after soldering to prevent attracting dirt and moisture.
Conclusion: Building Connections That Last
Soldering isn't just another technical skill you add to your RC toolkit—it's the foundation that transforms your relationship with the hobby entirely. When you can create reliable, professional-grade connections between your brushless motors, ESCs, and battery packs, you stop being dependent on whatever manufacturers decide to produce and start building exactly what your applications demand.
The techniques we've covered—proper preparation, heat management, component selection, and troubleshooting—aren't just theoretical knowledge. They're practical skills that pay dividends every time you fire up your rig. That smooth acceleration without voltage sag, the confidence that comes from knowing your connections won't fail mid-race, the satisfaction of fixing problems yourself instead of shipping components back to manufacturers—these are the real rewards of developing solid soldering skills.
Your first few attempts might not look like factory work, and that's completely normal. Focus on creating mechanically and electrically sound connections rather than appearance—the aesthetics improve naturally as your technique develops. What matters most is that your joints can handle the current demands of your brushless systems without creating heat or resistance.
Your Next Steps:
Start with simple projects like installing battery connectors or creating custom-length servo extensions. Build your confidence with low-stakes practice before moving on to expensive motor installations. Keep a soldering journal noting what temperatures and techniques work best for different applications—this becomes invaluable reference material as your skills develop.