

Mr. Hobby Paints, Tools & Accessories – Premium Finishes for Model Builders

Mr Hobby - Paints and Accessories
Mr.Hobby is a subsidiary of GSI Creos (formerly Gunze Sangyo), and is a market leader in Japanese hobby paints, and is one of the preferred brands of choice by professional model-makers and builders world wide.

Frequently Asked Questions
Acrylic paints are water-based, non-toxic, and easy to clean up, making them great for beginners. They dry quickly and have less odor, but can sometimes chip if not sealed properly.
Lacquer paints are solvent-based, very durable, and give a smoother, tougher finish. They dry fast and bond extremely well to plastic, but require good ventilation due to strong fumes and are harder to clean up (solvents needed).
Tip: Use primers compatible with your chosen paint type. Some primers work for both—check the label!
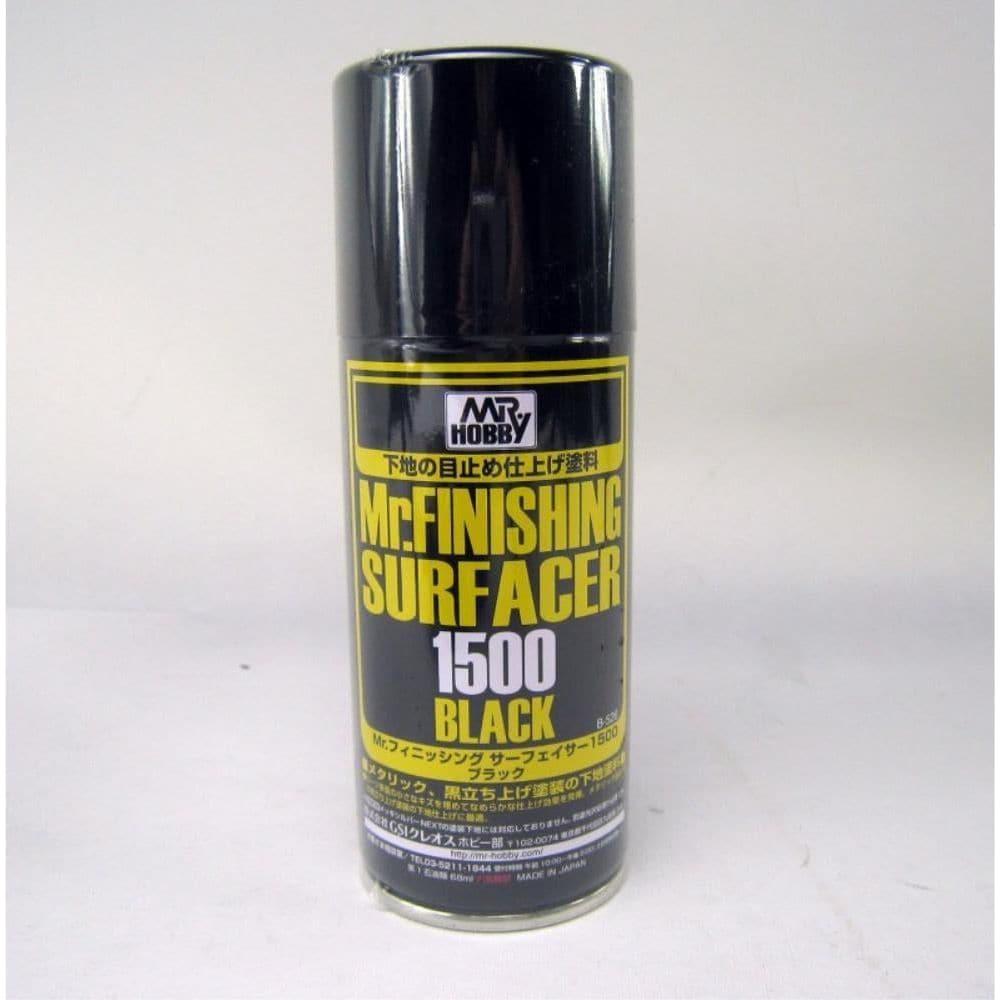
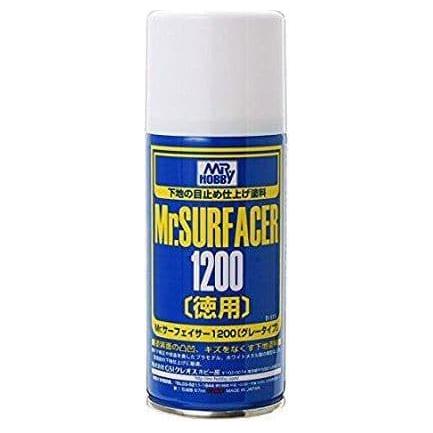
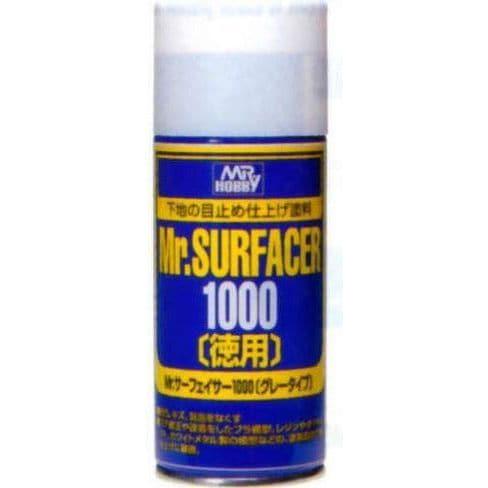
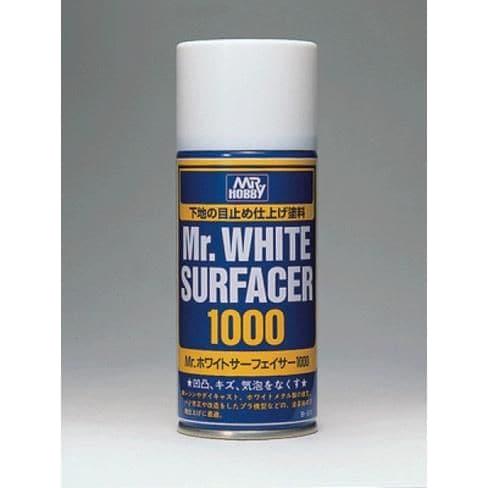
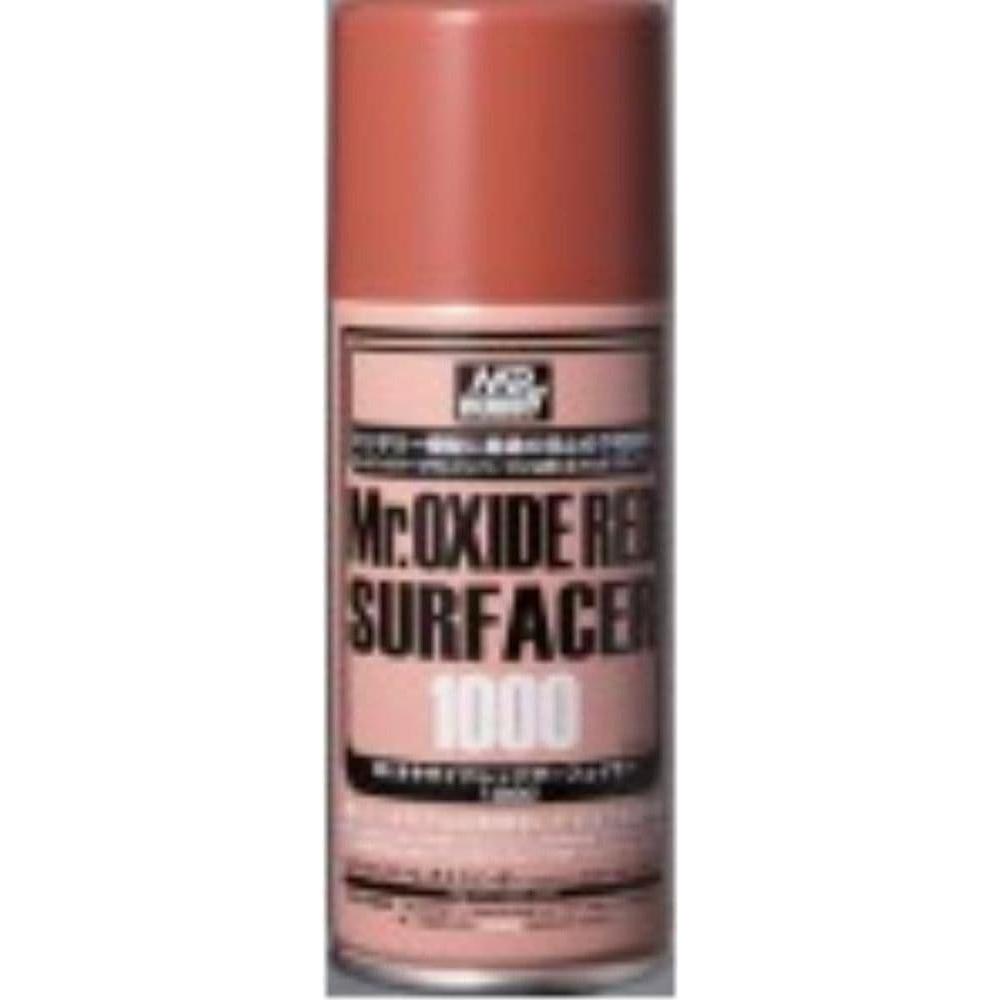
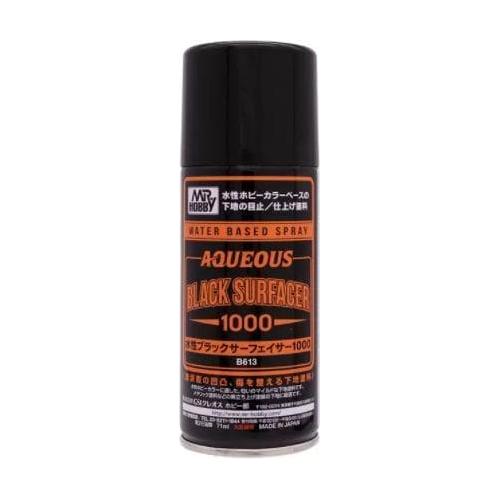
- Aerosol (Spray Cans): Convenient and quick for covering large areas. Great for priming and base coats. Be sure to spray in a well-ventilated area or outdoors.
- Airbrush: Offers the highest control and smoothest finish. Ideal for gradients and detailed work. It has a steeper learning curve and requires maintenance and setup time.
- Hand Painting: Best for small details, touch-ups, and when space or budget is limited. Slower than the other methods and may leave brush marks if not applied carefully.
Choose based on your project size, detail level, and workspace.
Priming is a crucial first step for several reasons:
- Better paint adhesion – helps paint grip the surface
- Smooths out imperfections – fills minor scratches or blemishes
- Reveals surface flaws – shows gaps or rough areas to fix before painting
- Enhances final paint color – gives a consistent base coat
In short: A good primer leads to a better, more durable paint job.
Proper surface prep makes a big difference. Here's a quick checklist:
- Clean the parts – Wash with warm soapy water to remove mold release agents and oils. Rinse and let dry.
- Sand if needed – Light sanding with fine-grit sandpaper helps primer stick better and smooths imperfections.
- Fill gaps – Use modelling putty to fill seams or holes. Sand smooth once cured.
- Handle with care – Avoid touching surfaces with bare hands before priming to prevent oil transfer.
- Dry fit – Test fit pieces to plan assembly and avoid painting hidden areas.
Yes! Not all primers stick equally to all materials.
- Plastic: Most hobby primers work well here.
- Resin: Needs extra cleaning and a primer with strong adhesion.
- Metal: Requires a dedicated metal primer or etching primer for proper bond.
You can, but it’s not recommended. Bare surfaces often cause paint to bead, chip, or peel. Priming first creates a surface that paint can grip more reliably, improving durability and finish.
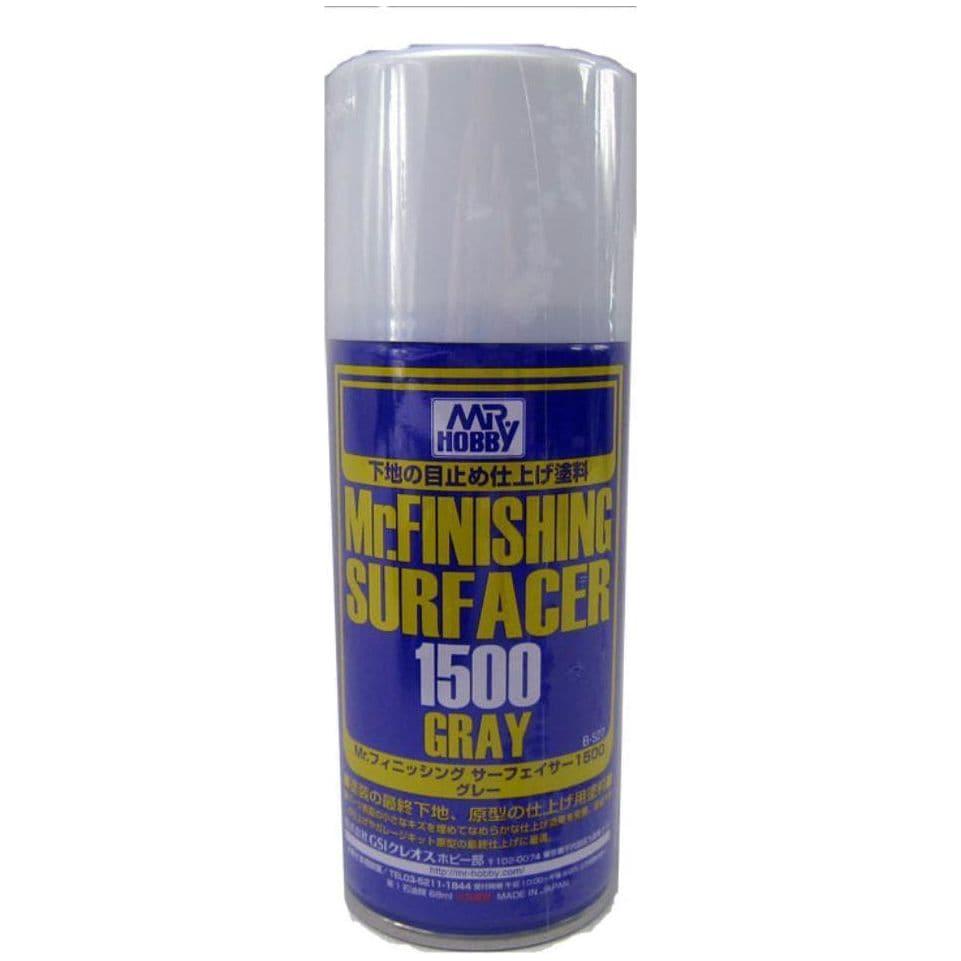
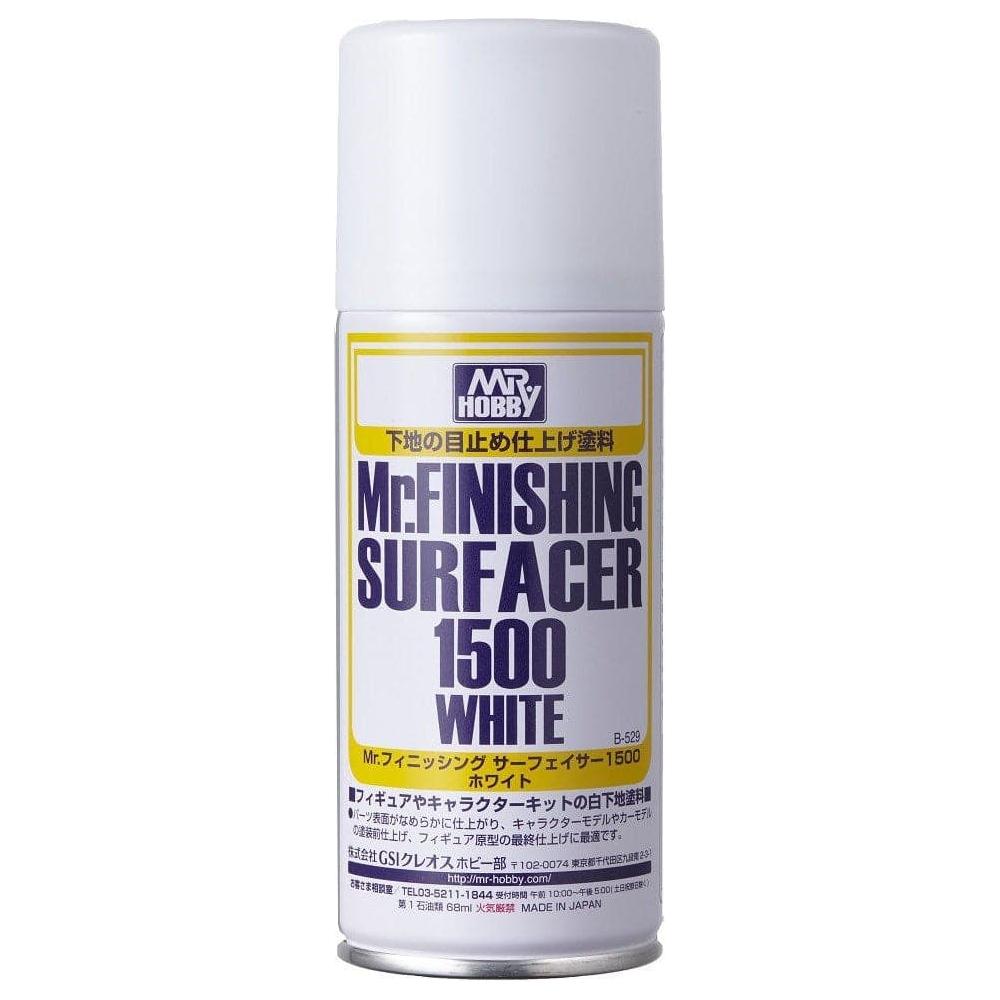
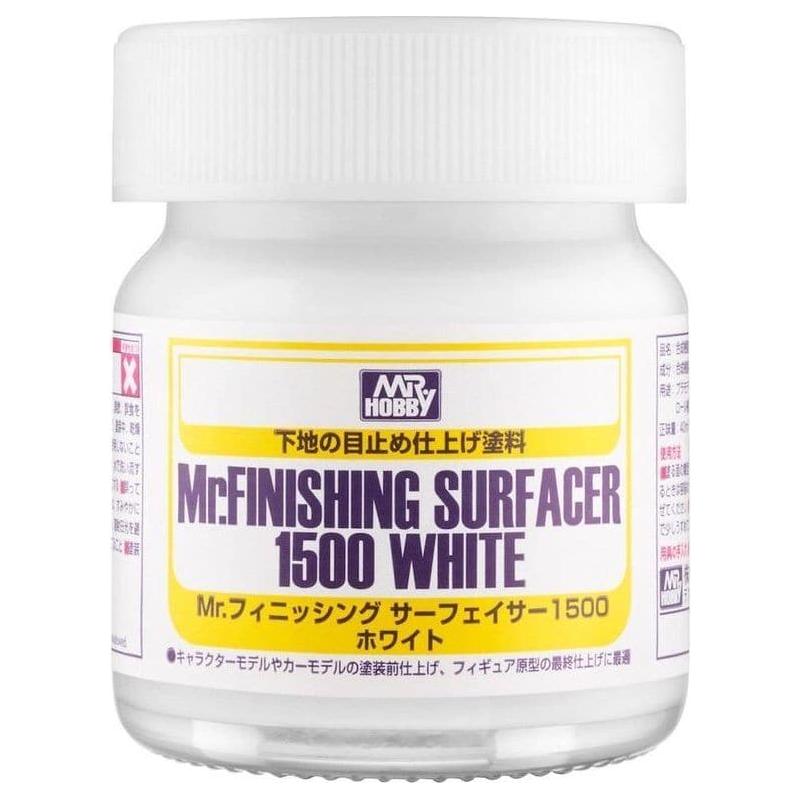
Primer colour affects how your final paint looks:
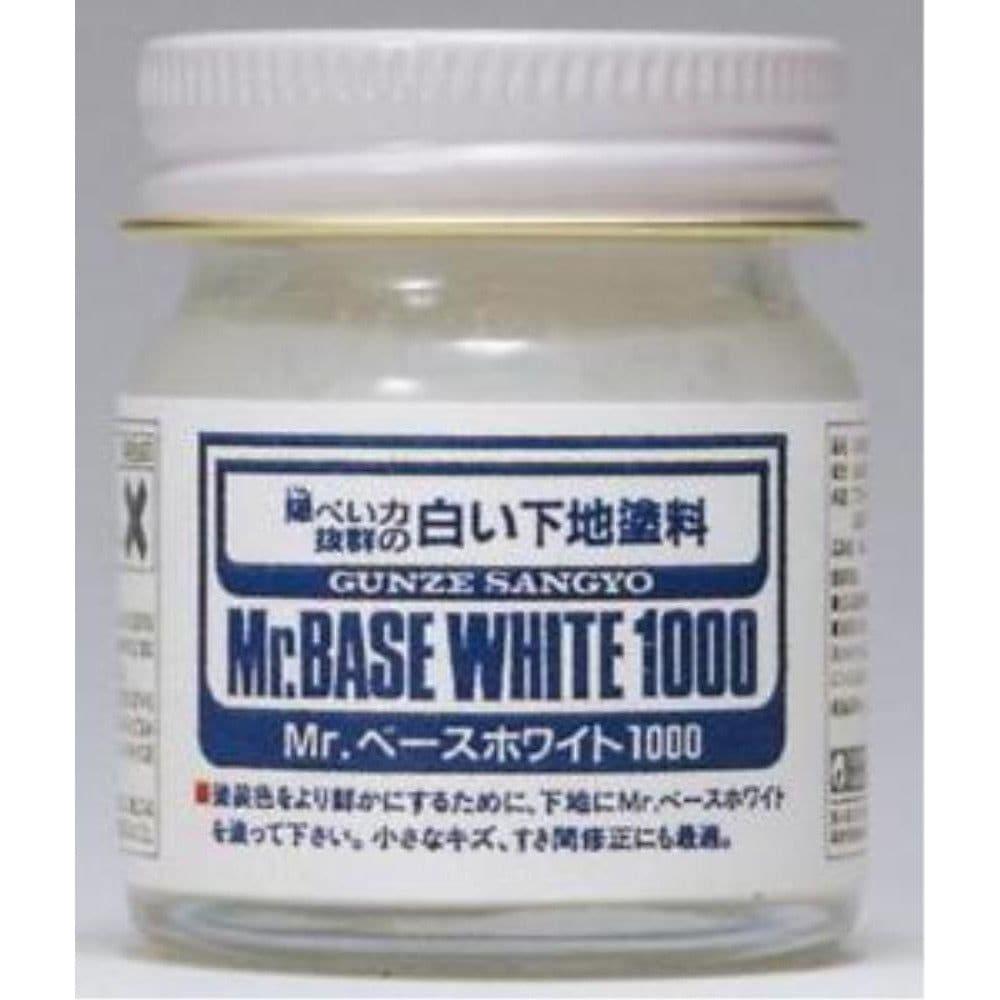
- White: Great for bright, vibrant colours like red, yellow, or light blue.
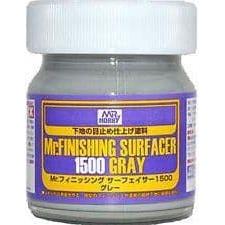
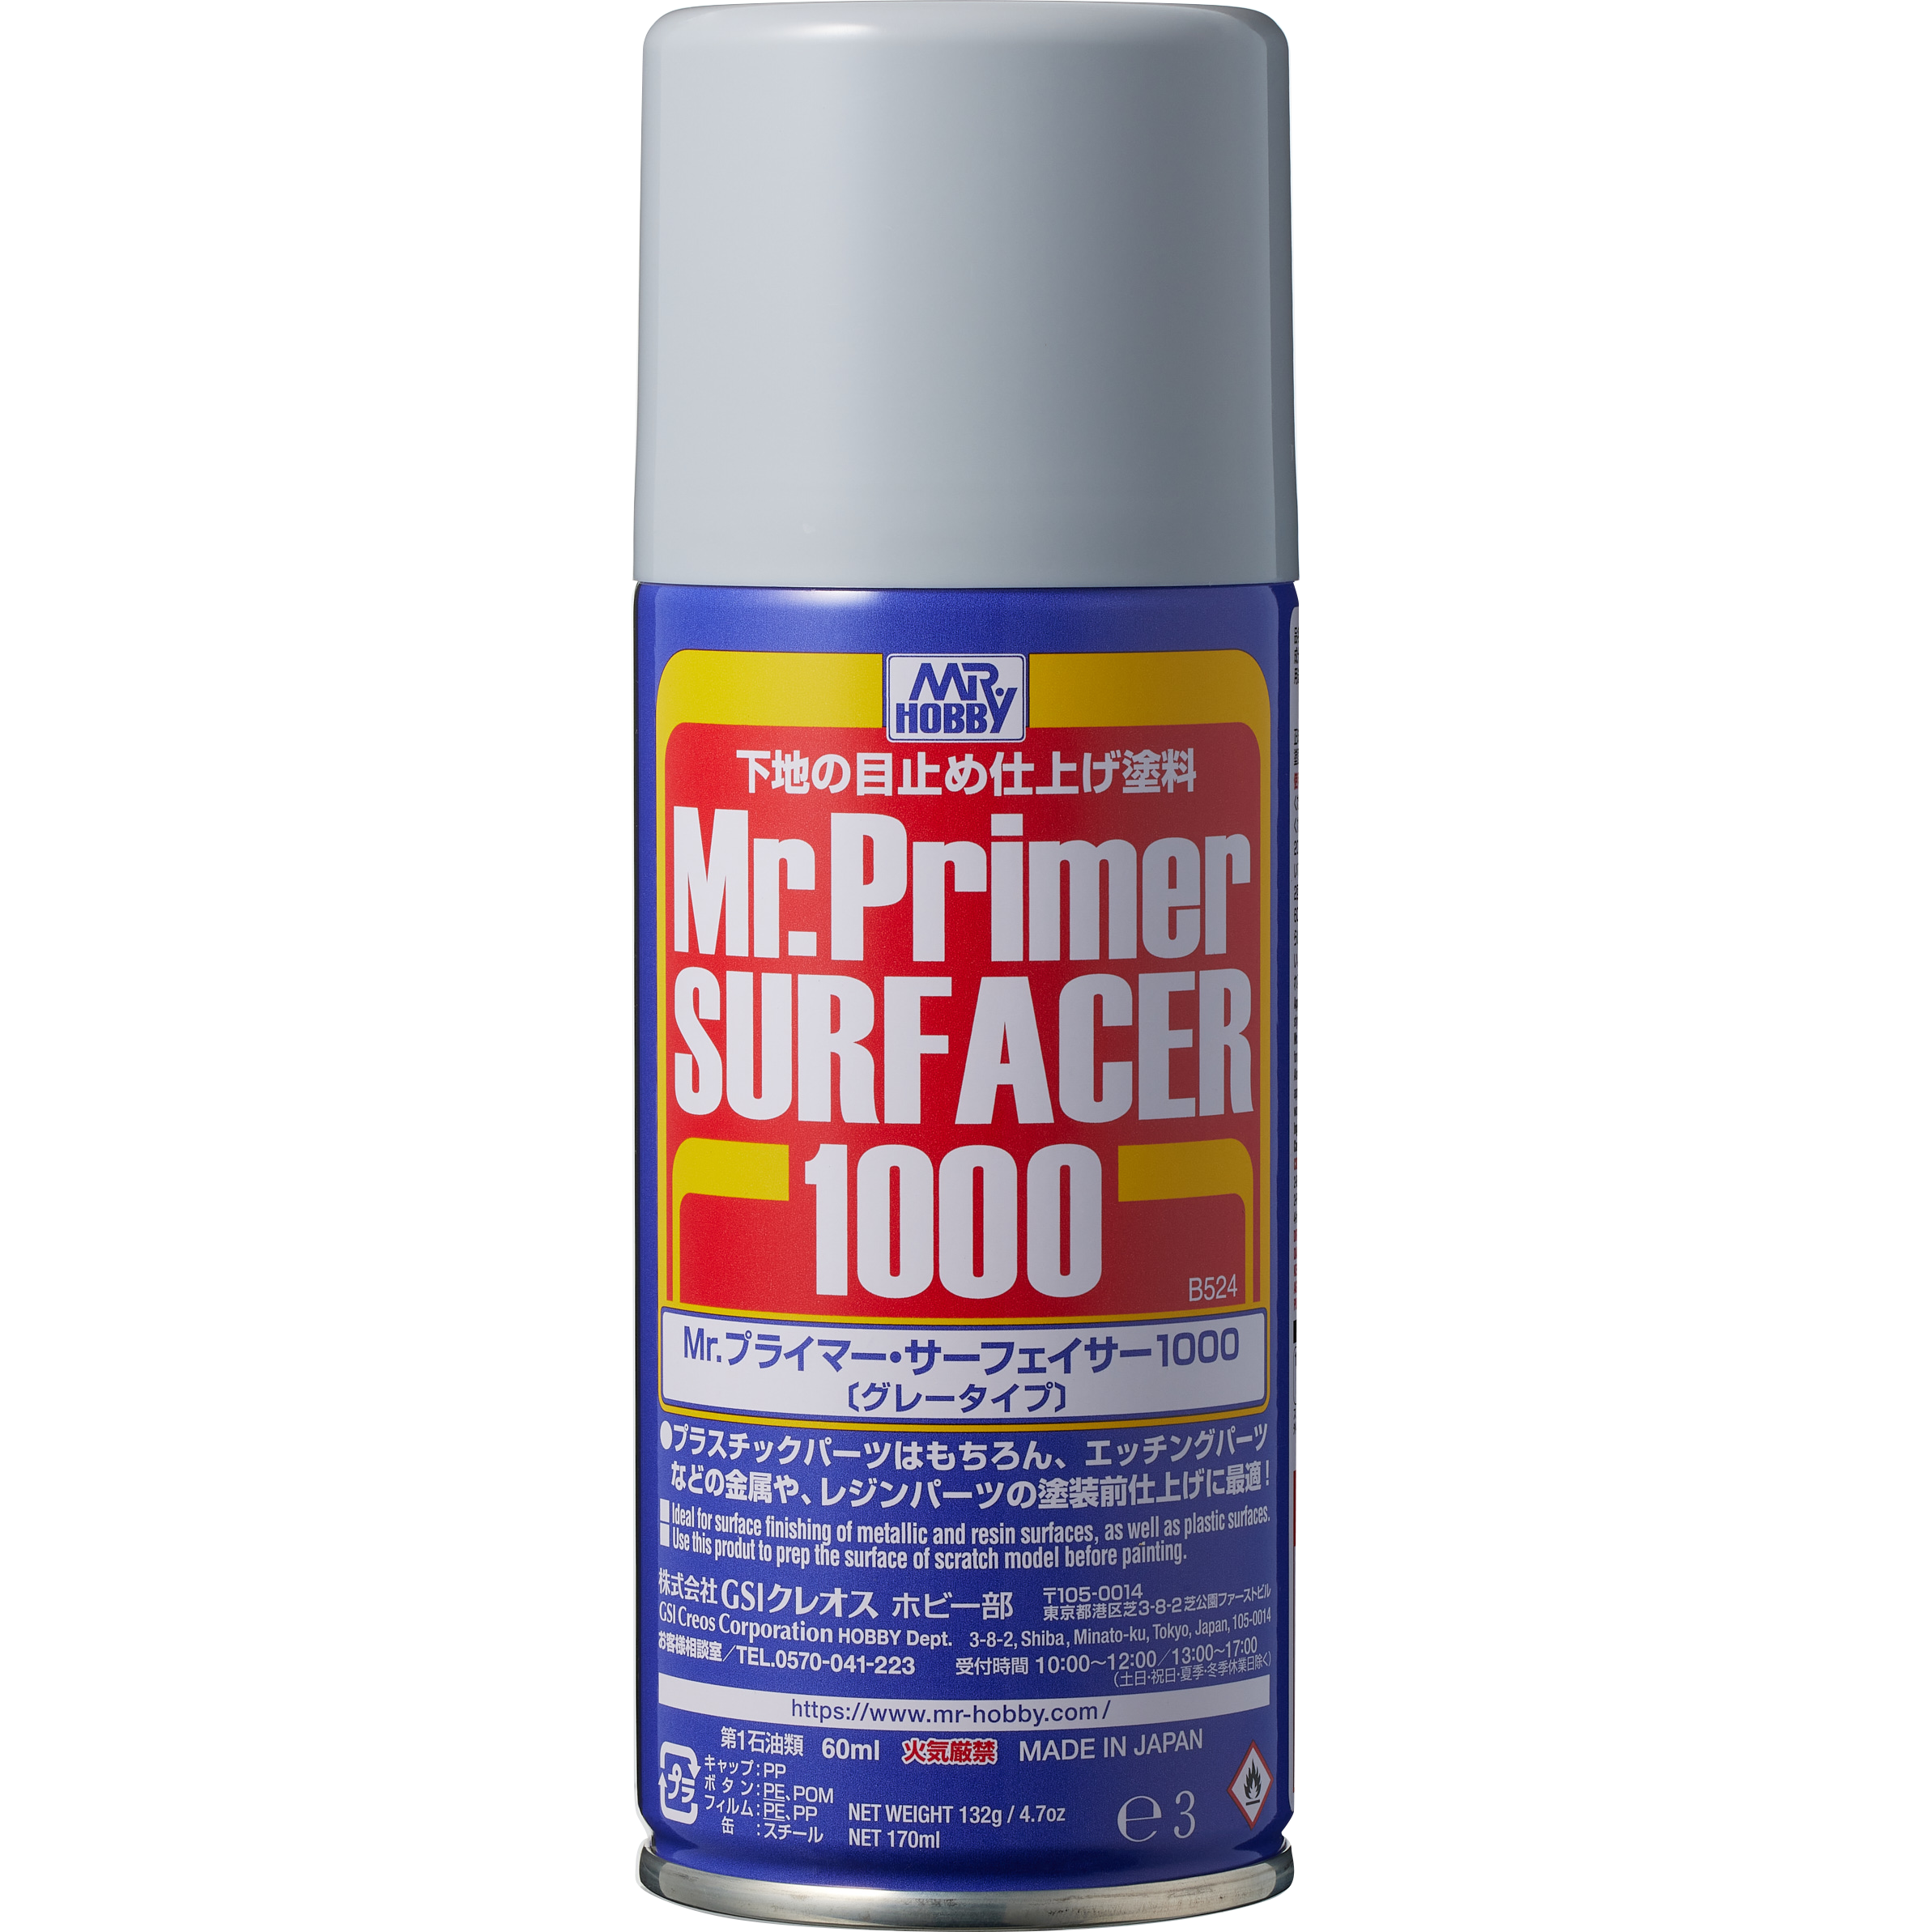
- Grey: A neutral base—safe for most colour schemes.
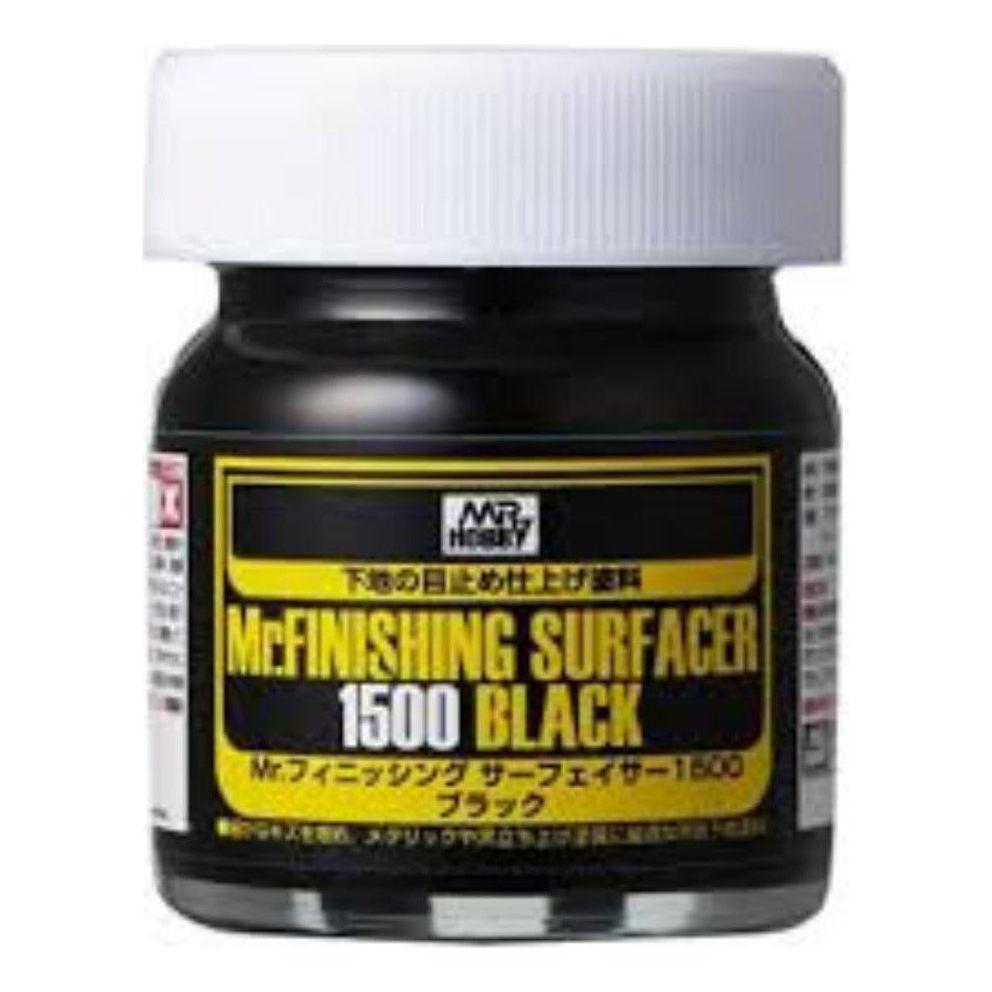
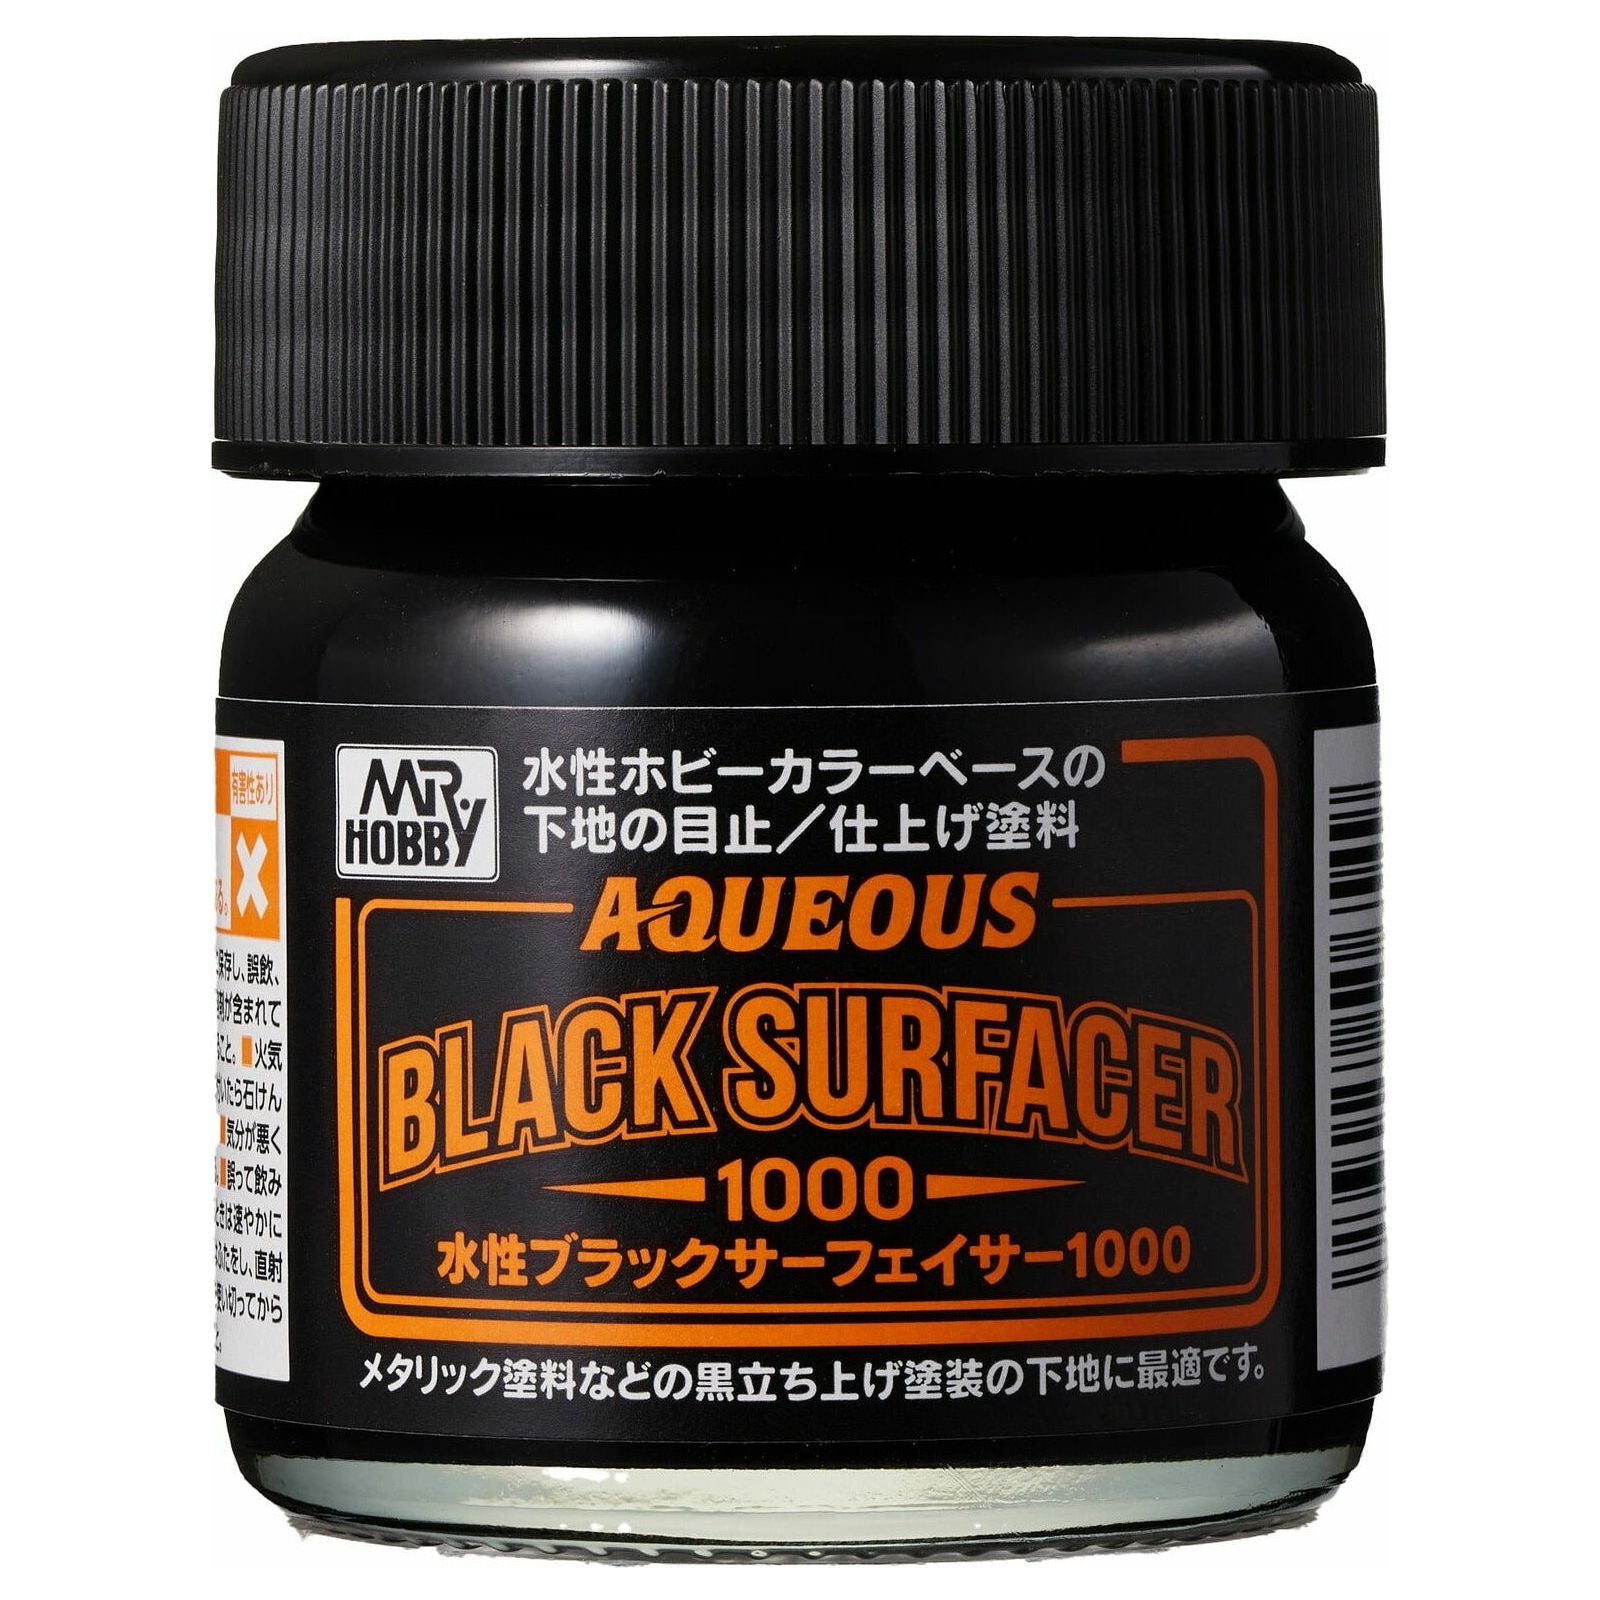
- Black: Ideal for dark colour schemes or creating natural shadows in recesses.
Dry time depends on the product, temperature, and humidity, but generally:
- Touch dry: 10–30 minutes
- Paint-ready: 1–2 hours (sometimes longer for lacquer primers)
Check the can or bottle label for exact cure times.
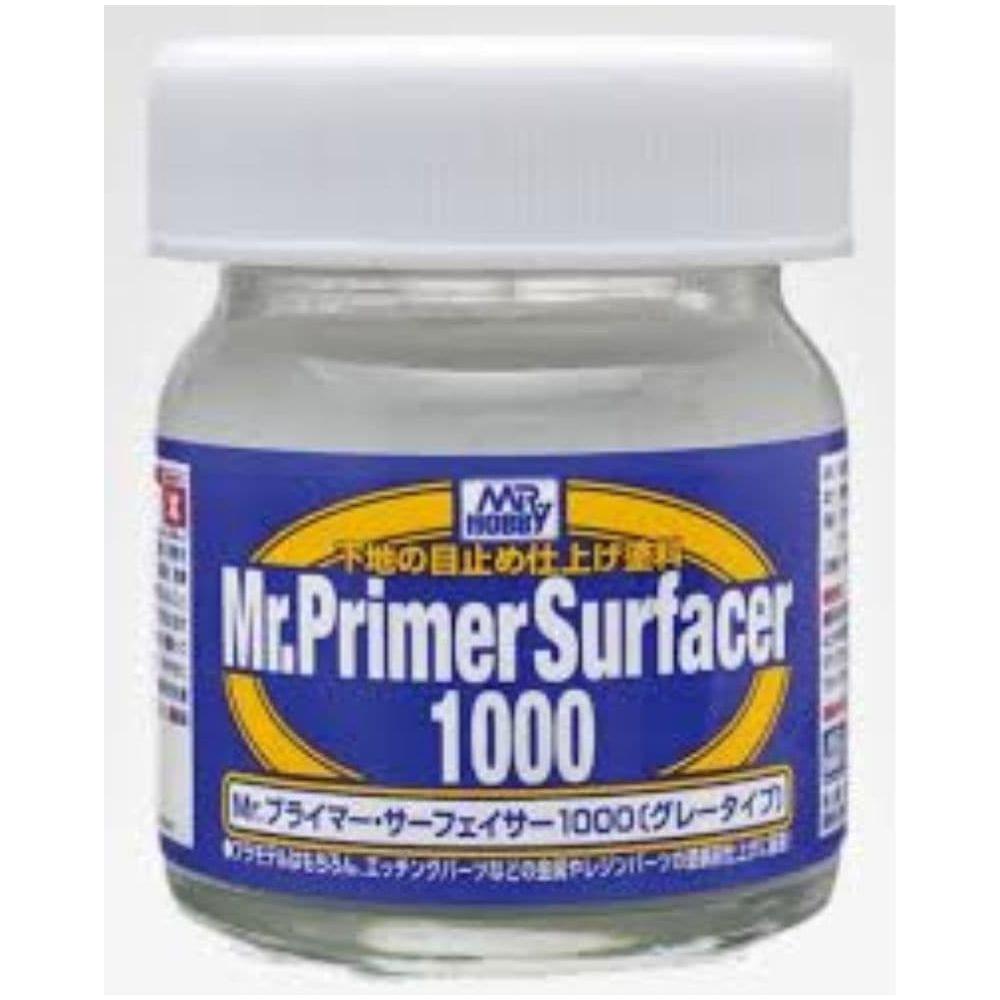
- Primer: Focuses on adhesion.
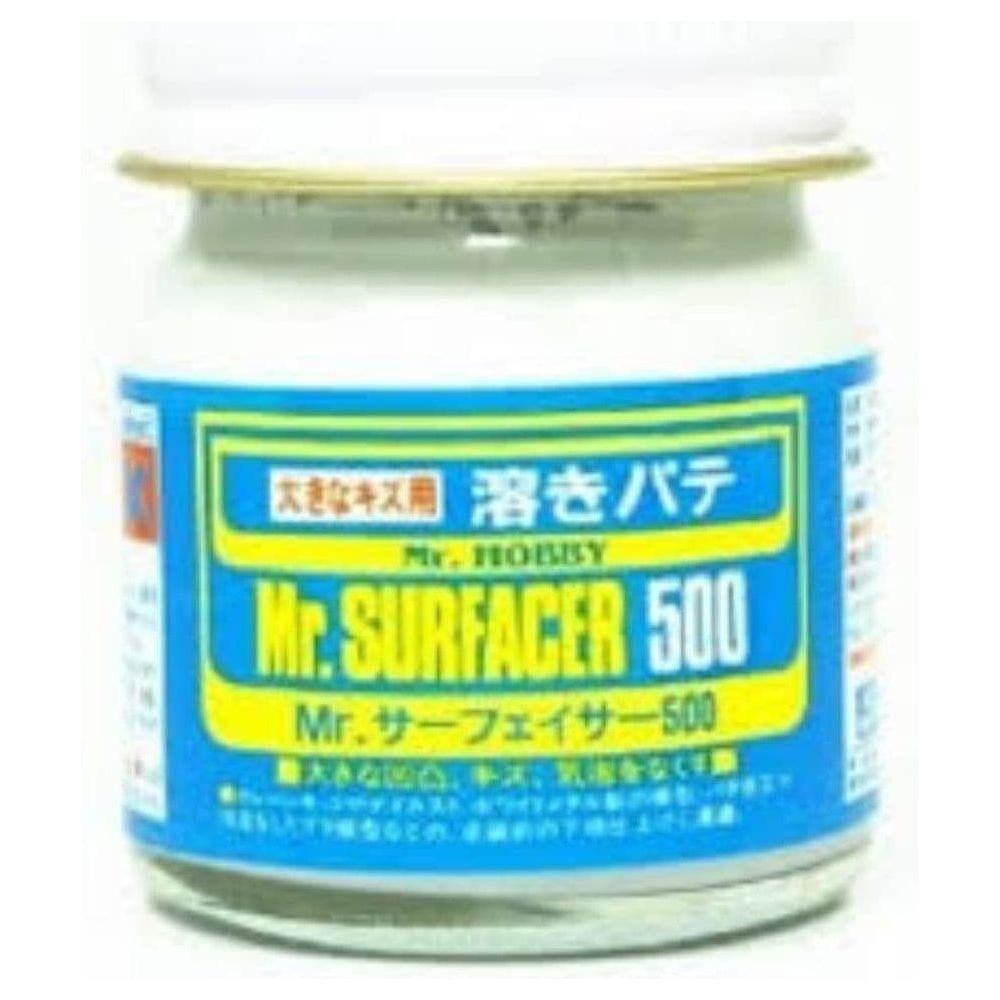
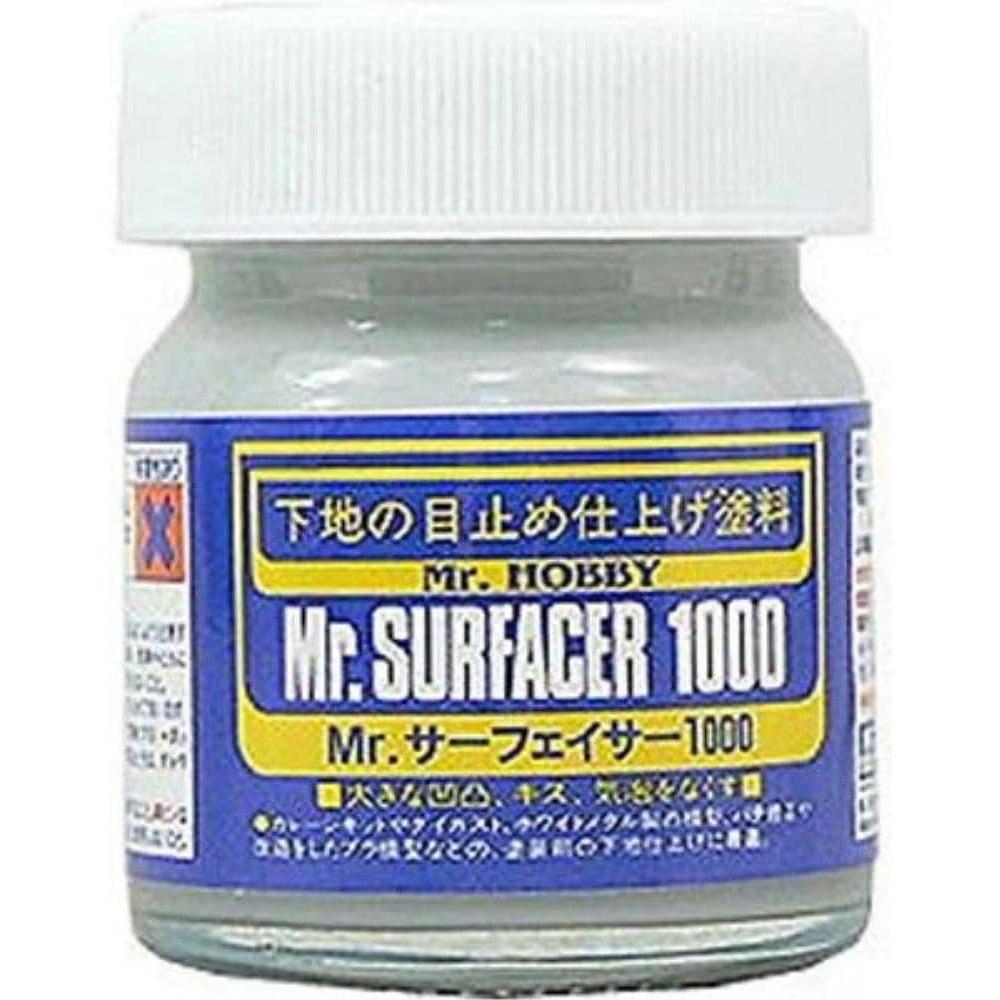
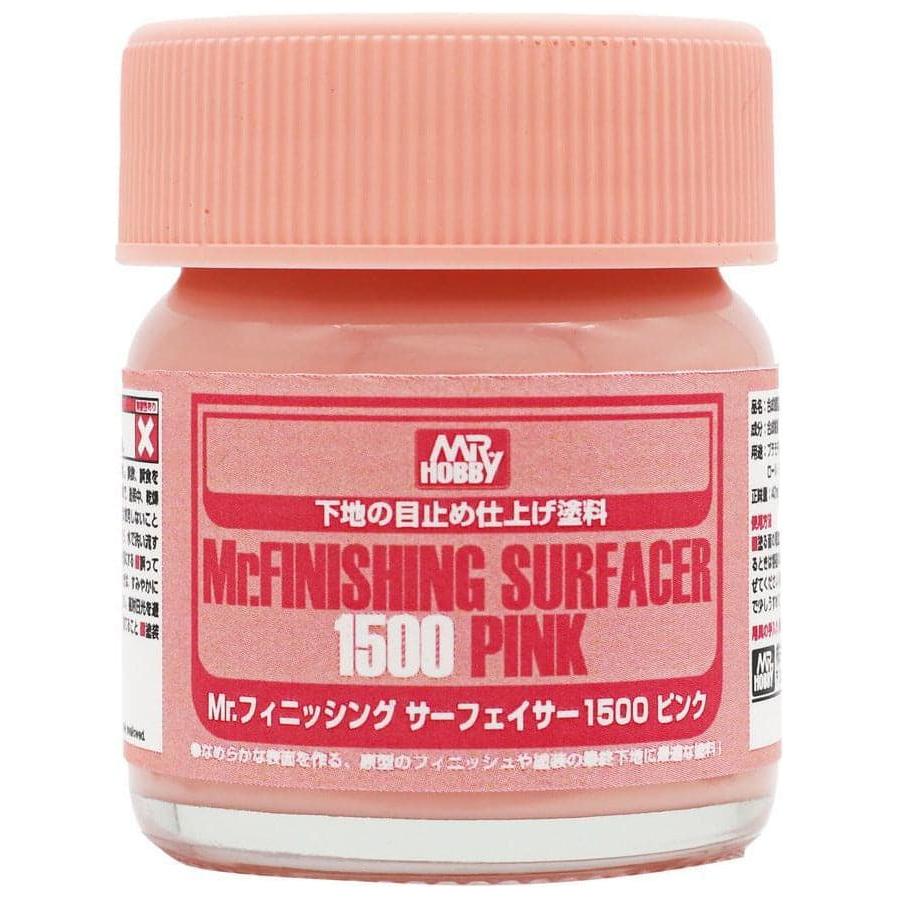
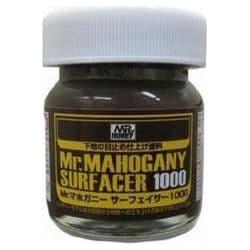
- Surfacer: Fills small imperfections and smooths the surface.
Some products (like Mr. Surfacer) combine both functions.
This can happen from:
- Spraying too far from the surface
- Humidity or cold temperatures
- Using a clogged nozzle or spraying too heavily
Solution: Sand it down gently and reapply in thin, even coats.
Yes! In fact, lightly sanding primer with fine grit (e.g. 800–1000) can smooth the surface and help paint go on more evenly—just make sure it's fully cured first.
Yes, but it depends on your goals.
- Before assembly: Easier to reach tricky spots, cleaner results.
- After assembly: Fewer seams missed and no scraped-off primer from glue handling.
Many modellers use a mix of both approaches depending on the build.