
A Guide to Building Your First Slot Car Track
Master the art of custom track creation for thrilling races
Embarking on the journey of building your first slot car track is an exciting venture that combines creativity, technical skill, and a passion for racing. From selecting the right materials to mastering track layout design, we'll provide you with expert tips and tricks to create a high-quality, custom slot car track that will provide endless hours of racing enjoyment.
| Slot Car Track Building Essentials | |
|---|---|
| Key Components | MDF board, track pieces, power supply, braids/copper tape |
| Tools Required | Router, jigsaw, screwdriver, paint supplies, measuring tape |
| Skill Level | Beginner to Intermediate |
| Time Investment | 2-5 days, depending on complexity and experience |
Step 1: Selecting the Right Materials
The foundation of your slot car track is crucial to its performance and longevity. Most enthusiasts recommend using Medium-Density Fibreboard (MDF) or chipboard for the base. MDF is particularly favored for its smooth surface and ease of cutting, ensuring precision in track design. When selecting your board, consider the size of your designated space and the scale of your planned track layout.

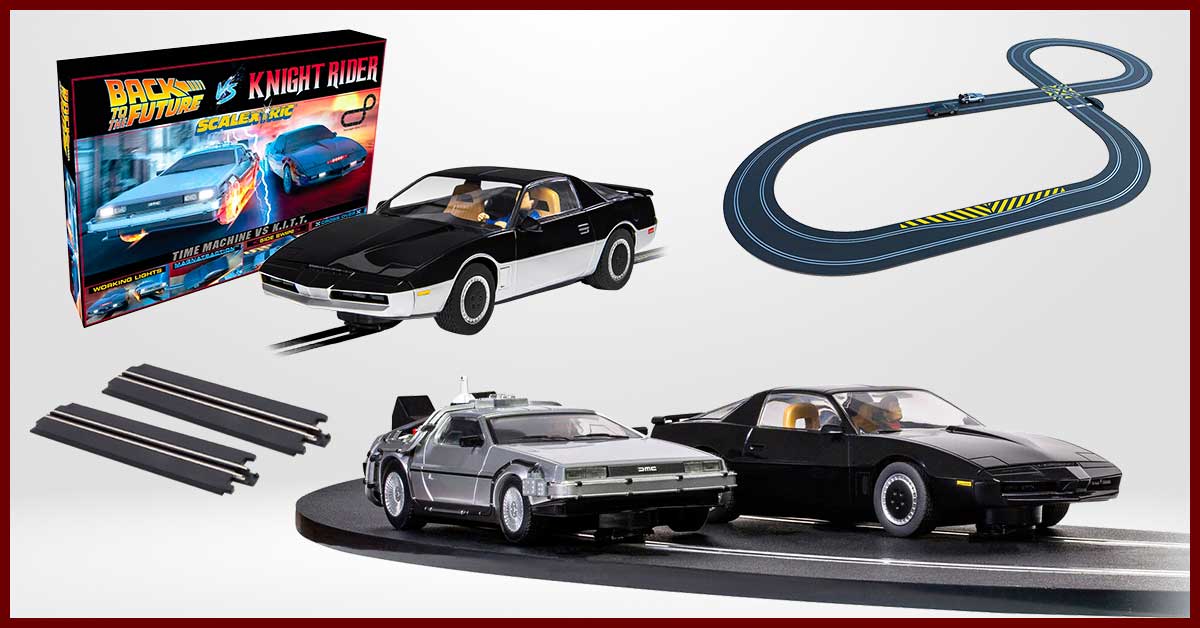
SCALEXTRIC Knight Rider

Joysway Single Lane Straight Track
In addition to the base board, you'll need the following materials:
- Wooden battens or MDF strips: For reinforcement and preventing track flexing
- Track pieces: If using pre-made sections from brands like Scalextric or Carrera
- Copper tape or braids: For conducting electricity to power the cars
- Power supply: To provide consistent power to your track
- Track accessories: Such as barriers, scenery, and lap counters from our track accessories collection
Step 2: Designing Your Track Layout
Designing an engaging and challenging track layout is crucial for maximizing racing fun. Start by sketching your ideas on paper, considering factors such as the number of lanes, track length, and the types of curves and straights you want to include. If you're using a pre-made slot car set, experiment with different configurations using the included track pieces.
For custom designs, consider incorporating the following elements to enhance the racing experience:
- Chicanes for technical driving challenges
- Hairpin turns to test braking and acceleration skills
- Long straights for high-speed thrills
- Elevation changes to add a three-dimensional aspect to your track
Remember to leave enough space between lanes to prevent cars from colliding during races. A good rule of thumb is to maintain at least 10cm between lane centers for 1:32 scale tracks.
Pro Tip: Use track design software or apps to visualize and refine your layout before committing to the physical build. This can save time and materials in the long run.
Step 3: Cutting and Assembling Your Track
With your layout finalized, it's time to transfer the design to your MDF board and start cutting. Use a high-power router or plunge router to cut the slots where the cars will run. The slots should be 3-4mm wide to accommodate the guide pin of the slot car. Safety is paramount during this stage, so ensure you wear appropriate protective gear and work in a well-ventilated area.
| Tool | Purpose | Recommendation |
|---|---|---|
| Router | Cutting precise slots for the track | High-power router with adjustable depth |
| Jigsaw | Cutting out curves and custom track shapes | Fine-tooth blade for smooth cuts |
| Sandpaper | Smoothing edges and surfaces | Various grits from coarse to fine |
After cutting, assemble the track sections using dowels or bolts for stability. If you plan to make the track portable, consider adding connectors that allow for easy disassembly and reassembly. Our range of Joysway Slot Cars and track accessories provide excellent options for customization and portability.
Step 4: Adding Electrical Components and Finishing Touches
With the physical track assembled, it's time to add the electrical components and finishing touches that will bring your slot car track to life. Start by painting the surface with a durable, non-glossy paint to improve grip for the slot cars. Choose a color that contrasts well with your lane markings for better visibility during races.
Next, lay the braids or copper tape in the slots. This crucial step conducts electricity to power the cars. Ensure the tape is laid flat and securely attached along the entire length of each lane. For added durability, consider using a thin layer of epoxy to seal the edges of the tape.
Wiring Tips:
- Use 14-16 gauge wire for the main power bus to ensure consistent power delivery
- Install multiple power taps along the track for longer layouts to maintain even voltage
- Consider adding a variable power supply for adjustable speed control
To enhance the racing experience and visual appeal, add scenery, barriers, and even lap counters to your track. These elements not only improve the aesthetics but also contribute to a more realistic and engaging racing environment. Explore our range of track accessories to find the perfect additions for your custom build.
Testing and Troubleshooting Your Track
Before declaring your track complete, it's essential to thoroughly test and troubleshoot any issues. Begin by conducting slow test runs with different types of slot cars to ensure smooth operation throughout the entire circuit. Pay attention to the following potential problem areas:
- Uneven surfaces or bumps that could cause cars to deslot
- Tight corners that may be too challenging for some cars
- Inconsistent power delivery along the track
- Loose connections in the wiring or braids
Address any issues you encounter during testing, making adjustments as necessary. This iterative process ensures that your track provides a consistent and enjoyable racing experience for all skill levels.
Maintaining Your Custom Slot Car Track
To keep your slot car track in top condition for years of racing enjoyment, implement a regular maintenance routine:
- Clean the track surface: Use a soft cloth or specialized track cleaner to remove dust and debris regularly.
- Check electrical connections: Periodically inspect and tighten any loose connections in the power system.
- Lubricate moving parts: Apply a small amount of lubricant to any moving parts on bridges or elevation changes.
- Inspect and replace worn components: Check for wear on high-traffic areas of the track and replace sections as needed.
By following these maintenance steps, you'll ensure that your custom-built slot car track remains in excellent condition, providing thrilling races for years to come.
Conclusion
Building your own slot car track is a rewarding project that combines creativity, technical skills, and a passion for racing. By following this comprehensive guide, you've learned how to create a custom track that not only meets your specific requirements but also provides an exceptional racing experience for you and your friends.
Remember, the key to a successful build lies in careful planning, attention to detail, and a willingness to refine your design through testing and iteration. As you continue to enjoy your custom track, don't hesitate to explore new ways to enhance and expand your setup. For all your slot car needs and inspiration for future projects, be sure to visit Hearn's Hobbies. Happy racing!
Ready to Start Your Slot Car Track Journey?
Explore our extensive range of slot car track accessories, pre-made sets, and top brands to kickstart your custom track build. For any questions or assistance, don't hesitate to contact us or visit our FAQ page.