

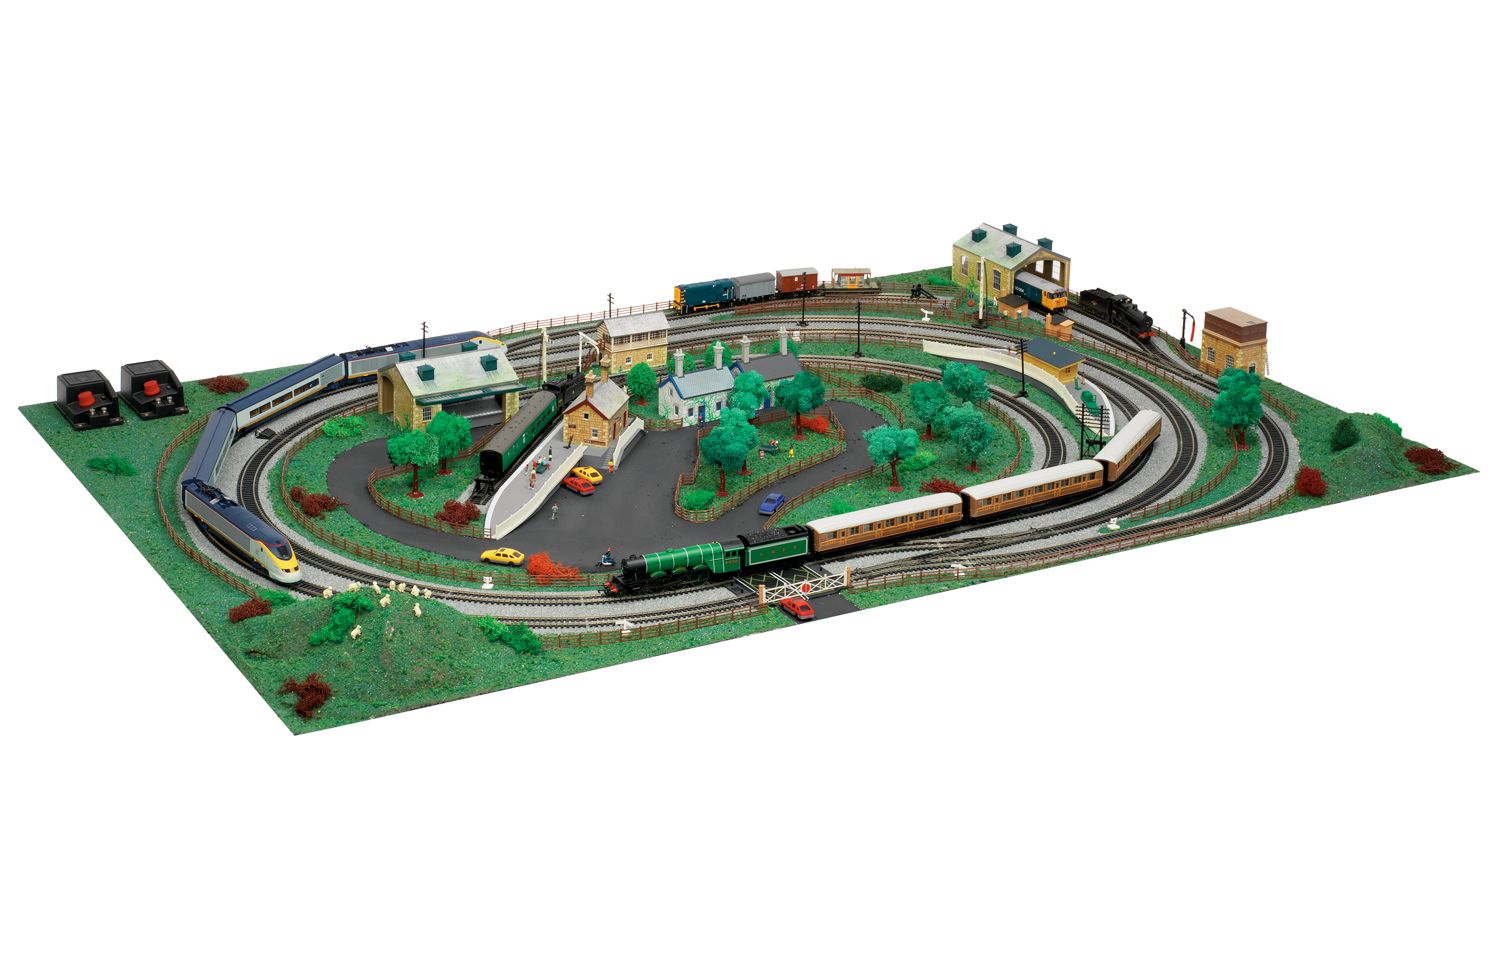
How to Lay Model Train Track Without Derailments
Master the art of smooth-running railways and eliminate frustrating stops
Derailments happen for all sorts of reasons—wonky track, dodgy joints, or wheels that aren't quite right. The good news? With a bit of know-how and the right tools, you can build a track system that keeps everything where it should be.
In this guide, we'll walk you through everything you need to stop those annoying derailments, from getting your foundation spot-on to keeping your rails in tip-top condition. We've got stacks of experience with model railways at Hearns Hobbies, and we're here to share our knowledge with you. If you're after quality train tracks, track-laying tools, or expert model railway advice, you're in the right place.
| Model Train Track Success at a Glance | |
|---|---|
| Prepare a Solid Base | Create a perfectly level surface using a rolling road to test before permanent installation |
| Lay Track Accurately | Use precise cutting tools like the DCC Concepts Track Cutter and ensure rails are properly aligned |
| Maintain Proper Gauge | Check track spacing with an NMRA gauge tool, especially on curves and turnouts |
| Smooth Out Transitions | Implement gradual easements between straight and curved sections; keep gradients below 2% |
| Clean Regularly | Use track cleaning kits to remove dust, dirt, and oxidation for better conductivity |
| Inspect Rolling Stock | Regularly check wheels for proper gauge and alignment; clean wheels with appropriate solvents |
What Makes Model Trains Derail?
Before we dive into solutions, let's understand the problem. Model trains derail for a bunch of reasons, but most issues come down to either track problems or rolling stock issues.Track problems include uneven surfaces, misaligned joints, incorrect gauge width, and curves that are too tight. Ya might not notice these small issues when laying track, but your trains will definitely find them!
Rolling stock problems typically involve wheels that are out of gauge, dirty wheel treads, or couplers that are set at the wrong height. Even the best track in the world won't keep a train with wonky wheels on the rails.
Understanding these root causes is your first step toward a smoother running layout where derailments become a rare exception rather than a frustrating rule.
Preparing a Solid and Level Foundation
The importance of a proper foundation for your model railway can't be overstated. It's like building a house—if the foundations are dodgy, everything on top is gonna be wobbly too.

A well-planned model railway starts with a solid foundation
Testing Surface Integrity
Before you even think about putting down your first bit of track, check that your baseboard is not just sturdy but dead-level across the entire surface. Use a spirit level to check multiple spots—don't just assume it's flat because it looks that way.
Many modellers overlook tiny imperfections that end up causing big dramas later on. Even small dips or rises of a millimetre or two can throw your trains off kilter, especially at higher speeds or with longer rolling stock.
A rolling road is brilliant for testing your locos before you commit to permanent track placement. These testbeds support multiple axles and help you spot performance issues early on, saving you from tearing up track later.
Understanding the Relationship Between Base and Track
Track problems often start with base problems. If your trains keep jumping the tracks at the same spot, especially when multiple carriages pass over it, your first port of call should be checking the track work in that area.
Keep an eye on how your baseboard reacts to changes in your room. Humidity and temperature shifts can cause subtle warping that messes with your track alignment. This is especially true for timber baseboards, which might need additional bracing to prevent this.
Remember: The time you spend getting your foundation right will save you hours of frustration later. Don't rush this crucial first step!
Precision in Track Laying Techniques
Getting your track laid properly is a bit of an art form. It requires patience, the right tools, and a keen eye for detail.
Rail Joiner Selection and Installation
Loose rail joiners are one of the biggest culprits for derailments. They allow track sections to become misaligned, creating a bump that can throw rolling stock off the rails. Not to mention they cause electrical problems too.
When installing joiners, make sure they're fully seated against the rail ends. If you're building a permanent layout, consider soldering the connections at critical points—particularly on main lines that see heavy traffic.
Old or worn joiners should be replaced straight away. It's worth investing in quality joiners from brands like Peco or Kato, which maintain both mechanical stability and electrical conductivity.
Clean Cutting Techniques
When you need to cut track (and you will), get yourself a proper track cutter like the DCC Concepts Heavy Track Cutter. These are designed specifically for the job and make clean cuts that often need minimal filing afterward.
Avoid using general-purpose cutting tools which can crush the rail ends or leave burrs that cause derailments. A proper cut should be square and clean, with no deformation of the rail profile.
Securing Track Properly
There's a knack to properly securing your track without distorting it:
- Use a straightedge or laser level to confirm your straight sections are actually straight
- Pin track down loosely at first, so you can make minor adjustments
- Test run a locomotive before permanent fixing
- When using track pins, don't hammer them in completely tight—this can squeeze the sleepers and distort the gauge
- Consider using a flexible adhesive like PVA wood glue for a more forgiving bond
Pro Tip:
When laying flex track on curves, fix the outside rail first, then gently ease the inner rail into position. This prevents kinks that can cause derailments.
Maintaining Precise Track Gauge Standards
The track gauge—the distance between rails—is absolutely critical for reliable operation. Get this wrong, and your trains will constantly jump the tracks.
Scale-Specific Gauge Requirements
Different scales have different standard gauges. Here are the most common ones:
| Scale | Standard Gauge | Tolerance |
|---|---|---|
| HO Scale | 16.5mm | ±0.2mm |
| N Scale | 9mm | ±0.1mm |
| O Scale | 32mm | ±0.3mm |
| G Scale | 45mm | ±0.5mm |
A good track gauge tool is worth its weight in gold. The NMRA standards gauge is brilliant for checking not just track spacing but also turnout dimensions and wheel profiles.
Out-of-Gauge Trouble Spots
Some areas of your layout are more likely to have gauge problems than others:
- Curves: The rails can get pushed inward or outward
- Turnouts: Factory-built points are usually reliable, but check them anyway
- Rail Joints: Where two sections meet, gauge discrepancies often occur
- Crossovers: Complex trackwork needs extra attention to maintain proper gauge
Check your gauge regularly during construction and occasionally during operation, especially if you notice recurring derailments in specific areas.
Creating Smooth Transitions in Curves and Gradients
Trains don't like sudden changes—whether that's direction or elevation. Creating smooth transitions is key to reliable operation.
Implementing Effective Easements
An easement is a gradual transition between straight track and curved sections. Without easements, trains entering curves experience sudden lateral forces that can pull them off the rails.
Proper curves and easements ensure smooth transitions for all rolling stock
For HO scale, here's a good rule of thumb for curve radius:
- Mainline curves: Minimum 24 inches (610mm) radius
- Branch lines: Minimum 18 inches (457mm) radius
- Yard tracks: Minimum 15 inches (381mm) radius
The longer your rolling stock, the wider your curves should be. Those beautiful passenger carriages or long goods wagons need generous curves to stay on track.
Gradient Management
Steep or uneven grades are derailment magnets. The industry standard maximum grade is 2%—that's a 2cm rise over 100cm of track. Anything steeper puts strain on your locomotives and increases the chances of uncoupling or derailment.
Use a gradient checker tool to verify your slopes are consistent. Uneven gradients—where the steepness changes suddenly—are particularly problematic.
When transitioning from level to incline, use a vertical easement (like an S-curve in profile) to smooth the change. This reduces the risk of longer vehicles bottoming out or couplers binding.
The golden rule of model railway design: Gentle curves and gentle slopes keep trains on the track.
Effective Cleaning and Maintenance Protocols
Even the most perfectly laid track will eventually cause problems if it's not properly maintained. Regular cleaning is essential for both reliable operation and realistic appearance.
Track Cleaning Methods
Dirty track is the silent killer of smooth operation. It causes poor electrical conductivity and creates a grimy surface that increases friction. Here's how to keep your rails pristine:
- Track rubber erasers: Great for spot cleaning and removing stubborn deposits
- Track cleaning fluid: Applied with a lint-free cloth to remove oil and grime
- Track cleaning cars: Automatic cleaning wagons that do the work while you run your trains
- Sandpaper method: Very fine grain sandpaper (1200+) wrapped around a block can polish rails
For oxidation (the dull grey film that forms on rails), a light application of white vinegar on a cloth followed by a clean wipe works wonders. Just be careful not to get it on scenery or plastic components.
Electrical Conductivity Maintenance
Good electrical contact is vital for smooth operation. Here's how to ensure it:
- Regularly clean the rail tops with approved cleaning solutions
- Check and clean rail joiners, replacing any that show signs of corrosion
- Add extra power feeds to long runs of track (every 1-2 metres is ideal)
- Use a multimeter to check for voltage drops along your layout
- Consider adding track power clamps at strategic points
Maintenance Schedule:
Light track cleaning: Before each operating session
Deep track cleaning: Monthly
Full inspection of trouble spots: Quarterly
Thorough Rolling Stock Inspection
Sometimes it's not the track that's the problem—it's what's running on it. Regular inspection of your locomotive and rolling stock wheels is essential.
Identifying Problem Cars
If you notice that a particular car or locomotive derails frequently while others run fine, that's your clue. Take it out of service and give it a thorough inspection.
Common rolling stock problems include:
- Wheels out of gauge (too wide or too narrow)
- Bent axles (especially common in cheaper models)
- Coupler height issues (causing lifting forces on adjacent cars)
- Excessive weight or uneven weight distribution
Use a wheel gauge tool to check that all wheels conform to NMRA standards. Even a small deviation can cause big problems.
The secret to a reliable model railway is consistent maintenance. A little effort regularly saves a lot of frustration later.
Wheel Cleaning Techniques
Dirty wheels not only cause poor electrical pickup but can also deposit grime on your nice clean track. Here's how to keep them spotless:
- Use a dedicated wheel cleaning brush to remove loose debris
- For stubborn deposits, apply a small amount of isopropyl alcohol with a cotton bud
- For locomotives, use a cleaning tool that lets the wheels spin while held in place
- After cleaning, apply a tiny amount of conductive lubricant to locomotive wheels
Regular wheel maintenance not only prevents derailments but also improves electrical performance for your locomotives and lit carriages.
Frequently Asked Questions
What's the most common cause of model train derailments?
The most common causes are uneven track laying, poor rail joiners, and incorrect track gauge. Many modellers overlook tiny imperfections that can throw trains off kilter. Regular maintenance and using quality track components like those from Peco or Kato are your best defence against frustrating derailments.
How tight can I make my curves without causing derailments?
For HO scale, aim for these minimum radius measurements:
- Mainline curves: 24 inches (610mm) radius
- Branch lines: 18 inches (457mm) radius
- Yard tracks: 15 inches (381mm) radius
Remember, the longer your rolling stock, the wider your curves should be. Those beautiful passenger carriages or long goods wagons need generous curves to stay on track.
How often should I clean my track?
For reliable operation:
- Light track cleaning before each operating session
- Deep track cleaning monthly
- Full inspection of trouble spots quarterly
Using a track cleaning car during regular running sessions helps maintain conductivity between deeper cleans. A clean track is not just about aesthetics—it's essential for smooth electrical flow and reducing friction.
Conclusion
Laying model train track that keeps your trains rolling smoothly isn't rocket science, but it does take a bit of know-how and attention to detail. The difference between a frustrating layout plagued by derailments and one that runs like a dream often comes down to the basics—a solid foundation, precise track work, proper gauge maintenance, smooth transitions, and regular cleaning.
By following the guidelines we've shared—from checking your baseboard with a spirit level to choosing the right rail joiners and maintaining proper easements—you'll be well on your way to a layout that performs reliably session after session. Remember, every minute spent on proper track installation saves hours of troubleshooting later.
Final Thoughts:
Whether you're building your first simple oval or an elaborate multi-level empire, these track-laying fundamentals remain the same. Take your time, test as you go, and don't be afraid to tear up and redo sections that cause problems. After all, half the fun of the hobby is in the building—though there's nothing quite like the satisfaction of watching your trains glide smoothly around your creation without a single derailment in sight!