
Essential Track Types for Your First Layout
Master the fundamentals of model railway design with the perfect track configuration
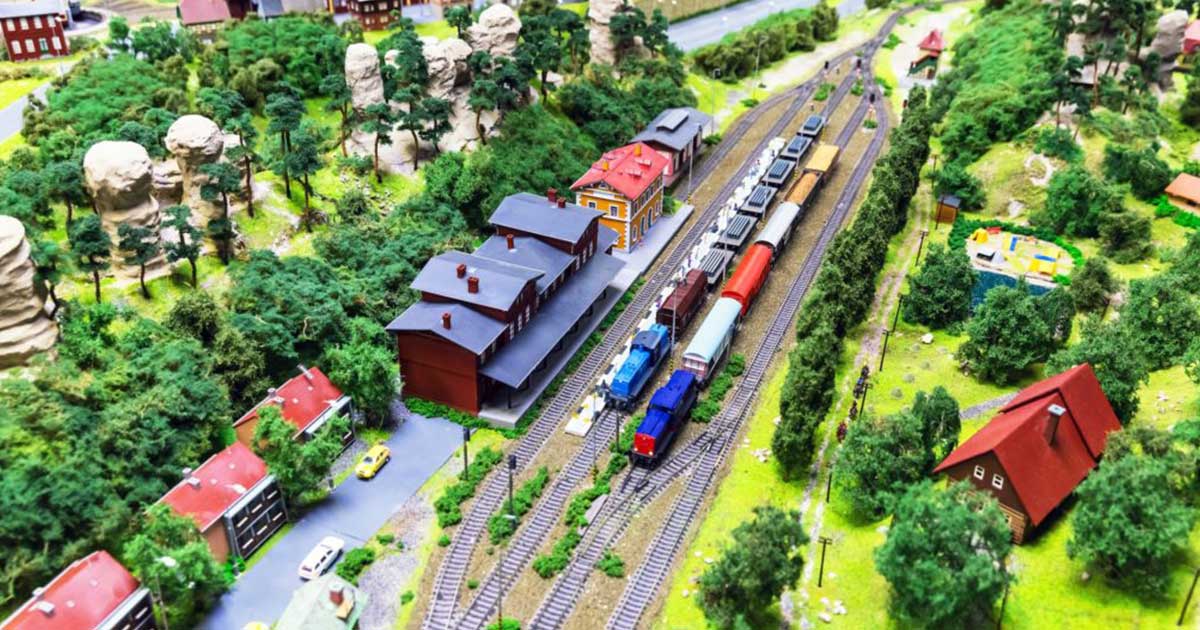
Building your first model railway layout is an exciting journey, but selecting the right track type can make all the difference between a smooth-running layout and one fraught with frustration. From classic continuous loops to intricate point-to-point operations, understanding the various track configurations will help you design a setup that matches both your space and operational preferences. At Hearns Hobbies, we're passionate about helping beginners create remarkable railway systems that provide years of enjoyment.
| Essential Track Types at a Glance | ||
|---|---|---|
| Track Type | Description | Best For |
| Continuous Loop | A circular or oval track allowing uninterrupted running. | Beginners, display layouts, long-running trains. |
| Point-to-Point | Trains travel between two distinct stations, requiring reversing. | Realistic operations, shunting layouts. |
| Out-and-Back | A single-track route with a turnaround at one end. | Compact spaces, engaging operations. |
| Switching Layout | A layout focused on industrial areas, requiring precise movements. | Advanced operations, industrial or freight setups. |
Choosing the Right Track Type for Your Layout
Designing a model railway layout requires careful consideration of track types, space constraints, and operational goals. Whether you prefer the simplicity of a continuous loop or the complexity of a switching layout, understanding their unique characteristics will help you make the right choice for your modelling journey. The track plan you select will not only determine how your trains run but also shape the entire character and functionality of your railway system.
Continuous Loop: The Classic Starter Track
A continuous loop is one of the most enjoyable and accessible track types for beginners. With trains running in an unbroken circuit, it provides a relaxing and dynamic viewing experience that captures the essence of model railway enjoyment. This configuration allows your locomotives to run continuously without constant intervention, making it perfect for display purposes or when you simply want to sit back and watch your trains in motion.
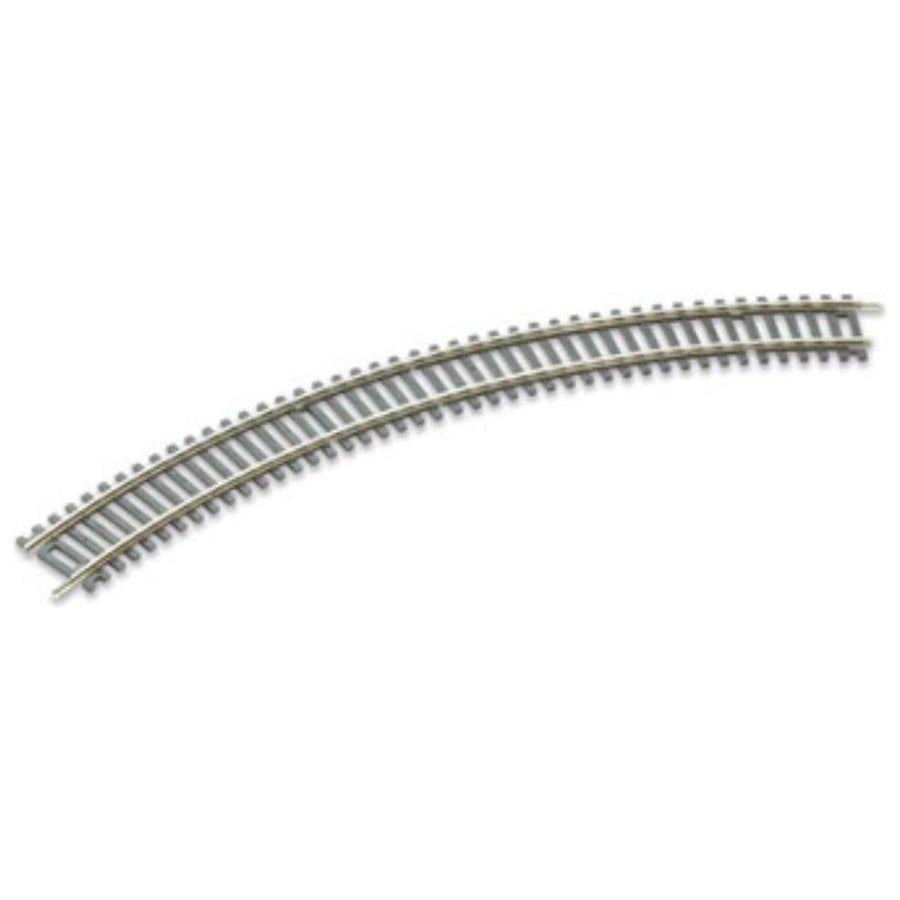
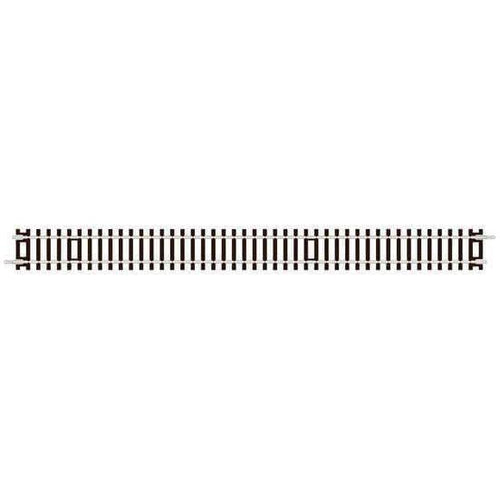
The beauty of continuous loops lies in their versatility and expandability. Starting with a simple oval, you can gradually enhance your layout by adding passing sidings, stations, or even branch lines as your skills and collection grow. Many accomplished railway modellers began their journey with a basic loop before developing more complex systems. For quality track components to build your first loop, explore our extensive train tracks collection.
Australian Inspiration: A popular choice in Australian model railways is the 'folded dog-bone' layout, commonly featured in clubs like the ACT Model Railway Society's Mytabeen layout. This design cleverly maximises running length even in limited spaces, allowing for longer, more realistic train operations. To add authentic Australian character, consider incorporating eucalyptus forests, red desert landscapes, or coastal scenery, reflecting iconic rail routes such as the Ghan or the Overland.
Point-to-Point: Realistic Railway Operations
If you're seeking to simulate authentic railway operations, a point-to-point layout offers a compelling and engaging experience. Rather than endless circulation, trains travel between two distinct terminals, requiring thoughtful direction changes, shunting manoeuvres, and operational planning. This configuration brilliantly captures the purposeful nature of real-world railways, where trains serve specific destinations rather than travelling in circles.
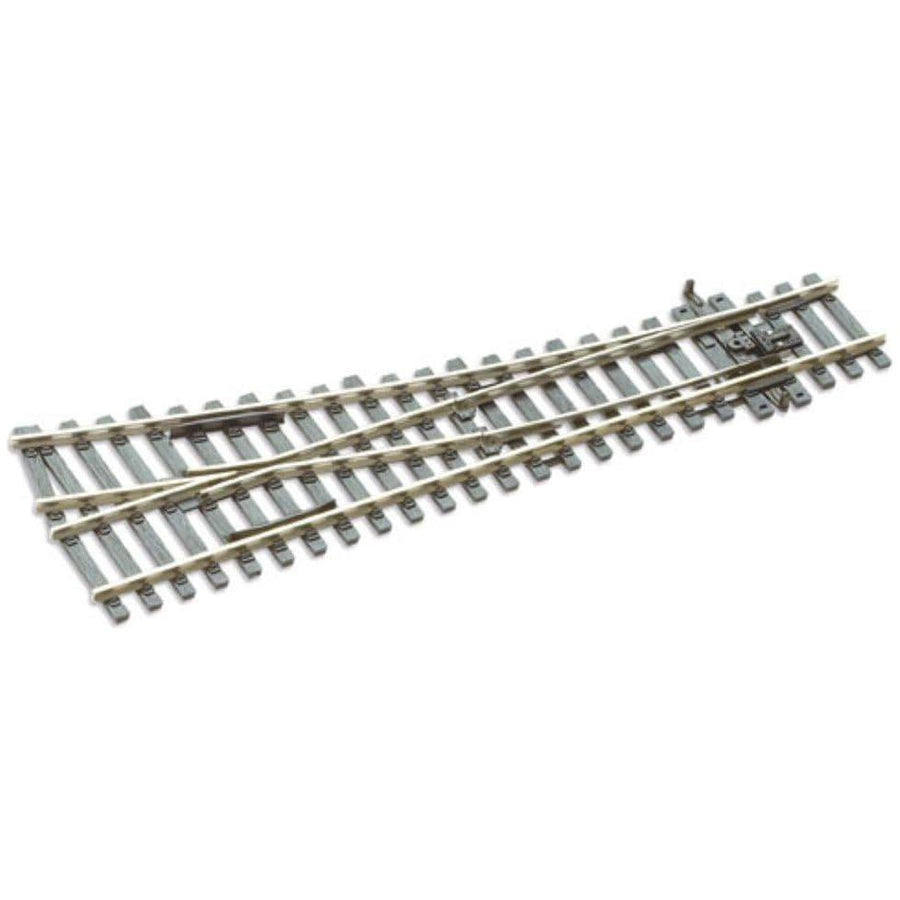
Point-to-point layouts excel at recreating passenger services between towns, freight operations between industries, or branch lines serving rural communities. The operational variety they provide ensures that no two running sessions are identical, as you'll need to coordinate arrivals, departures, and the interchange of rolling stock. While requiring more active participation than continuous loops, they reward modellers with rich, engaging railway experiences that more closely reflect prototype operations. Enhance your layout with essential track points and turnouts to add operational flexibility and create realistic railway scenarios.
Operational Tip: When designing a point-to-point layout, consider incorporating passing loops to allow trains travelling in opposite directions to negotiate single-track sections. This not only enhances operational interest but also reflects the challenges faced by real railway operators. For inspiration, study historic station track plans from railway museums or heritage societies to understand how passing facilities were arranged on actual railways.
Australian Realism: This track type is ideal for replicating branch lines such as the historic Cudgewa line in Victoria or rural freight routes across New South Wales. For maximum authenticity, research old track diagrams from railway historical societies and incorporate distinctly Australian features like loading banks for wool and wheat, level crossings with unique signage, and the characteristic railway architecture found throughout the various state systems.
Out-and-Back: The Space-Saving Solution
| Out-and-Back Layout Considerations | |
|---|---|
| Advantages | Challenges |
|
|
For railway enthusiasts with limited space, an out-and-back track configuration presents an elegant solution. This thoughtfully designed arrangement features a single terminus with a loop or reversing section at one end, allowing the train to return via the same track. It's particularly well-suited to modelling suburban terminal stations, country branch lines, or industrial spurs where trains journey to a destination before returning to their starting point.
The compact nature of out-and-back layouts makes them perfect for narrow shelf layouts or situations where space constraints would otherwise limit modelling options. Despite their simplicity, they offer surprising operational variety, especially when sidings and industrial spurs are added along the main line. These additions create opportunities for picking up and setting down wagons en route, simulating the way real railways served communities along their paths. Explore our range of track-laying tools to ensure your out-and-back layout is constructed with precision for reliable operation.
For urban enthusiasts, this layout style can beautifully replicate suburban commuter lines in Sydney or Melbourne, particularly those terminal stations where trains arrive from the city before returning. Key to success with this configuration is proper wiring of the reversing section – a technical consideration that's significantly simplified when using Digital Command Control (DCC) systems available in our control systems collection.
Switching Layout: For the Operational Enthusiast
For railway modellers who relish puzzle-solving and operational challenges, the switching layout (or shunting layout, in British terminology) delivers unmatched engagement. These meticulously designed configurations mimic the bustling activity of railway yards, goods depots, and industrial complexes where trains must methodically pick up, drop off, and sort rolling stock according to specific patterns and requirements. Far from being mere visual displays, these layouts transform the modeller into a working railwayman, orchestrating complex movements and solving logistical challenges.
The beauty of switching layouts lies in their ability to pack tremendous operational interest into surprisingly small spaces. Even a layout measuring just a few feet can provide hours of engaging operation when thoughtfully designed with varied industries, complex track arrangements, and purposeful shunting tasks. These layouts excel at recreating the intricate dance of locomotives and wagons that characterises industrial railways, where space is limited and movements must be precise. Essential components for successful switching layouts include quality turnouts and points for directing trains, buffer stops for dead-end tracks, and track cleaning equipment to ensure smooth operations across frequently used sections.
Australian Prototype Inspiration:
Consider modelling iconic Australian freight facilities like Port Botany in Sydney or Melbourne's historic Dynon yard. These locations offer exceptional opportunities for realistic shunting operations, with distinctive Australian rolling stock and operational patterns. For added authenticity, research the unique wagon movements associated with Australia's export industries such as coal, grain, and containerised shipping. The Victoria Bitter brewery sidings or Woolworths distribution centres provide interesting modern switching challenges that connect familiar brands to railway operations.
To maximise enjoyment from a switching layout, consider creating a series of cards specifying different wagon movements, forming an operations game that can be enjoyed solo or with friends. This approach, popular among serious railway modellers, transforms your layout into an engaging puzzle where the objective is to complete all required movements in the most efficient manner possible. For further operational interest, incorporate industries with specific wagon requirements or time-sensitive deliveries that must be coordinated across your railway system.
Regardless of which track configuration you select, the key to a successful first layout lies in matching your available space, modelling interests, and operational preferences. Many experienced modellers recommend starting with a relatively simple arrangement that can be built quickly, allowing you to enjoy running trains while developing your skills and understanding. Our model railway hub offers comprehensive guidance on all aspects of layout construction, from initial planning through to final scenic details.
Final Tips for Building Your First Layout
Once you've selected your ideal track configuration, a few essential considerations will ensure your model railway delivers years of enjoyable operation. Setting up your first layout isn't merely about connecting pieces of track—it's about creating a foundation for a hobby that will continue to reward your dedication and craftsmanship for years to come.
HORNBY OO The Beatles 'Let It Be' Wagon
| Essential Considerations for Your First Layout | |
|---|---|
| Track Quality | Invest in high-quality train tracks to minimise derailments and ensure reliable operation for years to come. |
| Proper Installation | Utilise specialised track-laying tools to ensure stability and proper alignment, preventing operational issues before they begin. |
| Expandability | Design your initial layout with future expansion in mind, allowing for seamless integration of new points and sections. |
| Maintenance | Establish a regular track cleaning routine to prevent dust accumulation and maintain optimal electrical conductivity. |
Quality Components: The Foundation of Reliability
The adage "you get what you pay for" holds particularly true in model railway construction. Premium track components might require a larger initial investment, but they'll pay dividends through consistent performance and minimal maintenance requirements. Quality track features more precise rail joiners, sturdier sleepers (ties), and superior electrical conductivity—all crucial elements for smooth train operation. When selecting your track, prioritise established manufacturers with proven reliability records rather than being tempted solely by price point.
Remember that poor-quality track is the leading cause of frustration amongst railway modellers. A small investment in quality now will save hours of troubleshooting later.
Thoughtful Installation: Setting the Stage for Success
Even the finest track will perform poorly if improperly installed. Before laying a single piece, invest time in thorough planning and preparation of your baseboards. Ensure all surfaces are level and free from warping that might introduce unwanted gradients. When installing track, use dedicated track-laying tools rather than household alternatives. Proper pin insertion tools, track gauges, and alignment jigs help achieve professional results that maintain consistent rail spacing. Pay particular attention to rail joints, as these are common trouble spots—consider soldering connections for optimal electrical conductivity or using conductive track joiners.
Pro Tip:
When installing points (turnouts), position them at least 30cm away from curves or gradients to prevent derailments. This buffer zone allows trains to stabilise before navigating the more complex track section.
Future-Proofing: Designing with Expansion in Mind
Few railway enthusiasts resist the temptation to expand their layouts over time. Rather than treating your first layout as a fixed entity, approach it as the first phase of a potentially larger system. Leave strategic connection points where additional modules might attach in future. Consider installing slightly larger baseboards than immediately needed, providing valuable expansion space. When planning electrical systems, incorporate additional capacity beyond current requirements—adding an extra power district is significantly easier during initial construction than retrofitting later. Document your layout thoroughly, creating detailed track plans and electrical schematics that will prove invaluable when expanding.
Maintenance Routines: Preserving Performance
Establishing regular maintenance habits from day one will significantly extend your layout's reliable operation. Dust, oxidation, and debris are the primary enemies of smooth running, gradually degrading electrical connectivity and mechanical performance. Implement a systematic track cleaning schedule using appropriate cleaning tools rather than improvised solutions that might damage delicate rail surfaces. Pay special attention to hard-to-reach areas and points, where debris commonly accumulates. Consider investing in a track cleaning car that performs maintenance during regular operation, especially for larger layouts where manual cleaning becomes time-consuming.
| Maintenance Task | Recommended Frequency |
|---|---|
| Visual inspection of all track | Before each operating session |
| Track cleaning with dedicated cleaner | Monthly or when trains begin to stutter |
| Point mechanism lubrication | Every three months |
| Check and tighten track fixings | Bi-annually |
Testing Methodology: Validating Your Work
Before committing to scenery or permanent fixings, thoroughly test your track layout under various operating conditions. Run different locomotives at varying speeds, testing both clockwise and counter-clockwise directions. Pay particular attention to transitions between straight sections and curves, as well as the approach to points and crossings. Consider using a test train with both short and long rolling stock to identify any problematic areas. Document any persistent issues rather than applying quick fixes—these problems often indicate fundamental layout issues that should be addressed systematically. Remember that proper testing before finalisation saves significant rework later.
For ongoing guidance on layout building techniques and expert tips, explore our blog section or visit the model railway hub for comprehensive resources. Our knowledgeable staff are also available to assist with specific questions about track selection and installation—simply contact us for personalised advice.
Frequently Asked Questions
Which track type is best for complete beginners?
For absolute beginners, a Continuous Loop layout is highly recommended. This configuration allows trains to run continuously without complex operations, giving you time to learn basic skills while enjoying watching your trains in motion. The simple oval or circle can later be expanded with sidings or stations as your confidence grows. Start with quality train tracks from established manufacturers to ensure reliability from day one.
How much space do I need for my first layout?
Space requirements vary by track configuration:
- Continuous Loop: Minimum 120cm x 90cm for HO scale (smaller for N scale)
- Point-to-Point: Can work in as little as 180cm x 45cm shelf space
- Out-and-Back: Ideal for narrow shelves, minimum 30-45cm width
- Switching Layout: Can be built in spaces as small as 90cm x 60cm
Remember that proper baseboard construction is essential regardless of the layout size you choose.
How do I prevent derailments at points and curves?
To minimize derailments:
- Use wider radius curves wherever possible (minimum 45cm radius for HO scale)
- Position points and turnouts on straight sections, not within or immediately after curves
- Ensure all track is properly leveled and securely fastened to the baseboard
- Regularly clean tracks and wheels with specialized cleaning equipment
- Check that wheel back-to-back measurements on all rolling stock meet NMRA standards
A proper installation using dedicated track-laying tools rather than household alternatives will significantly reduce operational problems.
Should I use DC or DCC control for my first layout?
For beginners building a first layout:
- DC (Direct Current): Lower initial cost and simpler to understand, but limited to running one train per electrical section
- DCC (Digital Command Control): Higher initial investment but allows independent control of multiple locomotives on the same track, with expanded operational possibilities
Many experienced modellers recommend starting with DCC if budget allows, as it provides greater flexibility and eliminates complex wiring for isolating track sections. Browse our control systems collection to explore both options.
How do I plan for future expansion of my layout?
To ensure your layout can grow with your hobby:
- Build your baseboards with detachable sections or modular construction
- Leave "break out" points at strategic locations where future sections could connect
- Install power distribution with capacity beyond immediate needs
- Document your track plan and wiring thoroughly
- Consider scenarios where your preferred track type might evolve (e.g., adding a branch line to a continuous loop)
The most successful expandable layouts begin with careful planning rather than improvisation. Visit our model railway hub for detailed guidance on planning expandable layouts.
Conclusion
Selecting the right track configuration for your first model railway layout is a crucial decision that shapes both your initial experience and future enjoyment of the hobby. Whether you choose the relaxing simplicity of a continuous loop, the operational interest of a point-to-point system, the space efficiency of an out-and-back arrangement, or the engaging challenges of a switching layout, each configuration offers unique rewards that align with different modelling preferences and available spaces.
Remember that the perfect layout balances three essential factors: available space, personal interest in railway operations, and the time you can dedicate to active involvement. While continuous loops offer relaxing viewing pleasure with minimal intervention, switching layouts reward those who enjoy the puzzle-like challenges of realistic railway operations. Australian modellers have the added opportunity to recreate distinctive local scenes, from busy suburban networks to iconic outback routes that capture our unique railway heritage.
Final Thoughts:
Whatever configuration you select, prioritize quality components from the start. Investing in reliable tracks, points, and installation tools will eliminate many common frustrations and allow you to focus on the creative and enjoyable aspects of the hobby. Remember that even the most accomplished railway modellers began with simple layouts, gradually expanding their skills and ambitions through hands-on experience. Your first layout is not just a model railway—it's the foundation of a rewarding journey that combines technical skill, historical knowledge, and artistic expression in a uniquely satisfying way.