
Your Guide to Magnetising Miniatures
Learn the art of versatile miniature customisation and storage
In the ever-evolving world of tabletop gaming and miniature collecting, magnetisation has emerged as a game-changing technique that transforms static models into dynamic, adaptable pieces. At Hearns Hobbies, we've witnessed countless hobbyists elevate their collections through this innovative approach. Whether you're a competitive wargamer seeking tactical flexibility or a passionate collector looking to preserve your precious miniatures, mastering the art of magnetisation opens up a world of possibilities.
| Magnetising Miniatures at a Glance | ||
|---|---|---|
| Primary Benefits | Customisation flexibility, enhanced durability, efficient storage, cost-effectiveness | |
| Key Materials | High-quality neodymium magnets, precision drilling tools, specialised adhesives | |
| Skill Level | Beginner to advanced, with detailed guidance for all experience levels | |
| Applications | Wargaming miniatures, display pieces, tabletop gaming collections | |
Discover how proper magnetisation can transform your miniature collection whilst protecting your investment. Explore our comprehensive range of modelling tools and supplies to get started on your magnetisation journey.
Understanding Miniature Magnetisation
The art of magnetising miniatures represents a significant advancement in the tabletop gaming and collecting community. This technique, which involves strategically embedding small yet powerful magnets within models, has revolutionised how enthusiasts approach their hobby. The precision required for successful magnetisation demands quality tools from trusted suppliers like Hearns Hobbies, ensuring that your valuable miniatures receive the best possible treatment.

KROMLECH Orc Corsairs Steerboy

GREEN STUFF WORLD Neodymium Magnets
Benefits of Magnetisation
Magnetisation offers numerous advantages that make it an invaluable technique for both casual collectors and competitive players. Understanding these benefits helps justify the initial investment in time and materials:
- ✓ Cost-effective alternative to purchasing multiple models
- ✓ Enhanced gameplay flexibility through interchangeable parts
- ✓ Improved transport safety and storage efficiency
- ✓ Ability to adapt models for different game scenarios
Essential Tools and Materials
Success in miniature magnetisation begins with assembling the proper toolkit. High-quality neodymium magnets from our magnets collection form the foundation of any magnetisation project. These powerful magnets, despite their small size, provide the necessary strength for secure connections whilst maintaining the aesthetic integrity of your models.
| Essential Tool | Purpose | Recommended Options |
|---|---|---|
| Pin Vice and Drill Bits | Creating precise magnet cavities | Premium drill sets |
| Precision Tweezers | Magnet placement and orientation | Professional tweezers |
| Adhesives | Securing magnets permanently | Specialised CA glues |
| Marking Tools | Polarity identification | Permanent markers |
Step-by-Step Magnetisation Process
Preparation Phase:
- Clean the model thoroughly, removing mold lines and flash
- Mark intended magnet locations
- Test-fit components before modification
- Prepare your workspace with adequate lighting
Implementation Phase:
- Drill pilot holes using appropriate bit sizes
- Test magnet fit and adjust holes if necessary
- Mark magnet polarities using a reference model
- Apply adhesive and secure magnets in place
Advanced Magnetisation Techniques
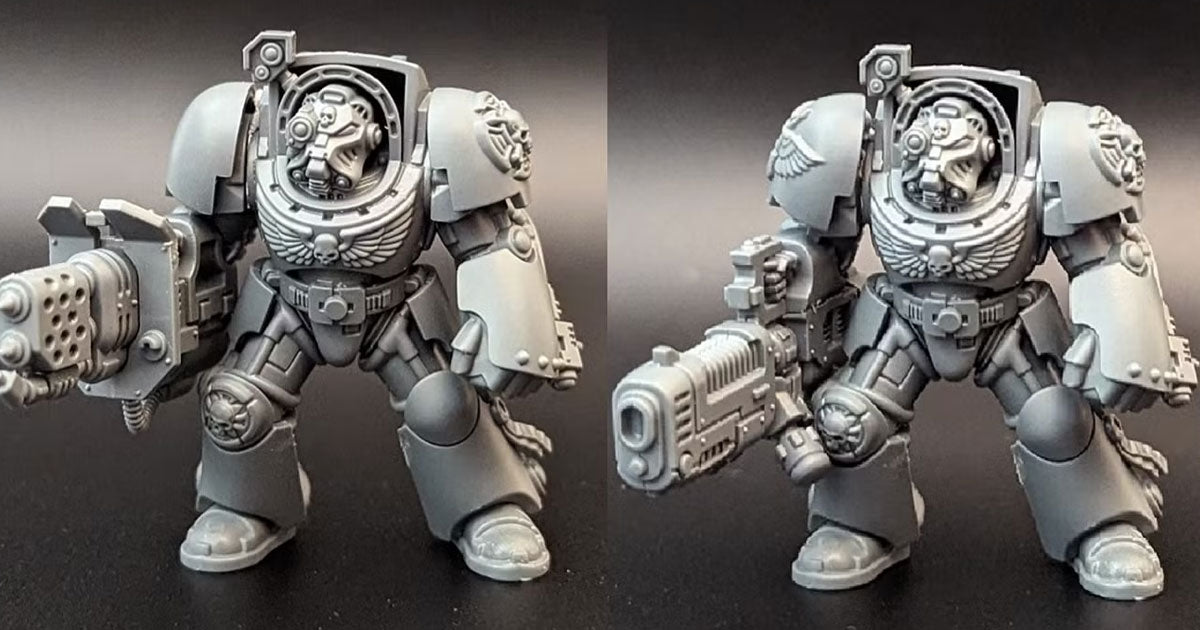
Mastering advanced magnetisation techniques elevates your miniatures beyond basic modifications. When working with larger models from our tabletop gaming collection, consider implementing multiple connection points for enhanced stability. This approach particularly benefits vehicles and larger creatures, ensuring smooth gameplay without compromising structural integrity.
Professional Insights:
- Use reinforcement materials like green stuff around larger magnets
- Create alignment guides for complex assemblies
- Document magnet placements for future reference
- Consider weight distribution in dynamic poses
Storage Solutions and Protection
Proper storage proves crucial for preserving magnetised miniatures. Utilising magnetic sheets in combination with our specialised bases creates an efficient and protective storage system. This approach not only safeguards your investment but also streamlines tournament preparation and display arrangements.
| Storage Method | Benefits | Best For |
|---|---|---|
| Magnetic Sheets | Flexible organization, easy access | Infantry units |
| Custom Cases | Maximum protection, organised transport | Large vehicles |
| Display Solutions | Showcase options, easy rotation | Character models |
Maintenance and Care
Regular maintenance ensures the longevity of your magnetised miniatures. Periodically inspect magnetic connections, particularly in frequently used models from your gaming collection. Clean contact points with appropriate materials, and reinforce any weakening bonds promptly using our professional-grade adhesives.
Maintenance Checklist:
- Monthly inspection of frequently used pieces
- Quarterly review of stored miniatures
- Immediate attention to any loose connections
- Regular cleaning of magnetic surfaces
Remember: Prevention through proper maintenance proves far more effective than repairs. Regular inspections and careful handling significantly extend the life of your magnetised miniatures.
Frequently Asked Questions
What size magnets should I use for different miniature parts?
The ideal magnet size depends on the component weight and available space. Generally:
- 2mm x 1mm: Perfect for infantry weapon swaps and small accessories
- 3mm x 1mm: Ideal for medium-sized weapons and vehicle hatches
- 5mm x 2mm: Suitable for larger vehicle components and monster parts
- 8mm x 2mm: Best for heavy vehicle sections and large creature assemblies
Always check our magnets collection for the most suitable options for your specific project.
How do I ensure correct polarity when installing multiple magnets?
To maintain consistent polarity:
- Use a "master magnet" as a reference point
- Mark polarities clearly before installation
- Test connections before applying adhesive
- Document magnet orientations for complex assemblies
- Use our precision tools for accurate placement
What type of glue works best for securing magnets?
For optimal magnet adhesion, we recommend:
- High-quality cyanoacrylate (CA) glue from our adhesives range
- Two-part epoxy for larger magnets requiring extra strength
- Avoid using plastic cement as it won't bond with metal surfaces
Conclusion
Magnetising miniatures represents a significant investment in both time and skill, but the rewards far outweigh the initial effort. With proper tools from our modelling supplies and careful attention to detail, you can transform your static miniatures into versatile, customizable pieces that enhance both gameplay and display potential.
The key to successful magnetisation lies in thorough preparation, precise execution, and proper maintenance. Whether you're a competitive gamer seeking tactical flexibility or a collector looking to preserve and protect your valuable pieces, the techniques outlined in this guide provide a solid foundation for your magnetisation journey.
Final Thoughts:
Remember that magnetisation is both a practical solution and an art form. Take your time, start with simpler projects, and gradually work your way up to more complex modifications. With practice and patience, you'll discover the full potential of magnetic customisation in the fascinating world of miniature hobbying. Visit our tabletop gaming section to explore more ways to enhance your hobby experience.