
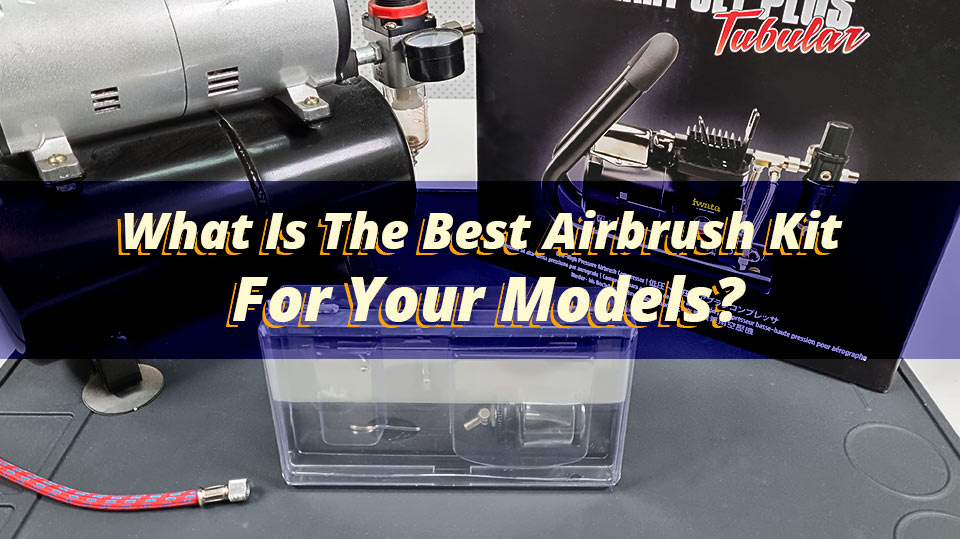
What is the best airbrush kit for your models?
We show you the best way to make an informed decision on your next (or for those who are new to model kit painting their FIRST) airbrush

Airbrushes are tools widely used by artists, modellers and creators to apply paint on a given surface. They are game changers because of the kind of delivery and finish they can output. However, airbrushes could also be deal breakers if not handled with care, as one needs to be extremely particular when going about cleaning and maintaining them, in order to prevent any damage or spoilage. BJ takes us through the do’s, don’ts, hows, and whys of handling an airbrush.
A BEGINNERS GUIDE TO THE VARIETY OF AIRBRUSHES
Firstly, let's take a look at some of the various kinds of airbrushes available, and the uniqueness in their functions. Knowing about the features of airbrushes will help you in being able to make the right choice in equipment. Here are some of the brands you can choose from at Hearns Hobbies.
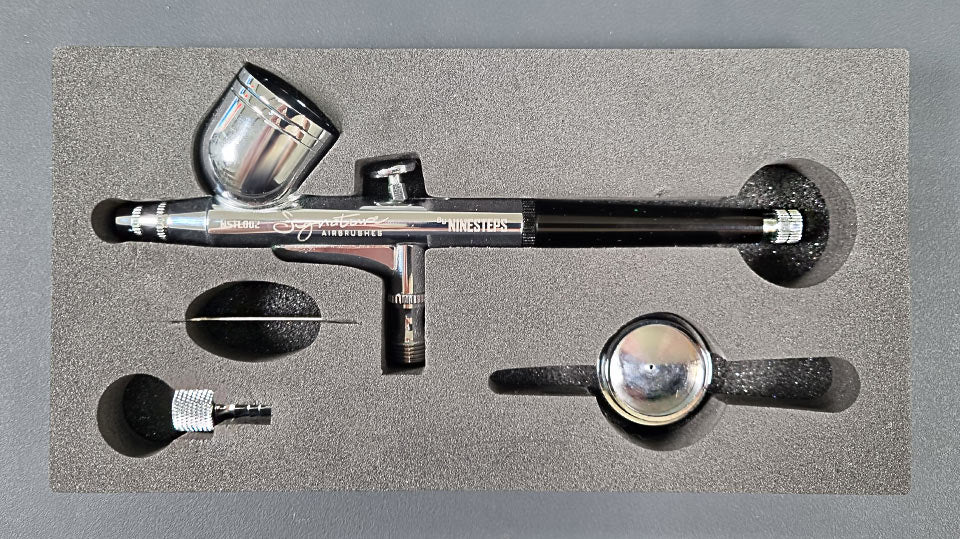
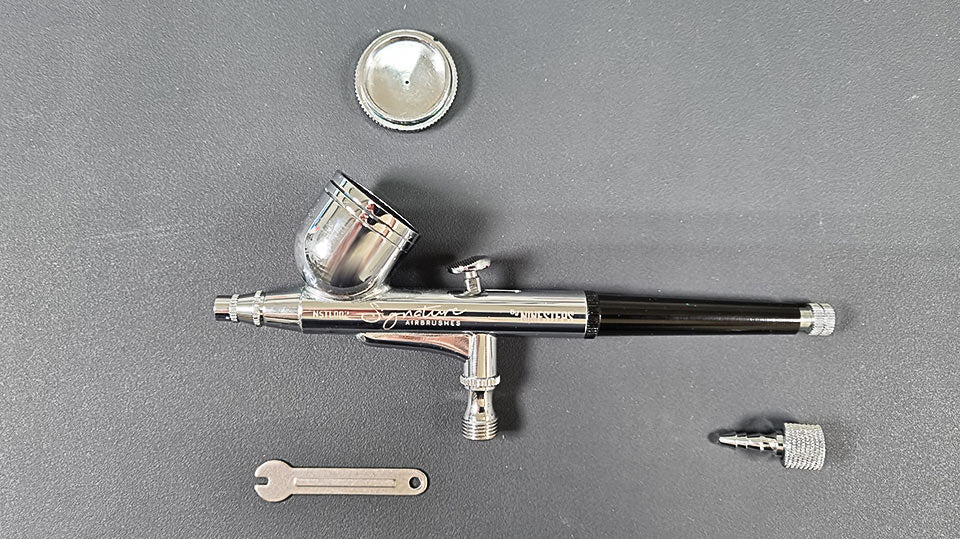
Ninesteps Signature Brand Airbrushes
-
NINESTEPS Classic Airbrush
Features:
- 0.3mm nozzle
- Gravity feed system
- Needle stopper
-
NINESTEPS Premium Airbrush
Features:
- 0.2mm nozzle allowing for finer line detailing
- Gravity feed system
- Micro air controller at the front, enabling more precision for linework and a steady control over air speed
-
NINESTEPS Premium Suction fed airbrush
Features:
- Can be used for larger areas
- Comes with a larger paint bottle
- Suction feed system
- 0.5mm, making it ideal for use in base coating, priming, and clear coating
IWATA
-
Iwata Revolution Series
Features:
- 0.3mm nozzle
- Built-in cup
- Gravity feed system
- Decent size and weight that makes the airbrush quite easy to grip and control
- Made In Japan
-
Iwata Neo Series
Features:
- Gravity feed system or suction variations
- 2 interchangeable cups (large-9ml (1/3oz) and small-1.8ml (1/16oz))
- Dual Action
- 0.35mm nozzle for finer detailed lines
- Made In Japan
-
Iwata Eclipse Series
Features:
- 0.35mm nozzle
- While having a slightly larger nozzle, the line delivery is actually finer than the revolution series
- Increased tolerances in the needle and the nozzle design
- Made In Japan
These are just a few of our wider selection of airbrushes available in the market, including in store here at Hearns Hobbies and at our sister store The Hobbyman. This is more to give you a general idea on some of the airbrushes you can find, and to show that most of the base features are similar. What it truly comes down to when making your decision on which product to buy; is what your intended application will be, and how fine the detail is that you want to get out of your airbrush.
HOW TO USE AN AIRBRUSH
As it goes with trying anything new, using an airbrush requires a little bit of practice and getting used to. In order to get started, it is good to run a few test sprays on a sample model or a piece of paper first. BJ demonstrates the usage of the airbrush, as well as how to clean it after use.
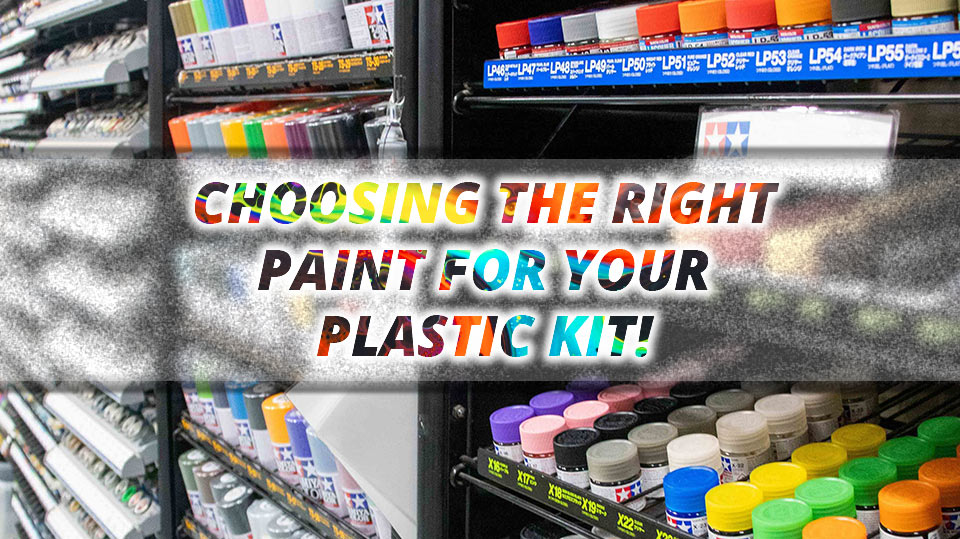
It is ideal to use an airbrush ready paint especially for the initial few times.
However, other paints can be used too, the only drawback would be that they would then have to be diluted with a thinner in order to achieve the right consistency. You can also read our previous blog on paints and thinners if you want to find out more, check it out by clicking on the image seen below!
Begin by shaking the bottle of paint as the pigment usually settles at the bottom and needs to be mixed well (BJ uses the airbrush-ready/pre-thinned paint by Vallejo for the sake of this demonstration). Then, depending on your requirements, a small amount must be poured into the airbrush's cup. Have the compressor ready and set the regulator as per your needs. This can take some trial and error to find the right flow setting for your use case (BJ sets it to about 20psi in the video).
The needle/trigger control adjustments must be worked out first, in order to get a hang of the extent of colour delivery. The texture and volume of the spray will depend on the pressure exerted by the index finger on the control trigger. For finer, more detailed lines, the trigger is pressed forward, and the nozzle is then held close to the model. For wider parts, simply pull back on the trigger control and the device entirely as well. That helps to get the paint sprayed out on a larger area. Try this out on a piece of paper before shifting gradually onto the model so you can get a feel for the system and how it works.
HOW TO CLEAN AND MAINTAIN AN AIRBRUSH
It is imperative that an airbrush be cleaned immediately after use as its delicate parts can be easily spoiled or damaged due to the presence of drying and caked on paint, dirt, along with other residue. Having a cleaning pot makes it a lot easier to clean an airbrush.
To begin cleaning, water or a paint thinner must be poured into the airbrush cup and rinsed. Then, the airbrush needs to be held into the opening of the cleaning pot to make sure all the paint is sprayed out. Keep adding water (or thinners) a little bit at a time over a few times to ensure as much paint is cleared out as possible. An airbrush cleaner could also be used to flush out the rest of the residue from the cup which finally, should be blocked with a rag.
In addition, the nozzle and the needle must be removed and wiped clean so that no dry bits of paint are left behind. Some of the key points of the device that need to be cleaned are explained in the previous video seen above, and the following video just below.
(This video is more recent and from one of our latest livestream)
Cleaning an airbrush would require you to dismantle it a bit. So, that needs to be done with extreme caution as the parts are quite fragile and could affect the performance of your airbrush if damaged.
After cleaning out the paint-holding cup, gently undo the back of the airbrush so it comes off, revealing the needle. The needle would be attached to an locking nut. Unscrew the nut a bit to release the needle, allowing it to slide out. Do this with caution as the needle has a sharp end that could cause an injury, but also because it is one of the more fragile components.

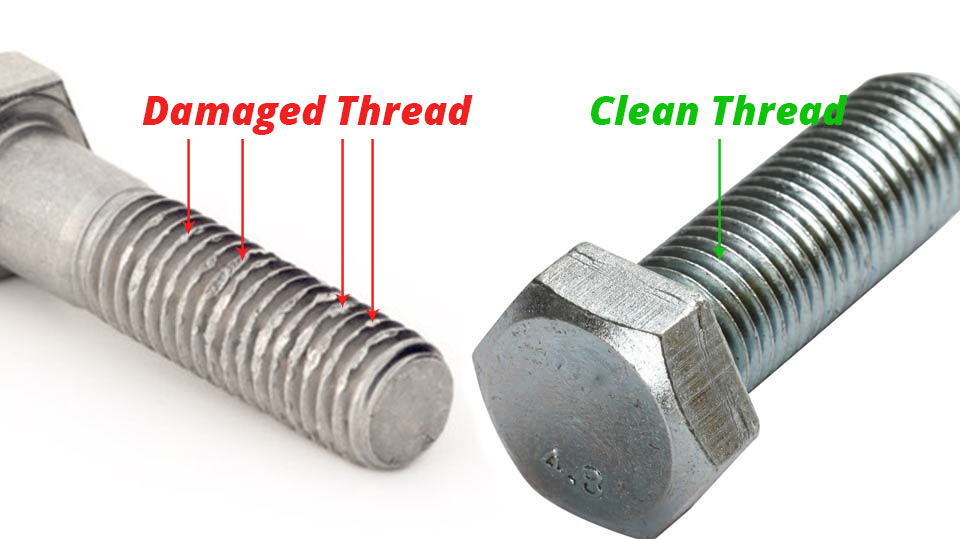
Next, unscrew the top cap of the nozzle to reveal the end nozzle. That is the spot where the needle pokes through, and therefore is always blocked by some amount of paint residue. It is important to clean this area as well after every use as build-up in there could prevent the paint from flowing out. The only way to clean this area is by back cleaning it, and that too must be done with the utmost of care as unfortunately, any damage done to the nozzle area is non-repairable.
Use the spanner (a small spanner is always provided with any airbrush kit) to undo the nozzle. Be careful as to not damage the thread on the nozzle while undoing it and re-tightening as well. The bare base of the airbrush can again be flushed clean with the use of thinners; simply attach it to the compressor and spray it clean. As for the nozzle, if there are any particles stuck on the inside, clean them with a cleaning brush or soak the nozzle in some thinners to dissolve any residual particles.
After having cleaned the airbrush, it is particularly important to carefully fit all components correctly into place. Begin by fitting the nozzle on by hand, this helps you to get a gauge on the pressure on the airbrush, and ensures that it is fixed straight through. Tighten it by finger and then use the spanner (gently) to tighten it in place as before ensuring the threads are attaching smoothly and you're not cross threading them at all (as this can damage the attachment for when you want to clean the airbrush again).
Then fix the top cap back on, once done make sure that too is clean. Remember to always fix the nozzle portions before fixing the needle back in place, just to prevent any damage. Slide the needle back in gently and tighten the nut. After it is all fixed, adjust the trigger to ensure that it is all moving correctly. Once that is done, fix the back; the airbrush is now ready for its next use.
4 AIRBRUSH ACCESSORIES TO MAKE YOUR LIFE EASIER
Apart from the itself, there are a few accessories too that can give a better quality of life towards your painting process. BJ presents 4 such supporting tools that help make the process of airbrushing easier.
-
Airbrush Distributor Hub
A large Airbrush Distributor Hub can hold up to 6 different brushes all connected to one. Simply connect the hub to the compressor, tweak the controls on the gauge as required and it's ready to use! The large distributor hub is especially handy when there are about 3 or more airbrush types such as the general-purpose brush, the fine line, and even the large area brush.
The large distributor hub has 6 outputs and valves that line up with its 6 quick-access holders. It has additional full-body holders as well that are more robust in terms of good grip. The entire device is heavy, thus making is nice and steady.
-
Regular Airbrush Holder
This is a smaller device as compared to the above, however, it still is just as stable. It has 2 quick access holders that bend to different angles for accessibility. It also has 2 full-body holders for enhanced grip on the resting airbrush.
-
Cleaning Pot
The Cleaning Pot, as the name suggests, helps in cleaning the airbrush out in a hassle-free way. It has an opening through which the dissolvent can be sprayed in, so that all the residual vapours are contained inside the pot. The pot can be easily rinsed after every use.
-
Quick Release
The Quick Release is a handy accessory that allows easy detachment from the hose, with no leakage of air. In the video, BJ demonstrates how easily the connecting pieces can be screwed onto the end of the hose, and the base of the airbrush. It connects with a click and can be undone with a gentle tug.
And there it is! Almost every crucial pointer that must be considered before picking up an airbrush for the first time. For more details and everything else feel free to contact us anytime, and remember to keep painting and practising!