
Flying RC planes for the first time and picking your first RC plane!
The Do's and Don’ts, the How’s and Why's, the What’s and What Nots.

While there are plenty of things you could do on a lovely sunny day at the park, flying a sleek RC plane is by far the most exhilarating experience of them all. Flying an RC plane (also called a Radio-Controlled plane/aircraft) is an excellent activity and a great deal of fun. It is an extremely popular pastime that does not take too long to turn into a hobby!

Unlike driving RC cars, flying RC planes are a slightly more advanced in terms of technique as there are so many external variables that you’ll have to factor in, like the force of wind, centre of gravity, etc. All this might take some getting used to; but with the right technique and a little bit of practice you’ll be able to master flying in no time.
If you’re a beginner in flying RC planes, here are a few Must Dos for a safe first flight:
Check weight balance.
It is advised that first-time fliers purchase ready-to-fly (RTF) plane models as all of the necessary components/spare parts come within the pack and most are usually already fixed. Despite that, it is essential that even after you’ve put the plane together (with adherence to the manufacturer’s manual, of course) that you check balance before taking the plane for a test-run, as an incorrect balance can make the plane uncontrollable and likely to crash in inexperienced hands.
All flying model airplanes, just like real ones, have a Centre of Gravity (CG) that affects the plane's balance and thus, its flying characteristics. The exact location of your airplane's CG should be specified in the instruction manual, and this should be the point that you balance the plane.
A simple and quick way to test your airplane's balance is to place the tips of each index or middle fingers under each wing, at the exact CG point as indicated by the manufacturer, and a couple of inches out from the fuselage sides. Gently lift the airplane up so it balances on your fingertips. If the balance is correct the plane should be either level or with its nose pointing slightly downwards. If the tail is pointing downwards do not fly it yet!
A heavy airplane tail is the worst case of improper balance for a plane.
You can correct it by sliding the motor and battery pack further. In case the pack cannot be moved, consider adding a bit of weight to the nose of the plane, using clay or similar materials. This imbalance, however, is a rare case scenario, and is very less likely to occur in ready-to-fly models.

PREFLIGHT CHECKS
For a safe and crash-free first flight, it is imperative that you keep an eye out for each of the pre-flight checking instructions prescribed in the users’ manual. They may differ depending on the aircraft model, but some of the most general checks are as below:
- Secure fastened wings and tail
- Secure prop and spinner
- Free and correct movement of control surfaces
- Correct motor operation
- No loose components (especially inner components like motor and battery pack)
- Secure all servo horns and linkages
- Radio control transmitter batteries OK
- Range check
The last pointer, range check, is absolutely critical. Its purpose is to ensure that the radio signal is strong and to outline the approximate radius of flight to avoid your plane from flying out of radio range. Look at the instruction manual within the pack for details on how to get this done.
TEST GLIDE
This is not entirely necessary, but a test glide is recommended for those flying the RC powered glider variety of aircrafts. The purpose of this test is to check its flight capacity and glide path, or how well it flies without power. A test glide is best done over tall grass if possible, to ensure safe landing.
To perform a test glide, do your pre-flight checks and when ready, turn on the transmitter first, then the receiver. Extend the transmitter antenna fully if using a MHz RC system.
Holding the airplane at face-level and facing into the wind (important: learning to fly an RC airplane is best done in a gentle breeze or no wind at all - if it's a windy day, wait for a calmer one!), gently launch the plane from your hand. Don't throw it like a dart, a smooth but firm push is all that's needed. Be sure that the airplane is more or less level when you launch it; if it's launched pointing upwards too much it can stall and crash if minimum safe airspeed isn't reached on leaving your hand.
All being well your plane should glide gently to the ground after a smooth, even flight (use rudder to control the glide direction).
TAKEOFF
If your aircraft is equipped with landing gear, and the surface from which it will be flown is smooth (tarmac, concrete, very short grass) you might prefer ground take-offs over a hand launch.
Before take-off, ensure all pre-flight checks are complete, and once all is good to go, place the airplane on the ground facing the wind, and stand directly behind it. Smoothly push the Tx motor stick to full power and let the plane accelerate along the ground - you may need to use the rudder to keep the plane going in a straight line. Apply a small amount of elevation and the plane will take-off from the ground and your flight has begun!
If you are flying a model airplane in an area of grass and the plane has small wheels, or your plane has no undercarriage at all, you will have to hand launch it instead of taking off.
For hand launch - hold the airplane at head-height and hold it level, pointing into wind. Put the motor to full power and give the plane a firm launch, making sure the plane remains level as it leaves your hand.
Make sure that the plane is launched at flying speed, else, it will stall and crash, especially in cases of low-powered RC planes.

FLIGHT
Whether you take-off from the ground or launch by hand, it all depends on the presence of landing gear on the plane, and the surface you’re flying from. Either method is acceptable and as long as all’s well, your plane should climb smoothly away from you once it takes on wind.
As soon as it is airborne, you need to watch it all the time and concentrate on what it's doing and how it's flying. Do not look at the transmitter; but do keep your hands on both the sticks to ensure control on the plane. During the first flight, remember to use small, smooth stick movements at the beginning. Over-enthusiastic rapid movements are one of the main reasons for first flight crashes.
Another thing – don’t let the plane fly too far away from you at first. It will get too small to see and that might make it difficult to control. Similarly, don’t let the plane fly too low or close to you either. Consider 60-100 feet, a safe range to begin with. Once you’re comfortable with the height, make gentle turns to get used to your plane's flight characteristics. Remember, no sharp turns! Don't move the sticks to their maximum positions - keep the moves soft, smooth, and small.
Lastly, be cautious of your surroundings. Don’t fly your plane too close to other people or other’s properties. We want to steer clear from damage, both to the plane and to others. It is highly recommended that you have someone else to act as a spotter for hazards while you’re flying.

LANDING
You want your plane to land just as smoothly as it took off. Do not take landing instructions for granted, as you will find that this is the hardest, most nerve-racking part of learning to fly.
It is important to land your plane into wind wherever possible. A crosswind landing is acceptable and sometimes unavoidable, but never try and land with the wind, it will not end well. Why? Because the airflow reduces the relative airspeed of the plane, thus reducing lift and increasing stall speed.
When you're ready to land, fly a downwind leg a safe distance in front of you, either right to left or left to right depending on wind direction. Turn the airplane back towards you when it is safely to your side (not directly in front of you). Line the plane up with where you want to land and reduce power or turn the engine off completely if there is no proportional speed control. Keep it in a straight line using the rudder and let the plane fly down in a smooth approach until it touches the ground.
Use the motor power softly to control the rate of descent of the plane. Using elevators will obviously have the same effect but will also affect the speed of the plane i.e., too much down elevator will increase the approach speed, while too much up elevator can cause a stall close to the ground if your airspeed is already low. If at any time you are unsure about your final approach, apply power and do another circuit before lining it up for another landing.
Alternatively, you can also go for the 'straight in' approach if you've been flying further out to your side. Just bring the airplane in from the side and commence descent as recommended above.
Keep in mind, there’s nothing shameful about a missed chance at descent. It’s better to try many times and have a safe landing than to rush a landing and crash the plane. It is extremely challenging, especially for a beginner, to land the plane safely. So, remember to not panic and take your time with it.
Other points to keep in mind:
- Perform all pre-flight checks thoroughly.
- Choose a safe and open flying site that is clear of obstacles and crowds.
- Note the weather and wind conditions. Small, light planes are adversely affected by wind. Choose calm, less-windy days for your flight.
- Check batteries before you fly. Even a single dying battery cell can kill a high-flying plane!
- When the plane is coming towards you, the turns will be back to front. This is something that will catch you out in the early days, but you'll quickly get used to this 'reverse control'. A trick to remember is to move the Tx stick towards the lower wing, that will right the plane.
- In case of trouble or loss of control, cut the motor. It mostly helps reduce the chances of any serious damage. However, it really all depends on the situation.
- Finally, and most importantly – have fun!

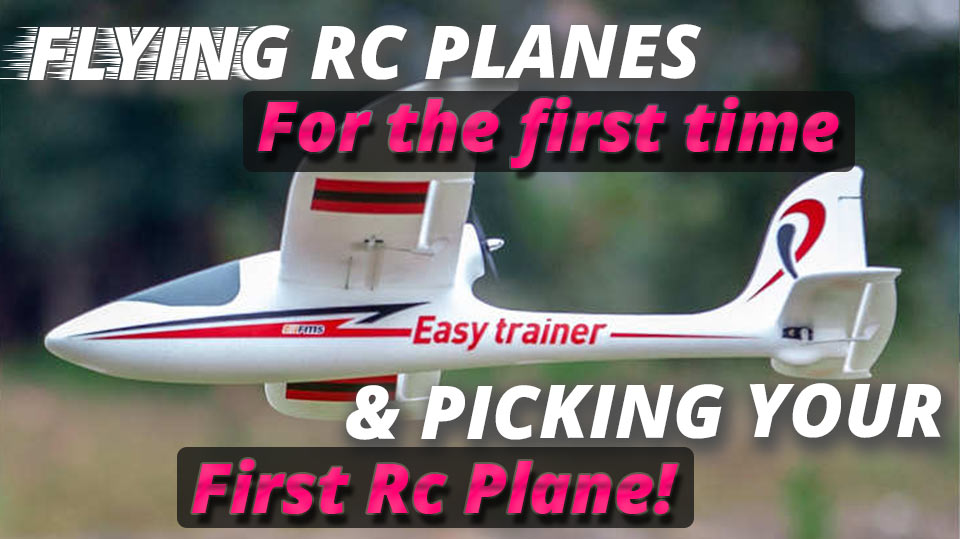
The below video shows an FMS RC Plane in action be sure to have a look, the above image was taken from this video as well on how to land the plane.
HEARNS HOBBIES SUGGESTIONS
We have a wide range of beginner aircrafts here at Hearns Hobbies and at The Hobbyman. Let’s quickly have a look at a few of our top first-flier models.
This aircraft is a high-wing trainer. It means that it is a lot easier to control since most of its weight is under the wing. Its design is compact, making it suitable for indoor / backyard flights.
Perfect for first time fliers, this plane comes with a pre-set ‘beginner mode’ enabling more control and reduced roll and pitch. As you grow more confident of flying, you can easily switch to ‘intermediate’ or ‘experienced’ modes as you go along.
This model is slightly bigger and heavier as compared to the two mentioned above (more expensive as well). The advantage of flying a bigger plane is that it stands stronger against the winds and is able to be flown and controlled even on mildly windy days. It has an added GPS feature that enables the plane to auto-land in the same location from where it took off. It is also equipped with a geofence feature that ensures that the plane does not fly away too far out of range, and in case it does, the plane will automatically U-turn into range.
This too, is one of our bigger plane models. It comes with stability features and allows for a beginner mode that helps control how far the plane can bank mid-flight, despite how far you pull the stick on the controller. You can also fly it in ‘off mode’, of course only once you are well-versed with the controls and are able to program the plane on your own. There also is an ‘optimized mode’ that allows you to do a full roll in air.
It is the perfect ready-to-fly model plane for beginners. It’s built for durability and can be easily superglued back together in case of any breakages to the main body. Its compact design makes it easy to carry to the flying site and be in the air quickly.
For more details and information on beginner aircraft models and how to fly them, drop by at Hearns Hobbies. Until then, have a safe flight!
(Please note some models stated are no longer available or may have updated versions so please feel free to ask us about them!)
Additionally below are some handy videos we have produced to give you some advice about some RC Planes!