
Putties are often used to fill up small gaps, but did you know that they can also be used for texturing? In this blog, we’ll be teaching you different ways to apply texture to your models using putty and help you level up your modeling game with a few simple steps. We’ll also be throwing in a tutorial on how to use putty as a brush-on primer as well as give you some tips on how to paint textured models. Let's get right into it!
Summary
- What is TAMIYA Basic-Type Putty?
- How to Use TAMIYA Basic-Type Putty (Step-by- Step Instructions)
- How to Paint Textured Models: Tips & Tricks
- Watch and Learn from Following our Video
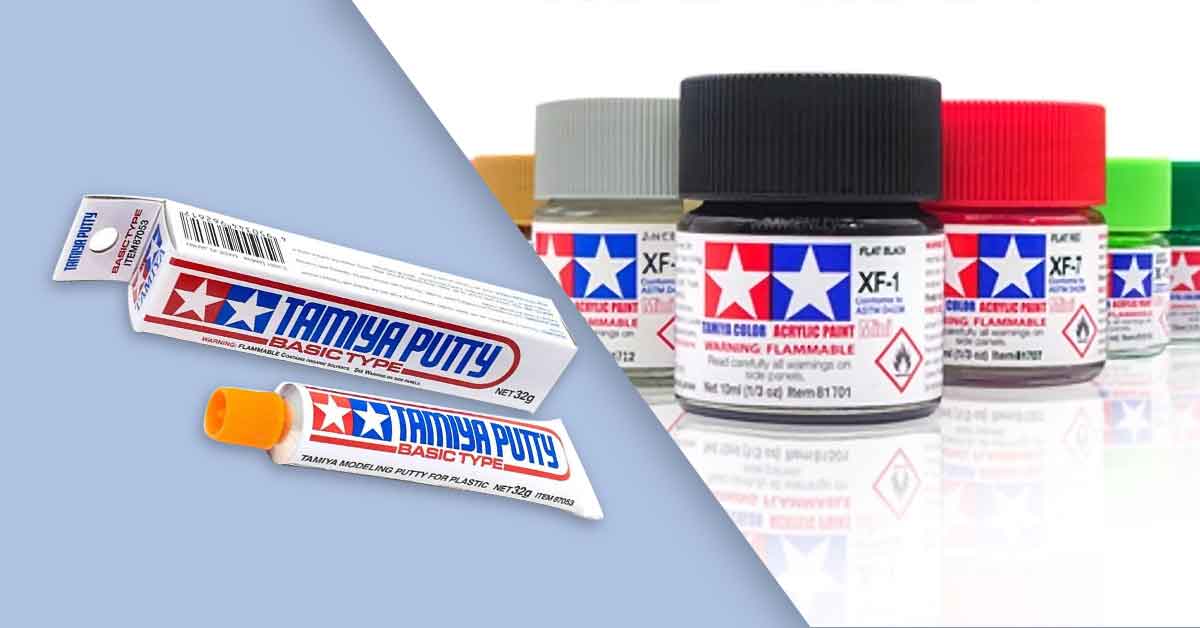
What is TAMIYA Basic-Type Putty?
TAMIYA Basic-Type Putty is a lacquer-based putty commonly used for filling in seams when assembling plastic model kits or RC models. It’s a quick-dry putty that can be used to create different types of textures depending on how it's thinned. TAMIYA Basic-Type Putty has been around for a long time and has long served modelers for a variety of different purposes. This classic gray-colored putty comes in a tube packaging featuring TAMIYA’s iconic logo.
A Step-by-Step Guide to Using TAMIYA Basic-Type Putty
Putty can be used for different tasks; it can give models a cast-metal look or fill in tiny gaps that might be bothering you. Depending on how it’s prepared, the results it can provide can greatly vary. The same goes for its application.
Materials you will need:
- TAMIYA Basic-Type Putty
- Small Container
- Paint Brush
- Lacquer-based Thinner
- Paint (of your own choosing)
- Sanding stick
How to Use TAMIYA Basic-Type Putty
For Coarse/Rough Finishes
Step One:
Put an appropriate amount of Tamiya Basic-Type Putty in the container depending on what you are going to use it for. If you want a particularly coarse finish, use the putty straight from the tube without adding any thinner; otherwise, use minimal amounts of thinner to get a rough texture. Remember, raw putty straight out of the tube is going to feel pretty rough.
Step Two:
By tapping the brush across the surface to apply the putty, you can create stipples. Depending on the type of brush you use, you can get more of the stippling effect.
You can use a coarser brush that’s old and stiff, the ones with the ends starting to separate. Rather than throwing out your mangled old brushes, they can be handy for this sort of stippling. The brush’s texture is going to give you a heavier look that would be hard to get from a newer brush.
Step Three:
The only thing left to do is wait for the putty to cure once you've achieved the texture you want. After it dries, you can sand it to adjust the texture or paint it to add depth.
For Smooth Finishes
Step One:
Depending on how smooth you want the finish to be, add an appropriate amount of thinner; remember that the more you use, the smoother the finish will be. For Tamiya Basic-Type Putty, use lacquer thinner. Using a brush and the decanting method, pour the thinner in and mix.
Do not mix the thinner in all the way if you want the finish to have some texture. This will leave grainy bits and pieces of putty that will give it that effect.
Step Two:
The putty can now be brushed onto any surface after mixing in the thinner. Brushing on the thinned putty would feel similar to painting on a primer. Not only that, but it can also act as a primer of sorts and can be directly brushed onto metallic surfaces or metal parts. Keep in mind that any paint strokes you create will remain, so before curing it, make sure that it has the appearance that you’re going for.
Step Three:
After brushing on the putty, the only thing left to do is wait for the putty to cure and see if it needs adjustment. If it needs extra putty in any specific area, you can add more. You can use a sanding stick to level out certain areas or to get the texture you want, and it can also be painted on easily if you want to give the end result more depth.
Check out our collection of thinners here
How to Paint Textured Models: Tips & Tricks
Small, subtle details achieved through dry brushing or adding paint wash can really give depth to any model. Here are some tips and tricks on how you can get that with textured models:
- Use the paint you'll be using to cover the model to create a base coat; a coat of thinned paint would work best as a base.
- When painting on a wash, you can just concentrate on its application to crevices and areas with texture.
- Adding a wash first before dry brushing will make the details much more pronounced and highlight the textures.
- Drag the brush across the surface while dry brushing and let it pick up all the details.
- If you want the textures and highlights to be slightly muted, you can dry brush first before adding a wash.
Check out our collection of paints here
Watch and learn!
Still a bit confused? Watch BJ as he demonstrates step-by-step how to use TAMIYA Basic-Type Putty for texturing. He’ll be giving out tips on how to paint textured models and teach you some tricks on how to improve your washing and dry brushing game.
There you have it! TAMIYA Basic-Type Putty isn’t only used for filling in gaps and seams; it can also be used for creating different styles and models. This is a multi-use putty that can really level up your modeling. Who knows? It might just be the thing that your modeling kit needs right now.
What do you want us to make a tutorial on next? Feel free to message us with your ideas!
Also, make sure to follow us on Facebook, Instagram, Twitter, and Twitch!